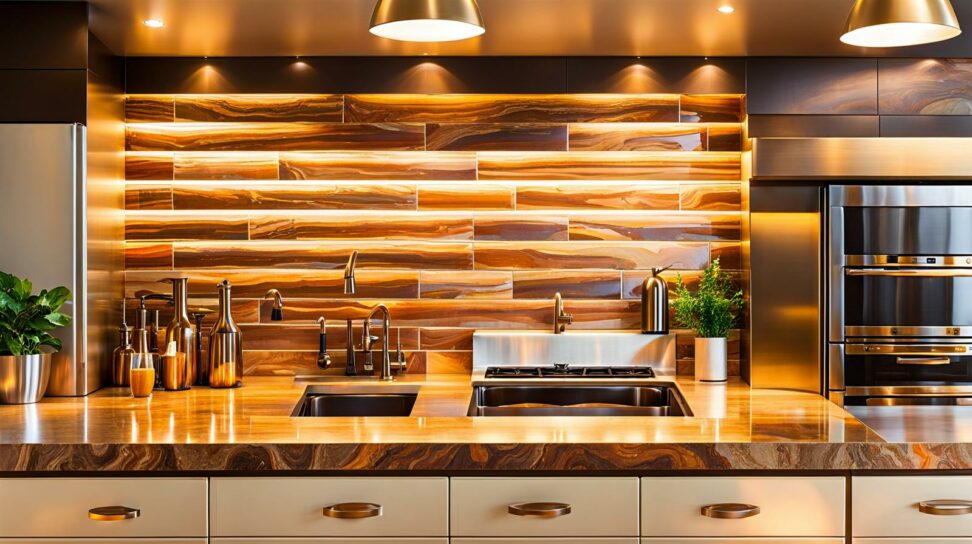
Backsplash Design Tricks to Make Your Kitchen Shine
With so many options for materials, colors, and designs, backsplashes present an exciting opportunity to make your kitchen uniquely yours. But beyond just looking pretty, backsplashes serve important functional purposes too. Strategic backsplash placement prevents water damage behind sinks and stoves. And a backsplash’s height and length impact everything from cleanability to visual flow. Follow these backsplash design tricks to make your kitchen shine.
Backsplashes bring both beauty and brawn to kitchens. Tile, metal, glass, and stone surfaces protect vulnerable walls while adding pops of color, shape, and texture. But with so many choices, it can be tricky to know where to begin and end your backsplash. Proper placement and proportions ensure your backsplash harmonizes with cabinets, countertops, and fixtures.
Backsplash Height: What's the Magic Number?
When designing your dream backsplash, one of the first decisions is height. Standard backsplash height falls between 4 to 6 inches above the counter. But should you match the minimum or max it out? Several factors impact the ideal height.

Standard Backsplash Height
The 4 to 6 inch rule provides a splash zone that protects walls from spills and splatters while leaving room for decor above. Thicker countertop materials like granite may warrant a slightly higher backsplash than thinner laminate.
Standard height also keeps backsplashes in proportion with other features like wall cabinets. Visually, a small space can be overwhelmed by a full wall backsplash. But don’t worry, you can still add drama with materials and colors while keeping proportions balanced.
When to Go Taller
Certain situations call for maximizing backsplash height. Extending from countertop to ceiling makes a bold statement. Full backsplashes prevent water damage or stains on more surface area in high moisture zones.
Soaring backsplashes complement large, airy kitchens with high ceilings. They can make a narrow galley kitchen appear taller. Just take care not to make a small space feel overly enclosed.
When to Go Shorter
Less can be more with backsplash height. Floating shelves mounted on the wall are a hot trend. End the backsplash below the shelf line for a streamlined look. Similarly, low backsplashes highlighting decorative niches or windows draw the eye upwards.
In small kitchens, shorter backsplashes prevent claustrophobia. Minimal hood vent backsplashes leave room for decorative tile only where needed. Even a standard 4-inch height refreshes the space above a dated backledge.
Creative Starting Points and Finishing Lines
The journey from backsplash beginning to end requires forethought. Map routes that complement your cabinets, walls, windows and appliances.
Backsplash Starting Points
Most backsplashes begin where vulnerable walls meet countertops. Aligning with the counter’s leading edge contains splashes. Starting at the base of wall cabinets provides another clean starting line.
For a seamless look, match the size, placement, and grout lines of any existing backsplash. Blend new and old materials with caulking or trim.
Backsplash Finishing Lines
Knowing where to stop your backsplash prevents awkward endpoints. Finish at the wall cabinet line for built-in elegance. Meeting a window trim neatly frames the view beyond.
Contain splashes by extending backsplash to the sink’s edges. Stove side splashes should protect surrounding walls too. Outlets, switches, and fixtures also provide logical stopping points.
Transitioning Materials Like a Pro
Designs combining materials demand careful blending. Matching grout lines and colors polishes transitions between tile, metal, and glass.
For clean edges, terminate backsplash with bullnose tile, lattice, or small trim strips. Caulk gaps between countertops and backsplashes for water resistance.
Prevent color or texture clashes by grabbing material samples. Natural light changes tones and finishes. Approve selections by viewing in the kitchen.
Tricks to Make Your Backsplash Shine
With endless options for materials and designs, it’s fun to get creative with stylish backsplashes. Use these tricks to make your backsplash the kitchen showstopper.
Mixing Materials
Blending materials adds depth. Combine glass and ceramic mosaic tiles or introduce metal trim to subway tile. Contrasting countertop and backsplash colors and textures prevents blah spaces.
Creative Shapes and Patterns
Jazz up backsplash materials with interesting layouts. Stunning chevron, herringbone, or geometric patterns intrigue. Ombre gradients fade light to dark. Metallic mosaics shine.
Statement Backsplashes
Make the backsplash the kitchen’s focal point with daring materials. Bold wallpaper designs enliven. Open shelving highlights a standout backsplash. Any of these tricks transforms the kitchen.
Backsplash layouts blend science and artistry. Master both with these common backsplash questions.
- Where should backsplash end next to stove?
- What height for backsplash with granite countertops?
- Should backsplash go to ceiling if kitchen has high ceilings?
- How do I finish backsplash edge next to window?
With smart planning and design, your kitchen backsplash protects, impresses, and delights. Use these backsplash tricks to highlight your personal style while keeping the function you need.