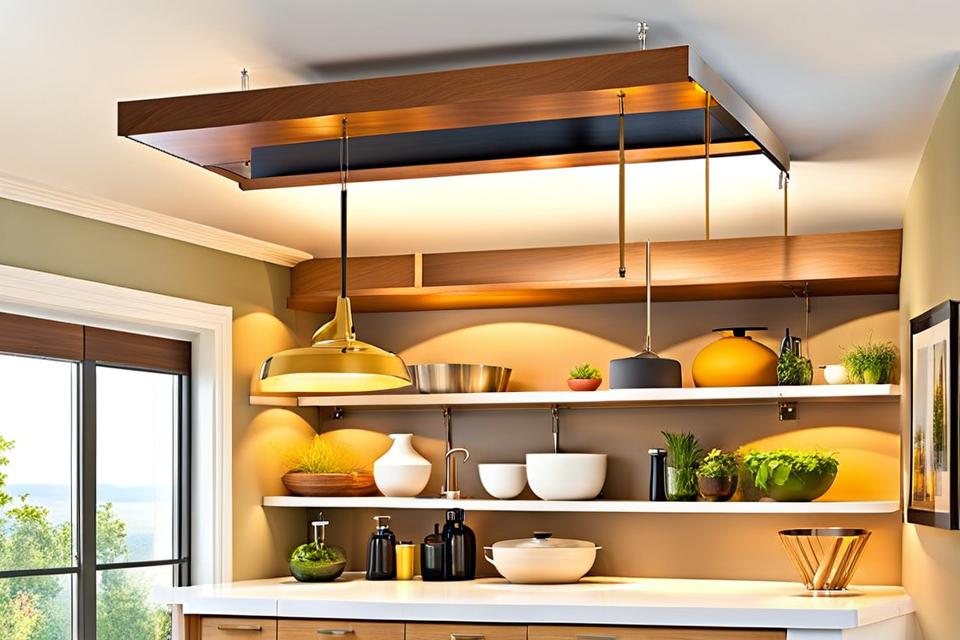
Ceiling Shelves - An Easy DIY Solution For More Kitchen Storage
Are you struggling to fit everything into your kitchen cabinets? Is clutter taking over your counters because you're short on storage space? Installing shelves on your kitchen ceiling can provide the extra room you need, without costly renovations or remodeling.
Hanging shelves from your ceiling is an affordable and straightforward way to maximize unused vertical space. Ceiling shelves allow you to store, organize, and display items right above your existing cabinets and counters. This practical storage hack instantly increases your kitchen's storage capacity without expanding its footprint.
Maximize Underutilized Space With Overhead Storage
Many kitchens have high, vacant ceilings that go overlooked when it comes to storage potential. Hanging shelves utilise all that wasted overhead space to expand your kitchen's storage vertically. You can install them above islands, sinks, stoves - wherever you have room to spare above eye level.

Since they don't take up valuable floorspace like new cabinetry would, ceiling shelves are ideal in compact galley kitchens. They make smart use of the "negative space" that's already available in your existing layout.
Increase Storage and Create Easy-Access Displays
Hanging shelves open up storage real estate to store small appliances, cookware, dishware, cooking ingredients, and other kitchen essentials. Get them up off your counters while keeping them conveniently within arm's reach.
Wall-mounted shelves are also perfect for displaying decorative accents. Show off your vintage dishware, cookbook collection, or fruit in hanging baskets. Positioning displays closer to eye level makes them more visible and less likely to get buried inside cupboards.
A Budget-Friendly Kitchen Storage Solution
Unlike expanding your cabinetry or kitchen footprint, installing overhead shelves is a cost-effective way to gain storage. Materials like brackets, boards, chains and hooks are inexpensive, especially if you use repurposed wood.
With basic DIY skills, you can complete this project yourself over a weekend. No need to hire contractors for complicated installations. Ceiling shelves are quick and easy for most homeowners to tackle.
How to Plan Your Hanging Kitchen Shelves
Careful planning ensures your new ceiling shelves fit your space properly and meet your organizational needs. Keep these considerations in mind when deciding on placement, size, and materials.
Map Out Shelf Location and Clearances
First, map out potential locations in your kitchen's ceiling to install shelves. Avoid installing directly over high-traffic zones, which could lead to bumped heads. Allow for enough clearance so shelves don't interfere when opening cabinets or moving around the kitchen.
Make sure you can comfortably access and reach the items you intend to store overhead. Measure how far you can extend your arm upward to determine ideal placement height.
Select Shelf Types and Dimensions
Floating shelves offer a lightweight, minimalist look. Or get enclosed utility shelves for hidden storage. For heavy-duty storage, sturdy wood or metal shelves can hold more weight. Glass shelves maintain an open, airy look. Mix and match to suit your purposes.
Measure your available ceiling area to calculate appropriate shelf dimensions. Standard widths are commonly 12 or 16 inches deep. Make shelves long enough to utilize the space without overcrowding.
Obtain Mounting Hardware and Building Materials
Ensure brackets or chains are load-bearing enough to handle the weight of shelf plus items. Anchors must be suitable for your ceiling type - drywall, plaster, concrete, etc. Use wood boards, salvaged wood, or readymade shelf panels.
You'll also need basic installation tools - drill, stud finder, level, screwdriver, ladder. Make sure you have all necessary materials before starting.
Installing Ceiling Shelves in 4 Simple Steps
With the right preparation, hanging overhead shelves is a straightforward DIY project. Follow this process to securely mount shelves on your kitchen ceiling:
1. Locate and Mark Studs
Find ceiling studs using an electronic stud finder. Mark the center of each stud bay with painter's tape or pencil. Studs provide the strongest support for anchoring shelves securely.
2. Mount Shelf Brackets
Hold a bracket to a stud mark and drill pilot holes for screws. Use at least two screws per bracket. Double check brackets are level using a leveling tool before loading shelves.
3. Set Shelves onto Brackets
Place shelves onto corresponding brackets gently. Verify shelves sit level and stable. Add anti-tip supports if needed for extra stability with heavy loads.
4. Load and Style Shelves
Start loading lighter items first, distributing weight evenly. Style shelves to keep frequently used items handy. Show off decorative accents in prime visibility.
Get Organized with Your Newfound Space
Tackling an overhead storage project opens up new organizing potential. Take full advantage by using these tips:
Categorize Items Strategically
Designate shelves for specific item types or usage frequency. Place everyday dishware on the most accessible shelves. Store rarely used items further back.
Maximize Vertical Storage
Use vertical space efficiently with risers, tiered shelving, or hanging baskets. Store stacks of plates, bowls, and pans on their sides.
Display Meaningful Items
Show off prized cookware, collectibles or decorative accents. Highlight displays with pendant lighting for extra panache.
FAQs About Installing Kitchen Ceiling Shelves
Are ceilings sturdy enough to hold shelves?
Most modern ceilings can support overhead shelves when mounted properly into studs. Floating shelves are quite lightweight. Heavier duty shelves may require added reinforcement.
What about kitchen grease and moisture buildup?
Vent range hoods help minimize grease accumulation. Place shelves away from high heat or steam. Wipe surfaces regularly to avoid buildup.
Securely attaching brackets to studs provides the most shear strength. Use at least 2 brackets per shelf for stability. Overloaded shelves can tip, so distribute weight evenly.
Ceiling shelves unlock your kitchen's hidden potential for extra storage and organization. With some DIY skills and the right materials, you can install this handy overhead storage hack in your own kitchen. Get ready to declutter counters and maximize vertical space by letting your ceiling work harder!