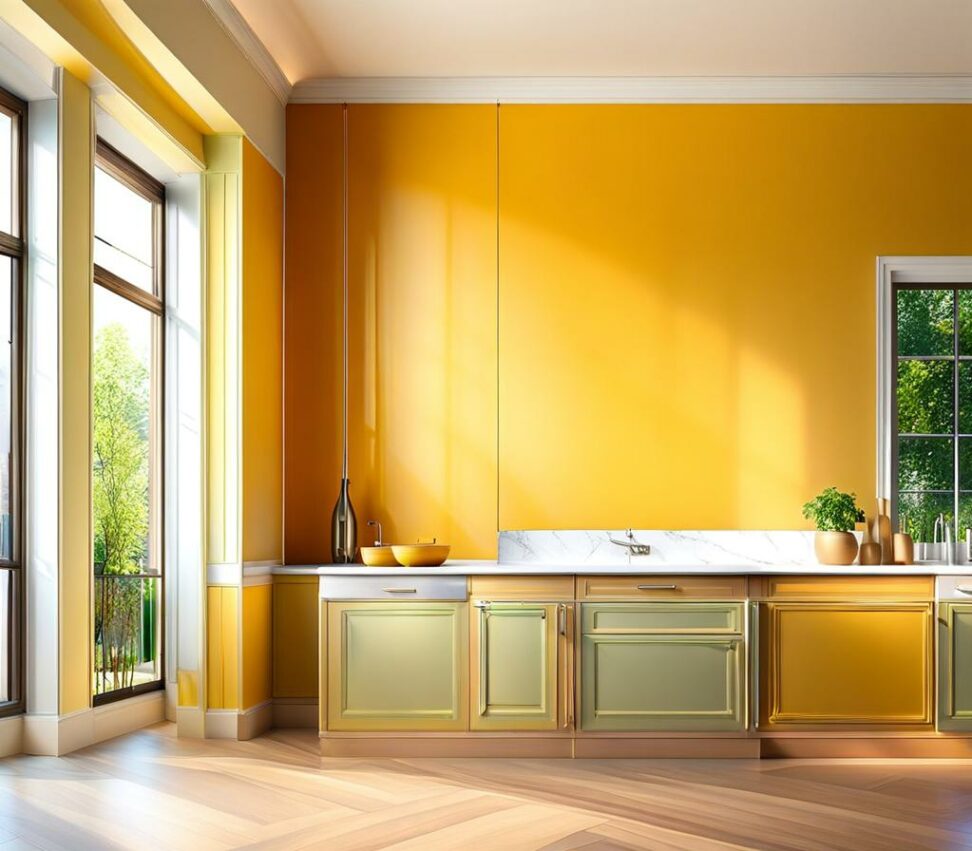
Choose the Perfect Paint for Your Kitchen Walls
Giving your kitchen a fresh new look doesn't have to be difficult or break the bank. With the right paint and prep, you can easily transform those dull, dated walls into a stunning backdrop. The key is choosing a paint that will hold up to the mess and moisture inherent in kitchens.
When researching paint options, consider how much use your kitchen walls endure daily. From splattering oils to clinging humidity, kitchen paint must be more mold-resistant, washable, and stain-resistant than other interiors. The good news is many budget-friendly latex and acrylic options now offer those resilient features in a wide range of sheens and colors to suit any style.
Assess Your Kitchen's Existing Walls Before Painting
To choose the best kitchen paint, start by looking closely at your existing walls. Note any problem areas of damage, glossiness, or stains bleeding through. Test for lead if working in an older home. Check corners, near plumbing, and under sinks for any sign of mold or mildew which must be killed and cleaned before painting.

It's also wise to verify wall material. Drywall, plaster, concrete, and wallpaper each require specialized paint treatment. The condition of walls will steer important choices like primers and paint types needed to prep for your kitchen's new look.
Select Paint Colors Carefully for Kitchen Walls
When deciding on color for kitchen walls, mood and purpose should guide your palette. Light, neutral tints prevent closed-in feeling and hide stains but may show dirt. Richer tones like berry or navy feel cozy but can make small kitchens seem smaller. Consider undertones too. Cool blues or grays recede while warm reds and yellows invites socializing.
Collect real paint swatches to view colors in your specific lighting. Test samples on walls to judge the look. Note how the swatch color changes throughout the day. Photograph the samples to see how they render on camera before finalizing the perfect shade.
Calculate How Much Paint Is Required for Kitchen Walls
To quantify how many paint gallons you need, carefully measure each wall's height and width. Windows, doors, and unpainted areas get subtracted from the total square footage. For average smooth walls, 1 gallon of paint covers 400 square feet. Textured or porous surfaces require extra paint to achieve full coverage.
Order more than precisely calculated. It's smart to have leftovers for future touch-ups. Unused paint stores well for years if correctly sealed and labeled for the right room.
Proper Prep Work Maximizes Paint Adhesion on Kitchen Walls
Any paint, no matter the quality, fails without proper wall prep. Start by washing kitchen walls using trisodium phosphate (TSP) or other degreaser to cut any existing grease and grime that prevents adhesion.
For glossy walls, liquid deglosser is a must to etch the slick surface so new paint can grab. Fill dents, cracks, and holes with spackle allowing complete drying before sanding smooth. Unpainted drywall or repaired spots often need priming too.
Protect Kitchen Surfaces When Prepping to Paint Walls
Carefully cover kitchen floors, countertops, and cabinets with drop cloths during your wall painting project. Use painters tape for clean edges along ceilings, trim, and any dividing wallpaper. Number outlet covers to ensure reinstalling in the same spots.
Remove cabinet doors/knobs, light fixtures, and window treatments. Gather painting supplies like trays, rollers, brushes, and pans to have handy. Any prep saves hassle and clean up time later.
Spot Prime Kitchen Walls Before Painting Where Needed
Certain areas prone to bleed-through may need spot priming even on previously painted walls. Nicotine stains, water marks, grease, ink, and permanent marker require a stain-blocking primer coat for the new paint to look its best.
Unpainted patches you spackled and sanded also need priming or the topcoats won't look even. primer seals raw drywall for a smooth painted surface. Use primer tinted close to your topcoat color for optimal coverage.
Picking the Best Kitchen Paint Type and Finish
Choosing the right kitchen paint means considering paint type and finishes. Most experts recommend washable latex or acrylic paints for kitchen walls over oil-based options. Latex dries faster, with less odor, and easily cleans up with soap and water compared to oil-based.
For finish sheen, satin and eggshell paints better resist moisture and stains than flat or matte paints. Semi-gloss works on high-impact areas but gives an ultra-shiny look. Prioritize paint with mold/mildew inhibitors.
Added Features Like Scrubbability and Low VOCs
Seeking out kitchen paint with certain extra features ensures walls stay looking freshly painted longer. Look for durable, scuff-resistant paints that allow scrubbing to remove stains and scuffs without damaging the paint.
Low-VOC options also make a kitchen healthier by limiting exposure to fumes during and after painting projects. Always check labels for volatile organic compounds (VOCs) levels to pick the least toxic quality paint for your home.
Applying Kitchen Wall Paint for Flawless Results
Once you have your paint and supplies, focus on technique for a smooth, lasting finish. Use angled brush to carefully "cut in" edges along ceilings and trim before rolling larger wall sections. Apply in a V or W back & forth motion to avoid drips.
Let the first coat dry completely before adding the second finish coat. Two coats gives full coverage to hide old colors and any repairs made. Following drying times prevents tacky areas. Proper application leaves your newly painted kitchen walls gleaming.
The first month after painting, gently clean surfaces using only soft microfiber cloths and mild soap. Avoid abrasive scrubbing while the paint fully cures. Small chips or marks can be easily touched up then.
Expect to repaint kitchen walls more often than other rooms, about every 3 to 5 years. Routinely check corners, behind appliances, and near sinks for any moisture damage or yellowing. A fresh coat of paint restores the kitchen again and again.