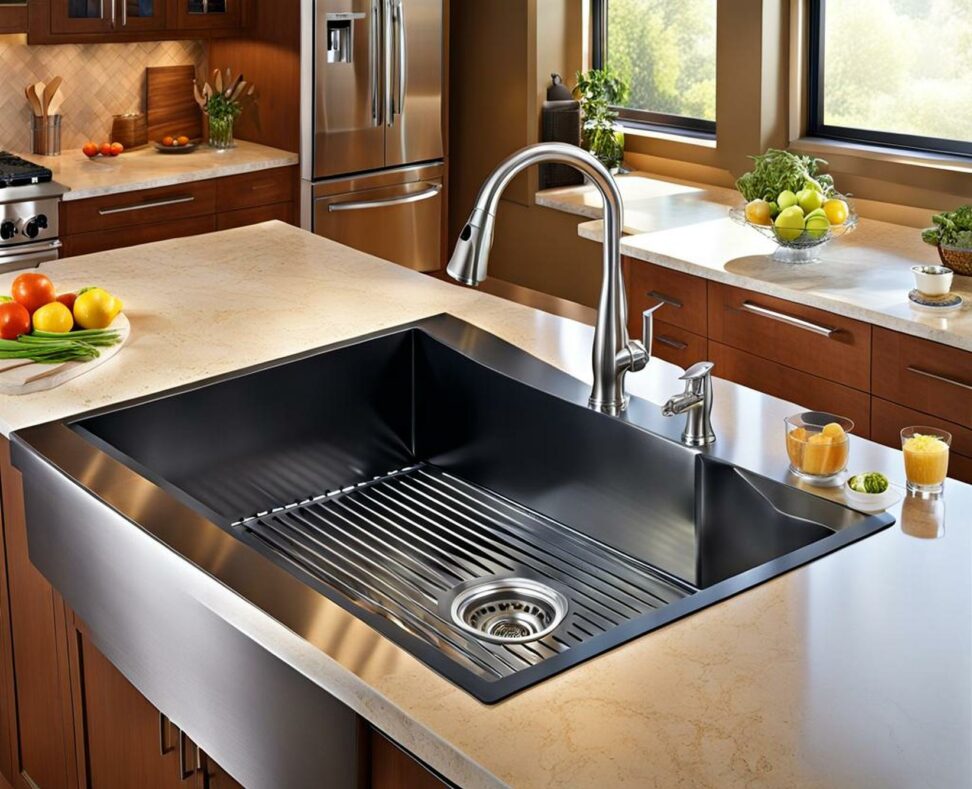
Choose the Perfect Prep Sink to Match Your Kitchen Island Style
Adding a prep sink to your kitchen island provides convenience and style while optimizing your culinary workflow. But with so many options, selecting the ideal prep sink requires careful consideration of your needs and kitchen decor.
Assess How You'll Use Your Prep Sink
Before selecting a prep sink, consider how you'll utilize it. Will it be used mainly for washing fruits and vegetables, thawing meats, cleaning dishes, filling stockpots, or prepping multiple ingredients? Envision your meal prep process and how a prep sink can streamline tasks.

If multiple cooks will use the kitchen, ensure the sink accommodates more than one person. Larger, deeper sinks allow washing larger items with minimal splashing. If you mainly need a space for handwashing and small tasks, a compact sink will suffice.
Determine the Ideal Size
Standard prep sink sizes range from 10 to 18 inches wide. Smaller 10-12 inch models are great for tight spaces, while larger sinks handle bigger washing tasks. Consider your available space and intended uses.
For filling stockpots and washing large produce, a minimum 16-inch width is recommended. Deep, sloped-bottom sinks are also beneficial for avoiding splashes.
Pick the Right Placement
Prep sinks are often placed at the end of an island near the stove for convenient access while cooking. This positioning leaves ample counter space for meal prep.
For a streamlined aesthetic, install your prep sink in the middle of the island. Take into account traffic flow and seating so it doesn't get in the way.
Select Your Ideal Prep Sink Style
Prep sinks come in a range of styles to match your existing decor or create a focal point with the island design.
Compare Mounting Options
Self-rimming sinks simply drop into the counter opening. Undermount sinks attach below for a seamless look. Apron-front sinks make a statement with the basin protruding from the front.
Consider Material and Finish
Stainless steel is a popular choice for a modern, industrial vibe. Enameled cast iron offers a glossy, vintage appeal. Composite materials like quartz blend in seamlessly with stone countertops.
For traditional aesthetics, opt for fireclay or hammered copper. Nickel, chrome, and matte black finishes add stylish accents.
Evaluate Specialty Features
Look for a gently sloped bottom to prevent water from pooling. Drain grooves guide water toward the drain. An offset drain creates more usable space.
Some prep sinks integrate accessories like sliding cutting boards, colanders, and drying racks for a multifunctional workspace.
Choose a Faucet Style and Finish
Select a prep sink faucet tailored to your functionality and design needs. Gooseneck and commercial-style faucets offer excellent clearance for filling pots. Bridge faucets make a sophisticated statement.
Look for finishes like brushed nickel or matte black to match your sink and hardware. Touch-free, filtration, and sprayer options add convenience.
Coordinate with Your Existing Decor
Match your prep sink faucet finish to other fixtures for a cohesive look. A faucet style that complements your main kitchen faucet brings everything together.
Mind Your Clearances
Check the faucet height and reach to ensure you have room for washing large items. A swivel spout offers additional flexibility.
Specialty Faucets
For high-tech functionality, explore faucets with touchless activation, pull-down sprayers, or voice control. Filtration and temperature display integrate advanced features.
Accessorize for Enhanced Utility
Sink accessories transform your prep space into a multifunctional kitchen assistant. Colanders, cutting board inserts, dish racks, and drying mats maximize functionality.
Optimize Drainage
A drainboard provides a convenient landing pad for washed produce. An overflow drain prevents water from spilling over the sink's edge.
For catching scraps, add a basket strainer or garbage disposal. Plan for these extras when selecting your sink size.
Expand Your Work Surface
Roll-up plastic drying mats or wooden cutting boards that slide over the sink opening give you extra prep surface when needed. Stainless steel colanders fitted to the sink add built-in straining.
Match Your Island Style
Choose a sink size, shape, material, and finish that coordinates with your kitchen island design and decor. An ornate farmhouse apron-front sink pairs perfectly with a rustic wood island, while a streamlined stainless steel model aligns with contemporary designs.
Mind the Details
Make sure the faucet, hardware, and lighting complement your sink selection. Nickel or bronze finishes work for traditional aesthetics, while matte black or chrome have a more modern appeal.
Add Interest
Consider an unexpected pop of color with your sink choice to make your island a focal point. Or pick a hammered copper sink for artisanal flair. Contrasting countertops also draw the eye.
Select the Right Sink Base
Your prep sink requires proper support and installation to function optimally and prevent leaks. Choose a solid wood, laminate, or stainless steel base specifically designed for your sink's dimensions.
Allow Room for Plumbing
Make sure the base cabinet leaves clearance beneath the sink for water supply lines, drains, and P-traps. Drawers may need to be omitted from under the sink base.
Reinforce Support
The base should fully support the weight of a filled sink. Consult your contractor about adding reinforcement braces or extra corner legs if needed.
Consider Customization
For a perfect fit, have a carpenter build a custom sink base to your specifications. This allows tailoring the size, fixtures, and cabinetry details.
With an attention to your prep tasks, design style, and installation needs, it's easy to integrate a stylish, functional prep sink into your kitchen island. Take the time to find the ideal size, configuration, and aesthetics for your space.
With the proper prep sink, you can experience the benefits of streamlined workflow, increased hygiene, easier collaboration, and a conversation-worthy kitchen centerpiece.