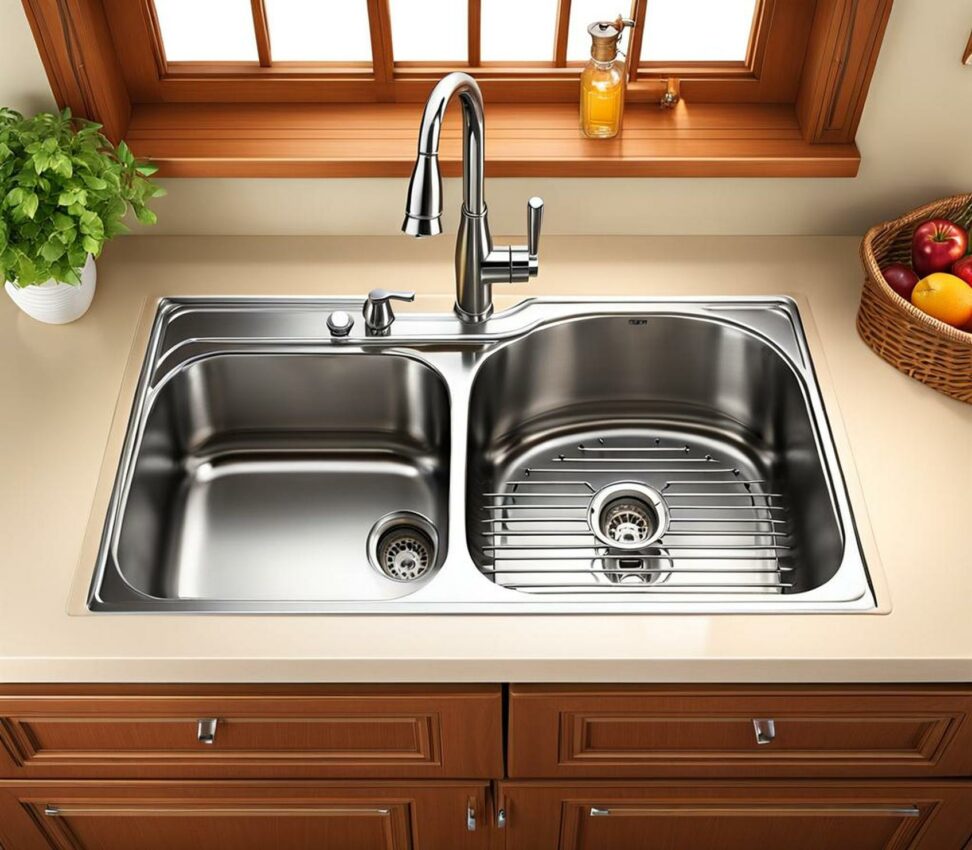
Clogged Sink Driving You Crazy? How To Install A Kitchen Sink Drain Kit With Dishwasher Connection
Is your kitchen sink constantly clogged and slow draining? Do you spend way too much time plunging and snaking the drain trying to get water to flow? Installing a new sink drain kit can solve persistent clog and drainage issues. With a few tools and supplies, you can upgrade your old drain yourself in just an hour or two.
You'll learn how to remove the old assembly, attach the new basket strainer, connect the tailpiece and dishwasher hose. Follow along to fix your slow drains for good.

Tools and Materials You'll Need
Before starting, gather the necessary tools and parts for the job:
- Basket strainer
- Sink tailpiece
- Slip nut and friction washer
- Dishwasher connector hose
- Adjustable wrenches
- Channel lock pliers
- Hacksaw
- Plumber's putty
- Bucket
- Towels
- Teflon tape
You'll likely need to make a trip to the hardware store. Bring photos of your sink and existing setup. Knowing the exact measurements for your drain and tailpiece ensures you buy compatible parts.
Prepping the Sink
With your supplies ready, start by disconnecting and removing the old drain assembly:
- Locate the shut off valves for the water supply lines under the sink and turn them off.
- Place a bucket under the trap to catch water. Unscrew the trap from the drain tailpiece.
- Unscrew the coupling nut and lift out the old basket strainer. Thoroughly clean the sink hole of any putty.
Applying Plumber's Putty
With the sink hole prepped, it's time to install the new basket strainer. But first, you need to seal the strainer to prevent leaks.
To do this, roll plumber's putty into a rope and press it around the rim of the strainer hole. Use enough to form a complete seal between the strainer and sink.
Inserting the New Strainer
With the putty in place, insert the new strainer into the sink hole from above. Center it correctly over the hole.
Underneath, slide the friction washer over the strainer threaded section, followed by the slip nut. Tighten the nut several rotations clockwise until snug.
Don't over tighten, as this can crack the sink. Just tighten enough to lightly compress the putty for a watertight seal.
Connecting the Tailpiece
With the basket strainer secured, now connect the tailpiece:
- Measure from the strainer to where you want the tailpiece to end. Mark and cut with a hacksaw if needed.
- Apply Teflon tape around the threaded end of the tailpiece.
- Thread the tailpiece end into the bottom of the basket strainer. Hand tighten clockwise until snug.
Attaching the Dishwasher Connector
Finally, connect the dishwasher drain hose. Locate the dishwasher drain port and attach the 90 degree connector hose end. Connect the hose end with the utility clamp to the tailpiece.
Finishing Touches
With assembly complete, finish up:
- Turn on water supply and check for leaks.
- Run water into the sink and check for proper drainage.
- Allow plumber's putty to fully dry before using the sink, usually 24-48 hours.
- Reconnect p-trap and supply lines.
Troubleshooting Common Problems
If you run into any issues, here are some potential solutions:
- Leaky strainer seal: Tighten nuts more or reapply putty.
- Clogged tailpiece: Disassemble and clean out debris.
- Leaky hose connection: Tighten clamps or replace worn gasket.
- Slow drainage: Loosen slip nut or clear debris from pipes.
With your new kitchen sink drain installed, just perform periodic maintenance to keep it working properly for years. Remember to:
- CheckPutty seal and retighten if needed.
- Clean basket strainer regularly.
- Clear debris from tailpiece.
- Replace worn out parts over time.
Installing your own sink drain kit is a gratifying DIY project. Following this guide, you can upgrade your sink drainage for less cost than hiring a plumber. And you gain the confidence to tackle other household fixes yourself. With the right parts and tools, it's straightforward and simple.