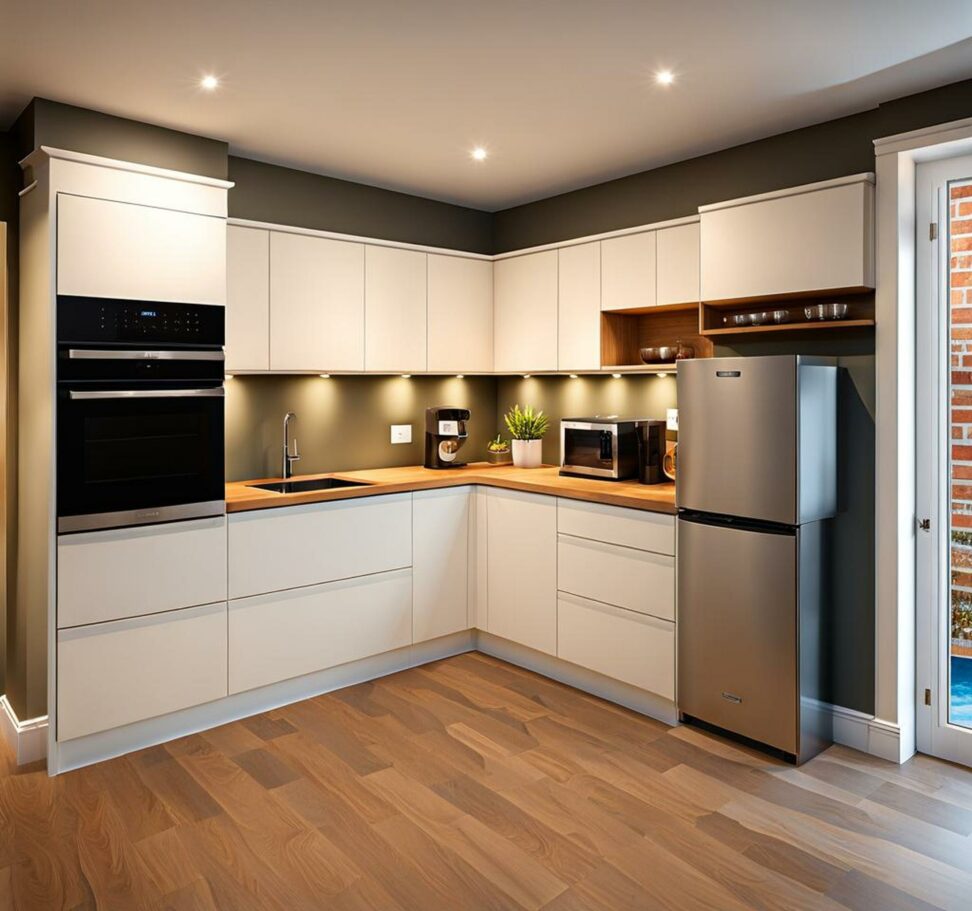
Design an Efficient L Shaped Basement Kitchen in 6 Simple Steps
Transforming your basement into a spacious, efficient kitchen starts with an L-shaped layout. With counters wrapping two adjacent walls, this versatile design maximizes your available space for cooking, entertaining, and storage. By following a few key steps, you can create a basement kitchen with an optimal workflow and plenty of room for multiple cooks.
Below we'll explore the 6 essential steps to designing a high-functioning L-shaped basement kitchen that looks amazing too.
Step 1: Plan the Layout
When designing your L-shaped basement kitchen, first sketch out ideas for the layout. Consider how you naturally move when preparing meals and washing dishes to optimize the workflow. Position the refrigerator, ovens, and stovetop along one leg of the L. Locate the sink and dishwasher along the other leg for efficient clean-up.

Allow ample room to navigate around islands or peninsulas. At least 42-48 inches of clearance is ideal for multiple cooks. Place microwave, coffee maker, and other specialty appliances for convenient access.
Appliance Placement
Strategically place appliances in your L-shaped basement kitchen to maximize efficiency. Position the refrigerator at the top of the L near frequently used workstations. Ovens and stovetops also work well along one leg. Locate sinks centered on the other leg with dishwashers nearby. This layout minimizes cross-traffic and unnecessary steps.
Microwaves and coffee makers are often situated on the island, peninsula, or along the inner curve of the L for easy access. Careful appliance placement streamlines cooking and clean-up.
Island or Peninsula
Including an island or peninsula adds valuable prep space and seating to an L-shaped basement kitchen. Islands measuring 48-60 inches wide allow room for stools and circulation. Peninsulas around 36 inches deep double as casual dining bars. Customize islands in creative shapes like circles or U-shapes.
Islands and peninsulas require adequate room for comfortable navigation—at least 42 inches of clearance. Equip your island with ample electrical outlets and fixtures to allow for food prep appliances, pendant lighting, etc.
Step 2: Select Flooring
Choosing the right basement flooring is key in busy kitchens. Look for durable, water-resistant materials like tile, luxury vinyl plank, or laminate. Tile comes in endless colors, patterns, and sizes to suit your style. Vinyl plank mimics wood looks while resisting moisture. Laminate is budget-friendly but less waterproof.
Consider how potential floorings coordinate with your cabinetry, counters, and backsplashes. Matching your floors and cabinetry creates a cohesive look. Just ensure the flooring can withstand spills, splatters, and heavy foot traffic.
Step 3: Install Storage Solutions
No kitchen can have too much storage space. Maximize every inch with a walk-in pantry, tall corner cabinets, deep drawers, and pull-out shelves for easy access. Lazy susans and vertical organizers are great for blind corner areas. Multi-tiered racks provide extra space for spices, cookbooks, or small appliances.
Islands fitted with lower cabinets and overhangs for barstool seating are another excellent storage solution. For trash and recycling, build a custom kitchen cabinet with separate bays and pull-out bins.
Maximizing Corner Storage
Take advantage of often underutilized corner space with storage solutions designed specifically for angles. Lazy susans allow easy access to items in blind corner cabinets. Vertical dividers double storage capacity. Carousels bring cabinets contents right to you.
Leaning wall ladder racks are ideal for bulky pots and pans while keeping them within reach. Every inch of corner real estate in an L-shaped basement kitchen can be leveraged with creative storage ideas.
Step 4: Choose Countertops
Countertops influence the look, durability, and functionality of your L-shaped basement kitchen. Granite's classic beauty and durability make it a timeless option. Quartz mimics granite and marble but requires less maintenance. On a budget? Laminate counters offer an inexpensive alternative.
Select your edge style based on seating space and overhang requirements. A beveled edge softens and finishes countertops nicely. An overhang of 10-14 inches accommodates bar stools. Coordinate your counters with backsplashes like tile, glass, or stainless steel.
Step 5: Update Lighting
Proper lighting transforms any basement kitchen. Use a combination of task lights for food prep, ambient overhead fixtures for general illumination, and accent lighting to create ambiance.
Undercabinet LED strip lighting brightly illuminates countertops and work zones. Slim LED tubes shine down from above inside cabinets, replacing shelves. Mini pendant lights add stylish task lighting over islands and bars.
Step 6: Ensure Proper Ventilation
Nothing destroys a kitchen's appeal faster than lingering odors and humidity. An appropriately sized range hood effectively removes grease, smoke, and moisture. Ducted hoods vent outside while ductless models filter and recirculate indoor air.
Consider a downdraft ventilation system for island stove tops. Strategically place ceiling fans to keep air circulating. High-tech air purifiers also refresh and deodorize basement kitchen air.
By planning a smart layout, choosing durable finishes, maximizing storage, selecting upscale counters and backsplashes, lighting with care, and ventilating properly, your basement is destined to become the ultimate L-shaped kitchen. Gather inspiration from the latest innovations and trends to design an L-shaped basement kitchen perfect for entertaining and everyday meal prep.