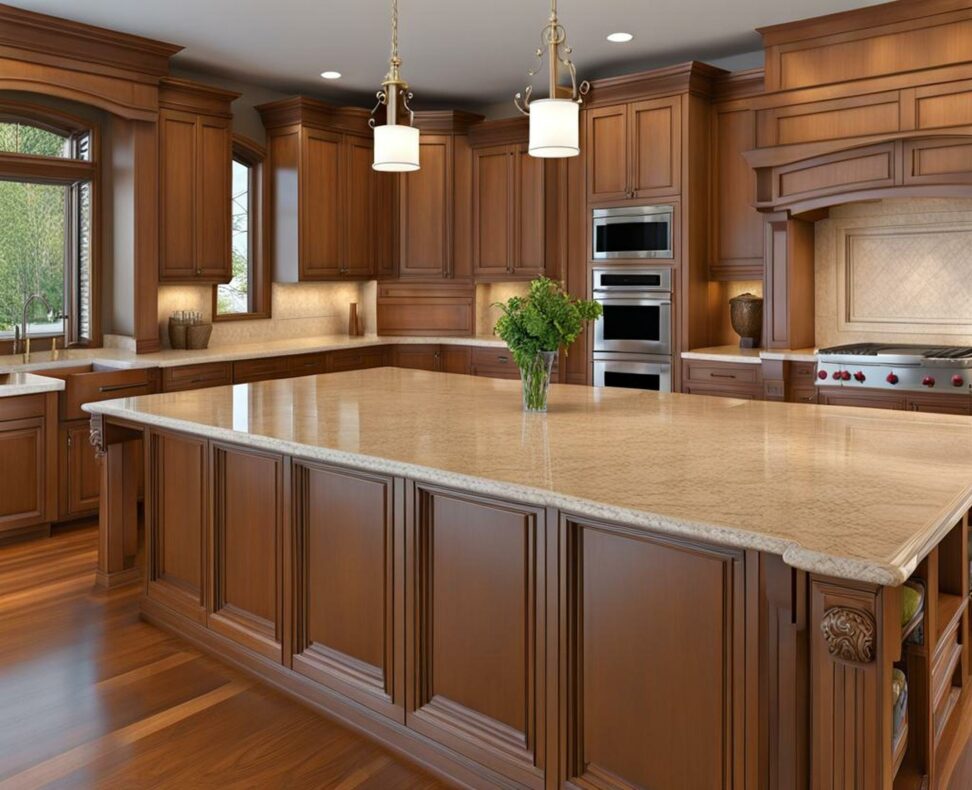
DIY Guide to Installing Corbels on Your Kitchen Island
A kitchen island with corbels can take your cooking space to the next level. These architectural supports add visual interest while providing structural integrity for countertops and shelves. While many homeowners hire pros, installing corbels on a kitchen island is a rewarding DIY project.
With proper planning and tools, you can choose and mount corbels to create a custom look.

Choosing Corbels to Match Your Style
Corbels reflect a wide spectrum of styles, from ornate and traditional to sleek and modern. Consider the look you want before choosing a design.
For contemporary kitchens, metal brackets with clean lines provide an industrial vibe. Wood corbels in oak or maple with subtle grain patterns also work well. Classic styled kitchens can opt for heavily carved wood or decorative iron scrolls and curls.
Beyond aesthetics, ensure corbels suit their structural purpose. Larger islands and heavyweight countertops need corbels made from dense hardwoods or steel to bear the load.
Where to Shop for the Perfect Corbels
Big box hardware stores offer affordable corbel options in standard sizes and materials. For more variety, check specialty woodworking and home decor shops. Online retailers also provide an immense selection of corbel designs and customization.
Bring measurements and photos of your space when shopping in person. For online buying, carefully review product dimensions and material specifications before purchase.
Pre-Installation Preparations and Safety
Installing corbels requires careful prep and caution to avoid accidents.
Gather Supplies
Having the right tools on hand prevents delays and frustrations.
- Safety gear: gloves, eye protection, dust mask
- Measuring tape
- Level
- Pencil
- Drill/drivers
- Construction adhesive
- Anchor bolts
Refer to the manufacturer's instructions for corbel specific supplies. For wood, have wood filler and paint/stain ready for finishing.
Safety First
Use a helper when lifting large corbels into place. Clear the installation area of trip hazards. Follow ladder safety rules when working at height. Wear eye and ear protection when drilling or hammering.
Installing Wood Corbels on Your Island
Most wood corbels designed for kitchen islands include some basic mounting hardware. Follow these steps for proper placement and security.
Start by measuring and marking corbel locations, evenly spaced for stability. Use a level to double check.
Apply adhesive to the back contact area before lifting corbels into place. Have someone help support heavier corbels from below while fastening.
Pre-drilled pilot holes allow screw anchors to grip tightly. Sink anchors deep into cabinet framing for strength. Wipe away any excess adhesive squeeze-out.
Fill screw holes with matching wood filler and sand smooth. Stain or paint corbels to match cabinets. Finally, seal with polyurethane for protection.
Installing Metal Brackets
Metal corbels need proper anchoring to bear weight. Mark locations with a punch or center point bit before drilling clearance holes.
Use high-strength fasteners and anchors suited for the substrate. Screw anchors into wall studs when possible. Toggle or sleeve anchors provide grip in drywall or masonry.
Check that corbels sit flush and level. Use shims as needed between the wall and corbel. For added security, use construction adhesive compatible with the materials.
Finishing Touches to Showcase Your Corbels
Decorative touches allow corbels to enhance your design vision. Play with paint or stain colors for wood corbels. Or try framing metal corbels with floating shelves.
For added visual appeal, mount decorative lights or floating shelves to corbels. Just be careful not to exceed the weight capacity.
Pretty barware, cookbooks, or colorful jars and containers are easy ways to dress corbels with style. Let your corbels become a personalized part of your kitchen!
Maintaining Structural Integrity Over Time
Improper corbel placement or installation issues can lead to loss of structural support. Prevent problems with careful planning and periodic checks.
Stagger corbels evenly to distribute weight across multiple supports. Avoid overloading corbels beyond capacity.
Inspect for signs like sagging, cracks, or gaps indicating movement. Reinforce loose corbels immediately to prevent damage.
If unsure about structural integrity or installation, consult a professional builder or contractor for assessment and repairs.
Caring for Your Corbels
Regular cleaning and upkeep helps corbels maintain their beauty while guarding against deterioration.
Dust wood corbels frequently and clean with mild soap and water. Re-apply protective sealer annually. Watch for cracking finishes that require sanding and re-staining.
Clean metal corbels with gentle cleaners and avoid abrasives. Use touch-up paint on scratches immediately to prevent rust. Treating metals with annual sealer maintains sheen.
Check corbels twice a year for signs of wear or damage. Make repairs promptly to get the longest life from your investment.
Corbels elevate kitchen islands in endless eye-catching ways. Browse these stunning examples to fuel your design plans.
Opt for an eclectic mismatched look with painted and stained wood corbels in white, gray, and darker wood tones. Or create drama with oversized carved wood corbels.
Modern islands pop with sleek stainless steel L-brackets. Or mix materials with wood shelf corbels and metal scrollwork supports.
Whatever your kitchen's style, corbels make it uniquely you. Now that you know how to install them safely, you can create your dream look.