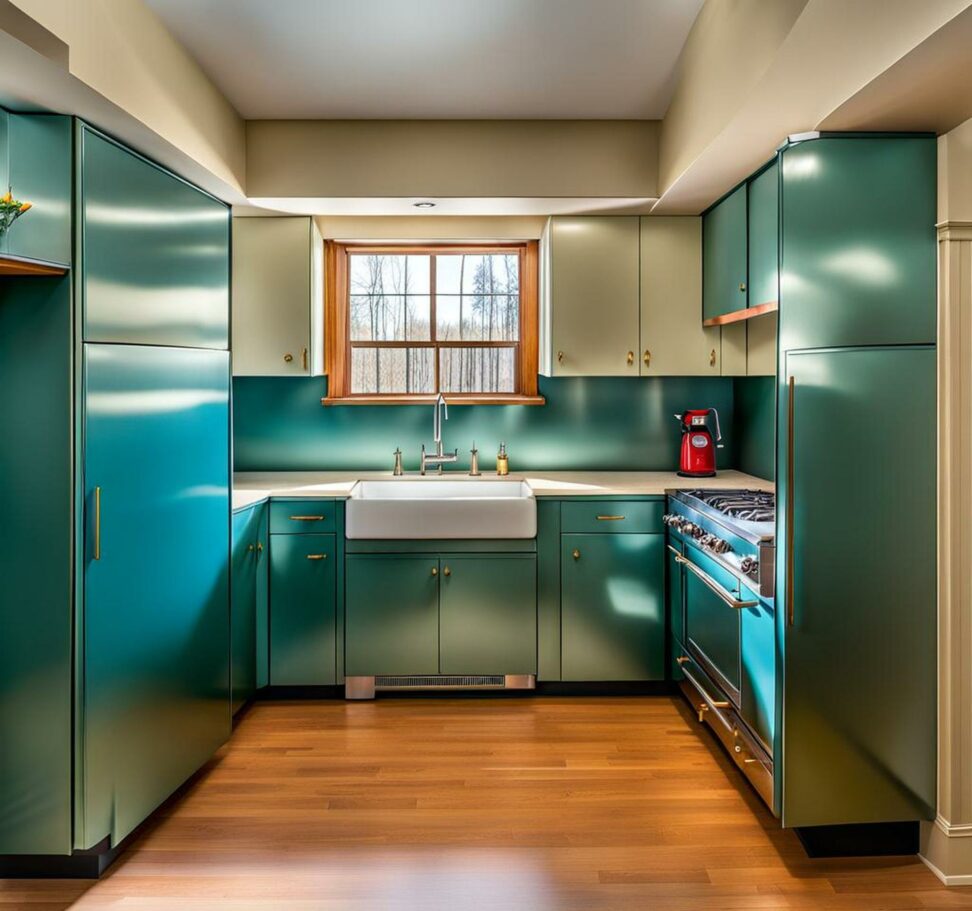
DIY Refinishing 1950s Metal Cabinets for a Modern Vintage Kitchen
With their sleek retro lines and cheerful pops of 1950s turquoise, mint green, and sunny yellow, vintage metal kitchen cabinets evoke midcentury style in a wonderfully nostalgic way. But while the old-school look is back in vogue, the conveniences of a modern kitchen are tough to give up. Refinishing those classic enameled steel cabinets yourself can give you the best of both worlds—the vintage appeal you crave with the functionality you need.
Refinishing cabinets is far more affordable than a full-on kitchen remodel. And with the right products and techniques, you can strip or restore worn vintage metal cabinets and give them a like-new sheen. Paired with period-perfect hardware and stylish touches like hairpin legs, your refreshed 1950s metal cabinets will infuse your space with retro charm.

1950s Metal Kitchen Cabinet Styles and Details
Before diving into a refinishing project, it helps to understand the iconic look of 1950s metal kitchens. Mass-produced postwar, these cabinets featured streamlined silhouettes that aligned with midcentury style. Available styles included single door cabinets, double door cabinets, cabinets with porcelain sink/drainboard combos, and large pantry closets.
Hardware details really defined the look, with kidney bean-shaped pulls, curved latches, and oversized hinges contributing to the retro aesthetic. These cabinets made practical use of metal like steel, chrome, and enameled metal which could be easily cleaned. Unique touches like metal legs hint at midcentury influence.
Youngstown, General Electric, and Other Brands
The most iconic 1950s metal cabinet brand was Youngstown. Their enameled steel, available in a range of 1950s colors, had rounded corners and an ultra-streamlined form. General Electric also produced popular metal kitchen cabinets, as did brands like Heartland and Charles of the Ritz.
When sourcing vintage cabinets for a refinishing project, sites like Etsy and eBay are a good bet. You’re likely to find great deals on salvaged sets. Local antique shops and classified ads are other places to watch for vintage Youngstown, GE, or other brand cabinets ripe for refinishing.
Plan Your 1950s Metal Kitchen Cabinet Refinishing Project
With the right prep work, you can ensure your refinishing project goes smoothly. Carefully evaluate the condition of any cabinets you purchase, and formulate a plan tailored to their needs.
Evaluate Condition and Make Repairs
Examine cabinets closely for any rust spots, dents or holes that need patching, and damaged or missing hardware that needs replacing. Make any essential structural repairs before cosmetic refinishing. Check drawers for signs of warping and to ensure they slide smoothly after decades of use. Rewiring may be needed if your vintage cabinets have built-in electric features.
Choose a Refinishing Method
For metal kitchen cabinets, you have two main refinishing options. For a total transformation, you can sand down the cabinets and repaint them. Be sure to use bonding primers formulated for metal. Or for a quicker update, you can use metal paint restoration products that are designed to renew old finishes.
Either way, choose a color scheme that reflects 1950s style, like robin’s egg blue, daffodil yellow, or pale pink. Opt for two complementary colors for a more dynamic look. Just be mindful not to overload on too many loud midcentury colors.
Select New Hardware
Updating old cabinets with perfect period-style hardware is one of the best ways to nail the retro look. Look for kidney, boomerang or oval-shaped pulls in metal finishes like chrome, brass, or antiqued bronze.
For a contemporary twist, glass knobs also pair well with vintage metal. Or integrate a few modern bar pulls to blend old and new.
Style for a Cohesive Look
Beyond the cabinets themselves, choose complementary elements like hairpin legs, open shelving, retro tile, and midcentury-style pendant lighting. Built-in features like appliance garages and lazy susans also keep the 1950s functional vibe.
Refinishing Steps and Process
Once you’ve prepped your cabinets and gathered supplies, you’re ready to tackle the refinishing process. Here are the basic steps:
1. Clean Surfaces
Start by cleaning all surfaces thoroughly to remove grease, dirt, and grime. For vintage enameled finishes, use milder cleaners and avoid abrasives.
2. Remove Existing Finish
If repainting, sand down the existing finish to create a smooth surface for new paint. Use paint stripper to fully remove old paint if needed. Or for restoration products, simply clean and lightly scuff.
Take proper precautions when working with chemicals like paint stripper by wearing gloves and working in a well-ventilated area.
3. Make Any Repairs
Once existing finish is removed, fix any holes, dents, or other flaws with metal epoxy or fillers. Replace any damaged hinges, latches or pulls.
4. Prime and Paint
For repainting, apply a bonding primer formulated especially for metal. Follow with two coats of paint in your chosen 1950s color. Allow proper dry time between coats.
For restoration products, simply follow the product directions. Most involve just spraying on, then wiping to reveal a refreshed finish.
5. Seal and Protect Finish
Seal repainted cabinets with a protective clear topcoat like polyurethane. For restored metal, apply paste wax to protect the finish and leave a nice shine.
6. Reinstall Cabinets and Hardware
Once fully dry, you’re ready to re-hang your renewed vintage cabinets and add updated hardware. Add any new fittings like shelves, legs, or small appliances to finish the look.
When styling your refinished 1950s metal cabinets, you can easily strike the right balance between old and new. Mix timeless hairpin legs and classic hardware with contemporary brass accents. Glass front cabinets lend breezy contrast to solid metal.
Paint the lower cabinets in a retro color, then opt for clean white uppers. Open shelving gives a more modern, airy vibe. Incorporate playful pops of sunny yellow or turquoise in the backsplash tile and textiles.
The brilliance of vintage metal kitchen cabinets is they provide a blank slate for creativity. With a DIY refinishing project and some stylish accents, you can refresh tired old cabinets to achieve the perfect modern vintage kitchen.