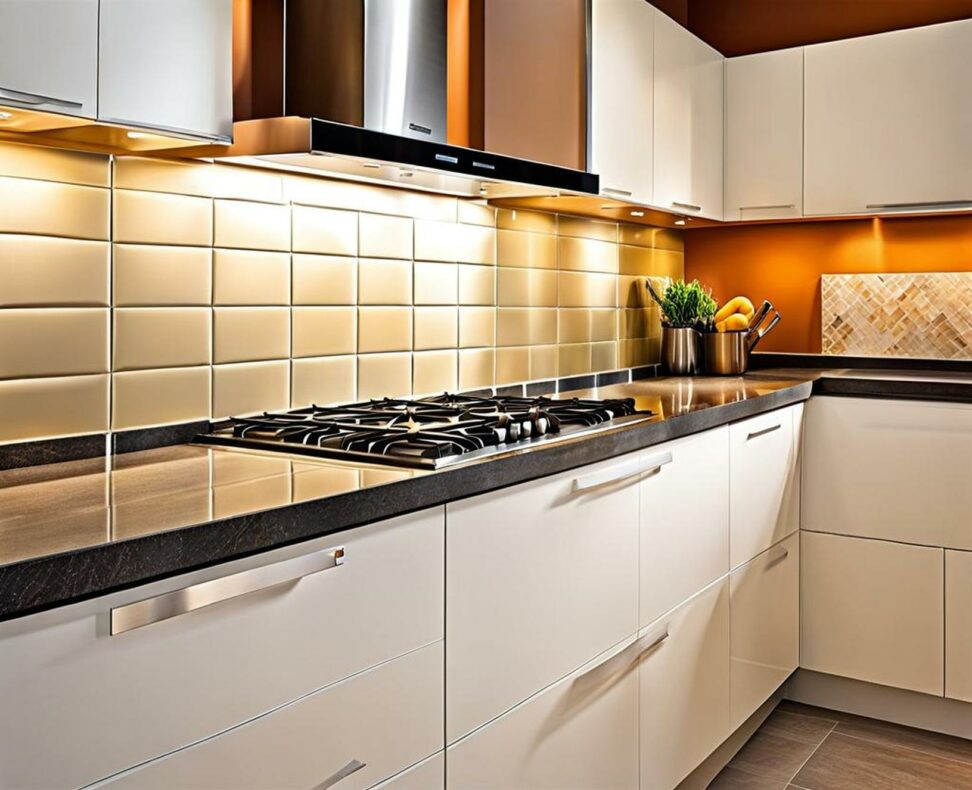
Easily Design and Install Your Dream Kitchen Tile
Installing tile on your kitchen backsplash can transform the entire look of your cooking space. With the right planning and DIY approach, you can easily design and install a kitchen backsplash tile that matches your style and personality.
The key to success is properly preparing your work area, understanding the tile layout process, and taking care with precise cutting and placement. With some basic tools, quality tile, and these step-by-step instructions, you’ll gain the confidence to install an eye-catching, durable backsplash tile on your own.
Plan Your Kitchen Tiling Project
The first step is deciding on the look you want to achieve. Consider the size, texture, color, and pattern of the tile. Contrasting shapes or mixing tile materials can create interest. Decide whether you want uniform, repeated tile or a unique layout. Order extra tile to accommodate cuts and breakage.
Then gather all the necessary supplies. The tile itself comes in many options - ceramic, porcelain, glass, and natural stone. Purchase tile adhesive, grout, a grout float, spacers, and any specialty cutting tools needed. A notched trowel allows even adhesive spreading. Have rubbing alcohol, buckets, sponges, and cleaning products on hand.

Assemble Tools and Safety Equipment
It’s essential to gather basic equipment like tape measure, level, pencil, and chalk line for marking measurements. Have a utility knife for scoring tile and snapping pliers to break pieces cleanly. Gloves, goggles, and knee pads make the installation process safer and more comfortable.
For intricate cuts, a wet saw with a diamond blade ensures precise cuts. Wear eye and ear protection when using power tools. Have a small bucket nearby to catch cooling water drips.
Prepare the Installation Area
Protecting your counters, appliances, floors, and walls prevents adhesive and grout from staining surfaces. Cover countertops with cardboard and secure with painter’s tape. Mask off appliances and cabinetry with plastic sheets.
Clean the installation area thoroughly to remove grease, dirt, and old caulk. Apply a coat of primer or sealer if the wall requires it so the adhesive bonds tightly. Allow any primer or sealer to dry completely before tiling.
Map Out Your Tile Layout
Mark a level line at the lowest point you want tile. Measure up from countertops or cabinets to set upper edges. Use a level and chalk line to map vertical and horizontal points. Dry lay tiles to visualize spacing and orientation before installing.
Start tile in the center and work outward. Adjust as needed before permanently adhering tiles. Leave even 1/8 inch spacing between tiles with plastic spacers.
Cut and Place Tile Pieces
For outlets, edges, and around irregular objects, make custom cuts before setting tile. Mark and score the tile face with a cutter. Snap downward to break cleanly. For intricate shapes, use a wet saw.
Spread adhesive evenly across the wall area using a notched trowel. Apply additional adhesive to tile backs before placing, known as “back-buttering.” This improves adhesion. Press tiles gently but firmly in place, using spacers to maintain even grout lines.
Work methodically and check levelness periodically. Allow adhesive to cure fully before grouting - usually 24 to 48 hours. Going slowly leads to a flawless finished product.
Grout Seams for a Polished Finish
Grout fills the seams between tiles, finishing off your backsplash. Use a rubber grout float to spread grout, pressing it deeply into gaps. Holding the float at a low angle prevents dragging the grout out.
Wipe diagonally across the tiles with a damp sponge to remove excess grout. Avoid wiping too aggressively during this step. Allow grout to cure fully according to manufacturer instructions before using the backsplash. Sealing grout afterwards can protect from stains.
With proper planning and care, installing your own kitchen backsplash tile yields stunning results. Precise tile cutting and spacing creates a professionally finished look. Maintain your new backsplash by promptly cleaning spills and sealing grout over time.
Let your completed tile project inspire ideas for tiling other areas like bathrooms, fireplace surrounds, and accent walls. With the right materials, tools, and techniques, you can achieve the custom backsplash design of your dreams.