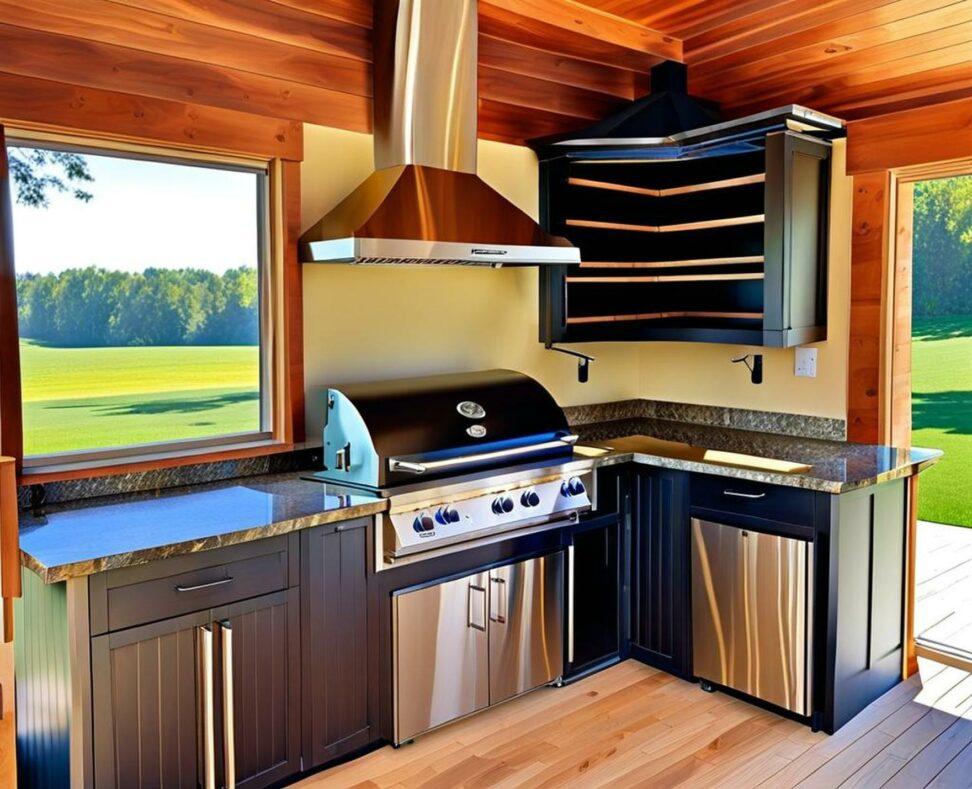
Follow Our Step-By-Step Guide to Assemble an Outdoor Kitchen Frame This Weekend
Tired of takeout dinners or crowded indoor kitchens when entertaining guests? Building your own outdoor kitchen frame allows you to extend your living space and cooking abilities. With the right plans, even beginners can assemble a functional outdoor cooking area in just a weekend.
In this DIY guide, we'll walk through the entire process of constructing a durable, customizable outdoor kitchen frame. No prior carpentry skills are required! With simple tools and materials, you can create the perfect outdoor oasis for backyard barbecues, summer parties, and relaxing meals al fresco.

Design and Plan Your Outdoor Kitchen Layout
The first step is deciding on the right size and configuration. Outdoor kitchens come in all shapes and sizes, from petite grill carts to sprawling entertainer's paradises. Consider how much counter space you need for food prep, storage, and seating. Popular options include:
- Straight island frame - One long counter great for grilling.
- L-shaped frame - Provides an extra side for appliances and storage.
- U-shaped or squared frame - Maximize counters and access on three sides.
Make detailed drawings of your ideal outdoor kitchen complete with measurements. This helps estimate how much framing lumber, hardware, and countertop material you'll require. Also determine if you'll need access to utilities like electricity or water.
Pick the Right Location
Choose a flat spot in your yard that gets sunlight but offers shade in hot mid-day hours. The outdoor kitchen should have good drainage to prevent water pooling on counters and under appliances when it rains.
If possible, build it onto an existing patio or deck to provide a solid foundation. You can also pour a new concrete slab specifically for the outdoor kitchen.
Construct the Frame
Build the Base
Establish a level base for your frame using treated lumber or concrete deck blocks. Ensure the ground is compacted and cleared of any vegetation or debris beforehand.
Alternatively, pour a concrete slab or set concrete piers to support the frame. Incorporate proper drainage and grade the area away from the house.
Assemble the Wall Frame
Cut pressure-treated lumber to the correct lengths for the front, sides, and back of the frame. Use corner brackets, nuts, and bolts to fasten the pieces together. Verify the frame is square by measuring the diagonals - they should be equal.
Include additional support beams under countertops and bars. Consider adding framed-in columns on the open side to mount lights or overhead cabinets later on.
Add Countertops
With the underlying frame complete, take measurements and cut your countertop slabs to size. Popular countertop materials like granite, marble, andtile can be prefabricated offsite and installed once the base is ready.
For poured concrete and other materials, build the countertops directly onto the installed frame. Leave small gaps for appliances like grills and refrigerators to slide in.
Finishing Touches
The framing and countertops make up the core of your outdoor kitchen. From here, add custom cabinetry, lighting, electrical outlets, and plumbing as desired. Consider a built-in grill, mini fridge, sink, storage drawers, and prep space.
No permits are required for small DIY builds. Ensure all electric and gas hookups are handled safely by a professional.
Use weather-resistant and durable materials during construction. Annually inspect for any wear, damage, or leaks needing repair. Cover the kitchen or store appliances/accessories indoors during cold or wet seasons.
With some planning and elbow grease, you can construct a personalized outdoor kitchen frame in just a weekend using basic DIY skills. Soon you'll be hosting neighborhood cookouts and enjoying summer barbecues by your very own backyard oasis.