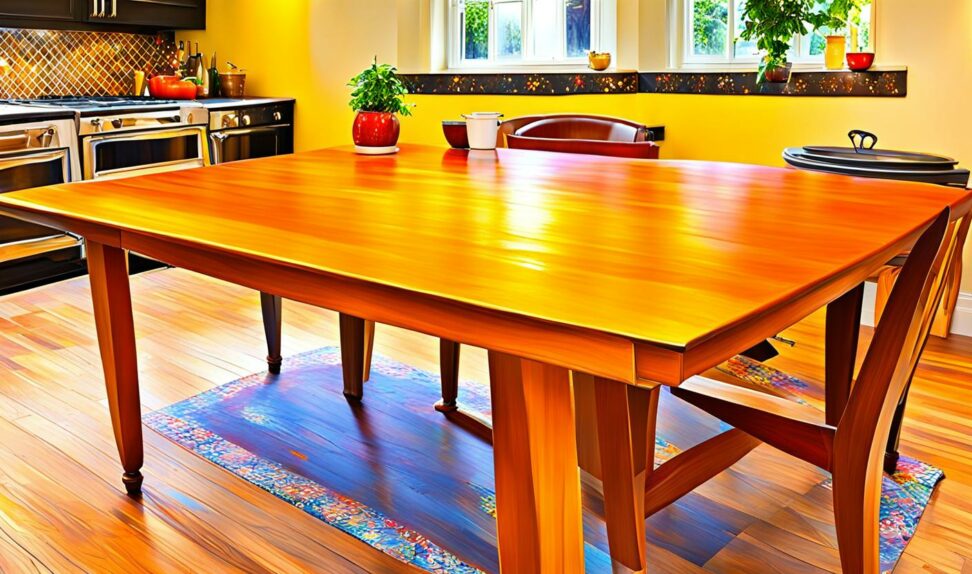
Get Creative! How to Paint and Customize a Kitchen Table
Do you have an old kitchen table that could use some personality? Painting a table is an easy and fun way to give new life to faded and dated furniture without having to buy something new. With a little creativity and the right materials, you can transform a basic table into a chic focal point that expresses your personal style.
Let's get started!
Gather the Essential Painting Supplies
Before you can begin painting, it's important to gather the necessary supplies to do the job right. Investing in high-quality painting tools and materials will make the difference between an amateur and professional looking paint job.

Choosing the Right Paint
There are a few main options when it comes to selecting paint for furniture projects:
- Latex paint - Latex is ideal for kitchen tables since it is durable, scrubbable, and resists stains. Look for an interior latex formulated especially for painting furniture.
- Acrylic craft paint - These provide excellent coverage for furniture makeovers and come in tons of stylish colors.
- Oil-based enamel - Enamel paint creates a hard, glossy finish but requires paint thinner for cleanup.
Consider whether you want a smooth glossy look or more of a homemade, distressed finish and choose paints accordingly. Satin or semi-gloss sheens are good all-purpose options. You'll also need paint applicators like quality brushes, rollers, trays, and drop cloths.
Prep Materials: Sandpaper, Primer & Polyurethane
In addition to paint, it's crucial to have supplies on hand for proper surface prep and finish protection. Here's what you'll need:
- Sandpaper in varying grits from coarse (80 grit) to fine (220 grit)
- Tack cloths for removing dust between sanding and painting
- Primer to help paint adhere evenly
- Polyurethane topcoat for protection after painting
Don't skip these important steps in the painting process. Investing in high-quality primer and topcoat will help your painted finish last for years to come.
Prepping and Sanding the Table
Before painting, it's essential to start with proper surface preparation to help the paint adhere well. Give your table a thorough cleaning using a deglosser or TSP substitute to remove any dirt, grease, wax or prior finishes.
Sanding Options
Next, determine the level of sanding you need to do. If you are painting over an existing finish, sanding down to the bare wood helps paint grip better. For a table in good condition, a quick scuff sanding to rough up the surface may suffice.
Use coarse 80 or 100-grit paper to remove old finish or stain, then work up to 150 and 220-grit for smoothness. Always sand in the direction of the wood grain. Finish by wiping away all dust with a tack cloth.
Masking Off Areas
Use painter's tape to mask off any areas you don't want painted such as table legs or trim. Cover surrounding surfaces with drop cloths. Proper masking and prep prevents drips and messy overspray.
Priming for Paint Adhesion
Primer creates an evenly coated foundation that helps paint stick to the table. Use a high-quality oil or latex-based primer formulated for furniture painting projects. Apply an even coat with a brush or small foam roller.
Let the primer dry fully before painting - this usually takes 2-4 hours. Lightly sand again with fine 220 grit paper to ensure a smooth surface. Wipe away any dust with a tack cloth before you start painting.
Painting Techniques for a Flawless Finish
Once your prep work is complete, it's time for the fun part - painting! Use these techniques for professional quality results:
Brushing and Rolling
A combination of brushing and rolling works great for furniture painting. Use an angled sash brush for corners and details. Then quickly roll larger flat areas with a foam mini roller to smooth out brush strokes.
Maintain a wet edge as you paint, overlapping sections to prevent lap marks. Brush and roll in the direction of the wood grain for a seamless look.
Spray Painting
For an ultra smooth finish, an HVLP sprayer applies paint evenly with no brush marks. Practice first on scrap wood to get the hang of spraying. Keep the sprayer 6-10 inches from the surface and spray in consistent overlapping passes.
Applying Paint Coats
Aim for 2-3 thin, even coats of paint rather than one thick coat. Allow proper drying time between coats to avoid drips and runs. Lightly sanding between coats helps the next coat adhere smoothly.
Getting Creative with Paint Techniques
One of the best parts of DIY painted furniture is letting your creativity shine through. Here are some fun ways to customize the look:
Two-Tone Designs
Paint the table base or legs a contrasting color than the top for extra dimension. Black or navy legs with a neutral tabletop look especially striking.
Artistic Details
Add painted patterns, shapes, or stenciled designs using painters tape and multiple colors of paint. Try chevrons, geometric shapes, or florals.
Distressing
For a vintage look, chip away some of the paint after drying using sandpaper or steel wool. Distressing lets the wood grain show through.
Colored Topcoats
Tint your clear topcoat with paint for a stained glass effect. Or use dark wax over chalk paint for an antiqued finish.
The final step is applying a clear polyurethane topcoat to protect your paint job. Water-based polyurethane dries quickly and makes an ideal topcoat for kitchen tables. Apply 2-3 thin coats with a foam brush, sanding lightly between each coat.
Let the table fully cure for several days before placing heavy items on it. Now you can relax and enjoy your beautifully transformed kitchen table!