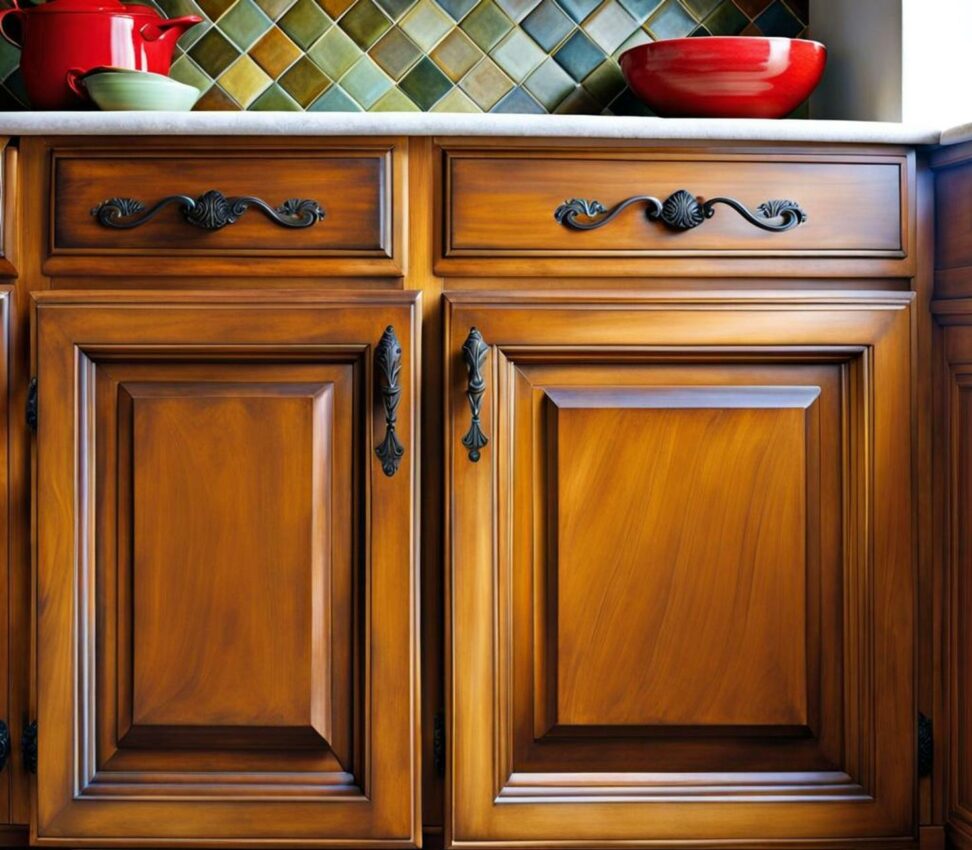
Get Creative with Chalk Paint - Detailed Tips for Kitchen Cabinets
Chalk paint has become an incredibly popular option for DIYers looking to transform their outdated kitchen cabinets on a budget. With a wide range of colors and finishes, chalk paint makes it easy to give your cabinets a fresh, customized look without the high cost of replacement. This post will walk through all the steps and techniques you need to know to get creative with chalk paint on your kitchen cabinets.
From proper prep work and application methods to distressing techniques and color ideas, you'll learn everything you need to complete your kitchen cabinet chalk paint makeover. Let's dive in!
Benefits of Using Chalk Paint on Cabinets
So why has chalk paint become the top choice for cabinet makeovers? Here are some of the key advantages:

- More affordable than replacing cabinets
- Transforms look without replacing
- No stripping required
- Wide range of colors available
- Can create distressed, vintage look
- Dries quickly for fast project
Since chalk paint can be applied directly over existing cabinet stains and finishes, you can easily refresh the look of your kitchen without taking on the large expense of replacing the cabinets. It's perfect for renters or homeowners on a budget!
Prep Work for Chalk Paint Cabinets
While chalk paint doesn't require as much prep work as traditional paint, taking the time to properly prepare your cabinets will help ensure the paint adheres well and provides beautiful, long-lasting results.
Cleaning
Start by removing all doors, drawers and hardware from the cabinets. Clean thoroughly using a TSP substitute or degreasing cleaner to remove any grease or grime that has built up over the years. This step helps the paint adhere properly.
Sanding
Next, lightly scuff sand the cabinets using 220 grit sandpaper. This roughens up the surface and opens the grain of the wood slightly for better paint adhesion. You don't need to completely strip down to bare wood, but some light sanding provides extra "tooth" for the chalk paint.
Priming
Priming before painting with chalk paint is optional, but recommended if you're covering a dark stain or wood tone. Water-based primers work best. The key is finding one that adheres well to shiny surfaces. Priming helps the chalk paint color go on more evenly.
Application Techniques for Smooth Finish
To achieve a smooth, professional-looking finish with chalk paint, pay attention to the tools and techniques you use to apply it:
Brushes
Use a high-quality, extra-firm synthetic bristle brush. This allows you to control the application and work the paint into grooves and detailed areas effectively. Disposable foam brushes typically don't provide as smooth of a finish.
Rollers
For flat cabinet door surfaces, a foam roller will help provide the smoothest finish. Unlike brushes, foam rollers limit the appearance of brush strokes and marks. Opt for a short nap roller made specifically for cabinets and furniture.
Thin Coats
Build up thin, even coats of chalk paint rather than trying to apply thick coats all at once. This avoids drips and brush marks in the finish. Thin coats also make it easier to distress and reveal wood tones underneath if desired.
Achieving Different Paint Finishes
One of the great benefits of chalk paint is the range of unique finishes you can create. Here are some tips for achieving different design styles:
Smooth
For contemporary kitchens, lightly sand between coats and finish with soft, even brush strokes. Protect with a layer of wax to add subtle sheen and a smooth finish.
Textured
A textured roller adds light texture for a more cottage-style look. You can also layer chalk paint colors to create a "chippy" finish that reveals multiple tones.
Distressed
Intentionally distress your cabinets after painting by lightly sanding edges and corners to break through the paint and reveal wood tones underneath. This creates a timeworn, vintage look.
Top Chalk Paint Color Choices
From light and airy to bold and dramatic, chalk paint offers endless color possibilities for your kitchen cabinets. Here are some of the most popular shades:
- Classic white, antique white
- Soft greys and blues
- Sage green, robin's egg blue
- Bold colors: navy, crimson, black
Your cabinet layout, countertops, backsplash and overall kitchen decor will help determine the best color scheme. Light, neutral shades tend to work well in most kitchens.
Protecting the Finish
Once your chalk paint cabinets are complete, you'll need to seal and protect the finish. Here are the most common top coat options:
Top Coat Options
- Wax (dark, clear)
- Polyurethane for durability
- Lacquer for shine
Applying Top Coat
Be sure chalk paint has fully cured before applying a top coat. Thin, even layers are best for smooth finish. Allow proper drying/curing time between coats as directed by manufacturer.
Maintaining Chalk Paint Cabinets
Caring for your chalk paint cabinets over time is easy. Gently clean with soap and water as needed. Avoid abrasive cleaners. Over time, reapply protective wax occasionally to renew the finish.
As you can see, chalk paint offers almost endless possibilities for upgrading your kitchen cabinets. With the right prep work, tools and techniques, you can achieve a smooth, professional finish that looks like you hired a painter. Or get creative with unique colors and intentionally distressed finishes.
Chalk paint is also extremely beginner-friendly. It levels out brush marks and imperfections better than traditional paint. So don't be intimidated to try these DIY painting techniques. With a little time and creativity, you can affordably transform the look of your kitchen in a weekend!