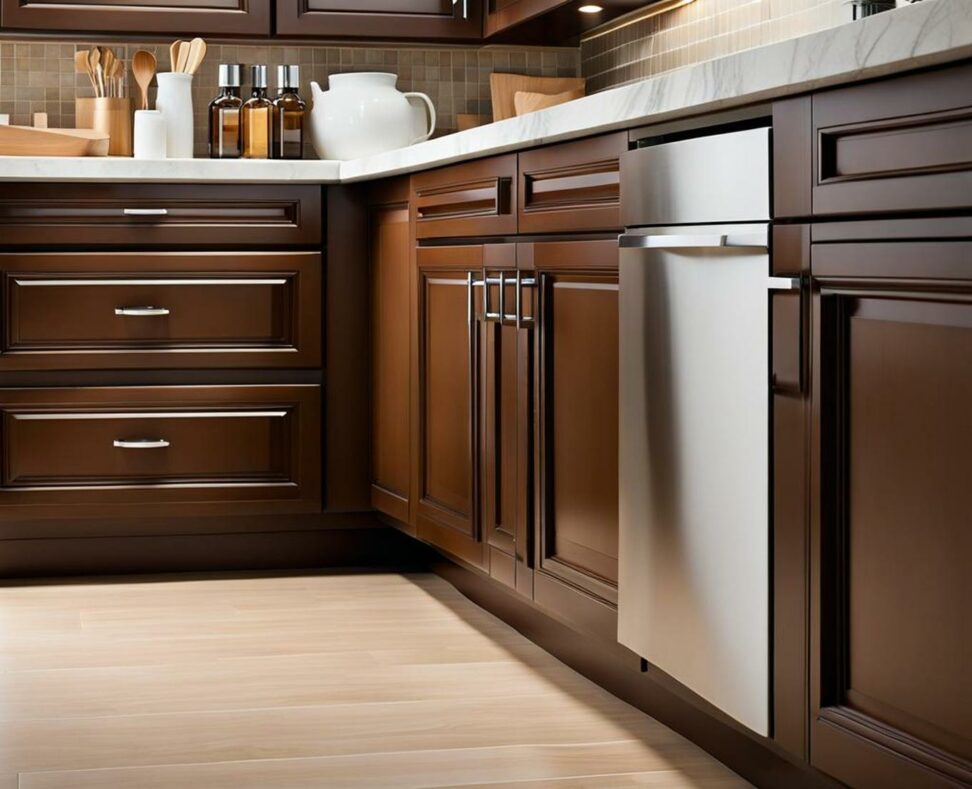
Get the Inside Scoop on Painting My Brown Cabinets White
If you're considering an inexpensive kitchen update, painting your outdated brown cabinets white can make the space look brighter and more refreshing without the hefty price tag of a full remodel. Transforming wood cabinets is popular, but to get great results there are important preparatory steps and maintenance considerations to factor in.
We've put together this insider's guide covering everything you should know before taking on a brown to white cabinet paint project.
Pros and Cons of Painting Brown Cabinets White
Painting over wood grain has clear aesthetic benefits, but also impacts how you'll need to care for your new white lacquered look going forward.
Benefits
Trading brown cabinets for crisp white makes kitchens appear larger and reflect more light. The clean look lifts and brightens the whole space. It can feel like a brand new kitchen for a fraction of replacement cost. Touch ups are also easier without noticeable wood grain.

Considerations
The downside is white shows dirt, dust, and grime very noticeably. Frequent cleaning is a must to maintain appearance. Extra care is also needed as marks and damage show more on light cabinets. Being prepared for vigilant upkeep is essential.
Prep Work - Keys to Success
Preparation sets the tone for how well your painted finishes will adhere, wear over time, and coordinate with other elements like existing white trim.
Cleaning
Thoroughly clean grime or greasy build up from cabinet surfaces using degreaser if needed. Proper cleaning clears the way for paint to bond tightly.
Sanding
Lightly sand surfaces to rough up glossy areas and open the wood grain for better adhesion. Sand down any damaged spots level so they don't show through the new paint.
Priming
Quality primer creates a uniform foundation and prevents bleed through from wood tannins later on. Using a primer fill small holes and creates a smooth surface for painting.
Painting Process Step-By-Step
With diligent prep work finished, now the transformation truly begins. Walk through each painting step slowly and methodically for best results.
Paint Selection
Consider sheen, quality, and durability when selecting cabinet paint. Satin and semi-gloss enamel offer appealing luster that holds up over time. Test your top color choices directly on cabinets before fully committing.
Labeling System
Number cabinet doors, drawers, and hardware as you remove them, making reinstallation smoother later on. Stay organized for an easier process.
Protection
Use painter's tape and drop cloths in surrounding areas to prevent accidental paint spray and overspray as you work. Taping off adjacent rooms keeps them clean.
Order of Operations
Paint interior cabinet boxes first, followed by exterior frame fronts, and doors/drawer fronts last. This workflow minimizes early damaged to dry painted sections.
Applying Paint
Use angled trim brushes for edges and foam rollers for broad surfaces when applying paint. Apply in thin, even coats allowing adequate dry time between them for ideal coverage.
Inspections
Inspect for drips, unevenness, or gaps after each coat, especially between primer and paint. Sand and recoat affected areas as needed to keep surfaces smooth.
Drying Time
Resist the temptation to rush the drying process. Follow manufacturer guidelines, allowing longer dry times between multiple coats.
Reinstall Hardware
Refer back to your labeling system to correctly realign every door, drawer and handles once painting is fully complete. Minor hinge/drawer adjustments may be needed.
Maintaining Your White Cabinets
Prep work and painting were just the beginning. Lasting enjoyment of your updated white kitchen depends on deliberately caring for it over time.
Cleaning Regimen
Daily and weekly quick cleanups curb dirt and dust buildup that shows plainly on white. Establish a cleaning routine right away to preserve their look.
Polishing
Over time painted finishes can become dull or develop minor scratches. Regular polishing restores luster and protects from further marking.
Promptly fix nicks, chips or scratches with touch up paint to prevent spreading and maintain a seamless white finish.
We hope these insider tips give you confidence to take the plunge and paint tired brown kitchen cabinets a fresh, bright white. With know-how guiding the preparations and maintenance, you can stylishly transform your space!