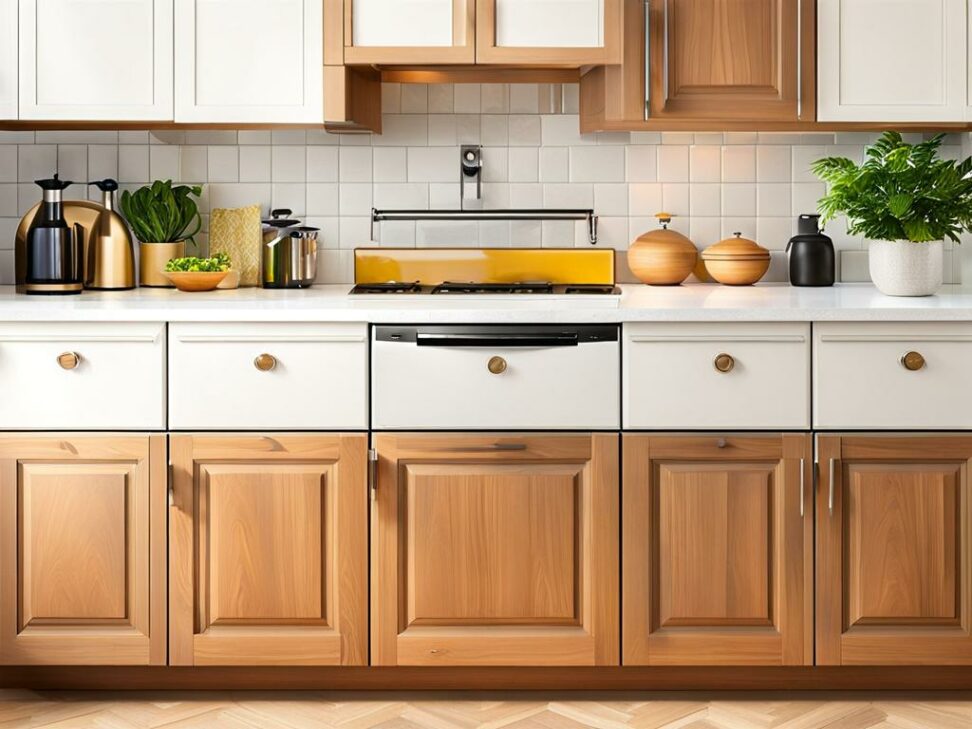
Give Your Kitchen a Makeover by Replacing Cabinet Drawers
Is your kitchen looking tired and dated? Do your cabinets feel dark and gloomy or your drawers stick and jam when you try to open them? Replacing your old, worn-out cabinet drawers can give your kitchen a whole new look and help make it a more enjoyable place to cook and spend time.
Upgrading to new, smooth-gliding drawer slides and refreshing your drawer fronts are inexpensive updates that make a big visual impact. And organizing the contents with handy built-in dividers and trays transforms messy cabinets into models of efficiency.
Reasons to Replace Cabinet Drawers
There are several great reasons to take on a drawer replacement project in your kitchen.

Improve Appearance
Simply switching out the visible drawer fronts is one of the easiest ways to change the look of your kitchen cabinets without a full remodel. You can match a new drawer front style to coordinated cabinet doors for a cohesive design. Refreshing the color through paint, stain, or new materials like thermofoil also provides an aesthetic boost.
Installing new bar pull handles or knobs in a finished metal or glass gives the final touch to tie everything together with a more modern, updated hardware style.
Enhance Organization
Beyond just appearance, new drawers also allow you to maximize your kitchen's storage efficiency. Add compartments, trays, and dividers to organize cooking utensils, cutlery, or baking pans so everything has a designated spot.
Customize the layout so everyday items are right at your fingertips. Keep contents visible so that frequently used spices, silverware, or other kitchen tools don't get buried and lost deep in a cluttered drawer.
Upgrade Functionality
Replacing old, sticky drawer slides with new hardware makes a huge difference in how smoothly drawers operate. High-quality ball bearing slides provide effortless open and close movement.
Soft-close slides prevent drawers from violently slamming shut. And full extension slides let you access the entire depth of the drawer without the interior getting stuck halfway.
Sturdier new drawer boxes made of plywood or solid wood will resist warping and sticking over time compared to particle board. Overall, the new components just work better.
Planning Your Drawer Replacement Project
Doing some upfront planning will ensure your kitchen drawer installation project goes smoothly and efficiently.
Evaluate Existing Drawers
Take a close look at your current drawers to identify any issues or opportunities for improvement. Test the slides by opening and closing - are they loose, sticky, or completely broken?
Inspect inside the drawer boxes for any cracks, water damage, or structural problems. And analyze how you currently use the drawer space. What's working well? What needs to be organized better?
Choose Replacement Components
For new drawer slides, look for heavy duty side-mounted options that are full extension and soft closing. Sturdy plywood drawer boxes with dovetail joinery will stand the test of time.
For drawer fronts, decide between affordable thermofoil, renewable solid wood, or shaker-style for a cottage look. Bar pulls, cutout pulls and knobs offer lots of hardware options to match your style.
And customize storage with handy drawer organizers. Consider cutlery dividers, spice trays, utensil inserts, or compartments for plates and lids.
Decide on DIY vs Hiring a Contractor
Factor in your skill level and tools required to decide if this is a DIY project or if you'll need to hire a carpenter. Estimate the total costs for purchasing replacement components either way.
Understand the time commitment for a DIY install - it could take 15-20 hours for an inexperienced person. Hiring a pro will cost more but be faster.
Removing the Old Drawer System
Taking out the existing drawer components is the first step toward your kitchen upgrade. Follow these steps to remove them safely without damaging your cabinets.
Detach Drawer Fronts
Locate any screws or nails through the inside drawer box and remove these first. Then slide the drawer out, lift up to detach it from the slides, and pull the drawer front away from the box.
Extract Drawer Boxes
Fully extend the slides, release them from the cabinet side walls, and remove any screws securing them. Lift the drawer box up and out from the cabinet's opening.
Take Out Slides
Push the slide arms in to clear the cabinet sides. Detach any remaining screws or brackets. Then remove slides through the open drawer space.
Installing the New Drawer System
Once the old system is removed, installing the new drawers is straightforward. Just reverse the steps!
Mount New Slides
Attach the new slides to the cabinet sides per the manufacturer's instructions. Confirm they extend fully without sticking or resistance.
Insert Drawer Boxes
Set the replacement drawer box on the extended new slides and push it back into the cabinet. Check alignment and adjust slides if needed.
Attach New Drawer Fronts
Pre-drill holes for the attachment screws. Install new hardware pulls on the drawer front if desired before attaching it. Hold the front in place and insert screws to fasten it to the drawer box.
Add Drawer Organizers
Take measurements and size specialized compartments and dividers for your needs. Insert trays, cutlery organizers, utensil inserts, and compartments. Customize the layout for optimal efficiency.
Replacing worn-out kitchen cabinet drawers is one of the easiest and most affordable ways to give your kitchen a fresh new look. Upgrading to smooth, soft-close slides and organizing interiors makes your cabinets more functional and pleasurable to use.
With some careful planning and elbow grease, you can tackle this project as a DIY weekend upgrade. Or hire a professional for fast, flawless results. Either way, you'll love entertaining in your revitalized kitchen.