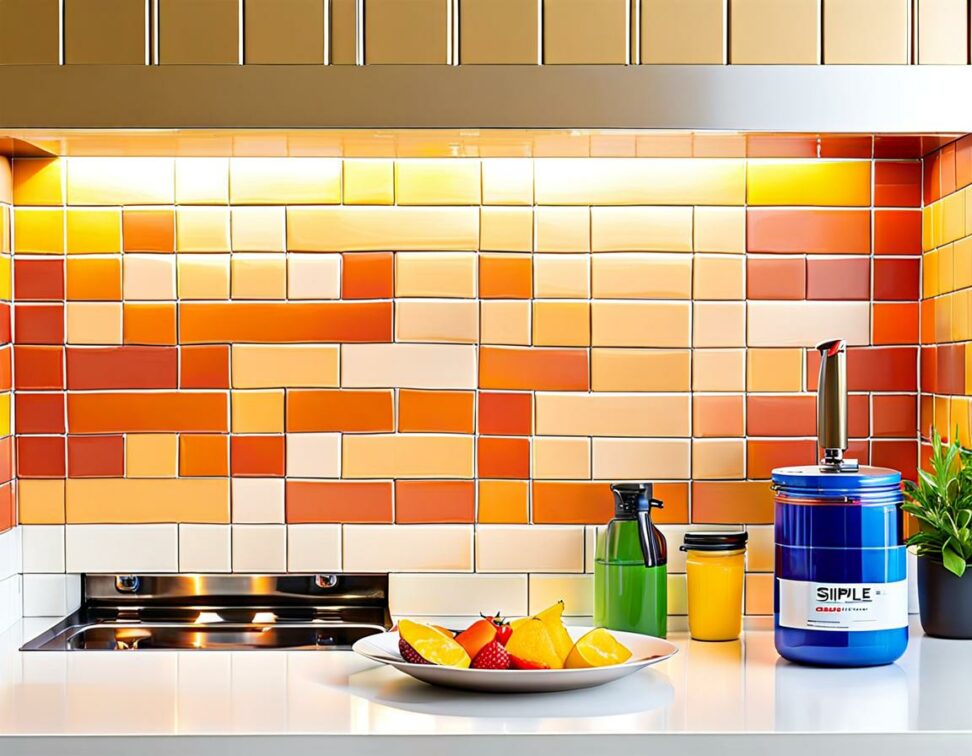
Give Your Kitchen Backsplash a Makeover With Simple Paint
Is your kitchen backsplash looking tired and dated? Installing a brand new backsplash can be expensive and time consuming, but you don't have to live with ugly tiles. With some simple paint, you can give your backsplash a budget-friendly makeover in a weekend!
Painting over the existing backsplash is an easy and affordable way to update the look of your kitchen without going through the hassle of ripping it out. Keep reading to learn everything you need to know to transform your backsplash with paint.
Assessing Your Current Backsplash
Before deciding if painting your backsplash is the right solution, examine what you currently have installed. Identifying the material, condition, and specific aspects you dislike will help determine if paint can provide the facelift you’re after.
What Type of Backsplash Do You Have?
The most common kitchen backsplash materials are:

- Tile - Ceramic, glass, mosaic, subway, etc.
- Stainless steel
- Laminate
- Other - Granite, wood, tin, etc.
Paint adheres best to non-porous surfaces like ceramic tile and stainless steel. It may not work as well on porous laminate or natural stone.
Evaluate the Condition
Examine your backsplash for any damage or flaws:
- Cracks, missing grout, holes - Paint could make these more noticeable
- Faded colors, scratches - Paint can cover up flaws
- Still structurally sound? - No loose tiles or moisture damage
Paint works best on tiles that are intact but aesthetically unappealing. address any underlying damage or moisture issues first.
What Don't You Like About It?
Identify what aspects of your current backsplash bother you the most:
- Dated color/style - Paint completely transforms color
- Too dark/bright - Lighten up with a lighter paint shade
- Clashes with cabinets/countertops - Coordinate paint color
If the main issue is color or style, paint can provide an easy fix. For other problems like material or layout, replacement may be better.
Prepping and Painting the Backsplash
With the right prep and painting technique, even beginners can achieve flawless results. Follow these steps for a smooth makeover.
Supplies Needed
Gather these supplies before starting:
- Latex paint in your desired color
- Bonding primer
- Angled brush for grout lines
- Paint roller and tray
- Rags, masking tape, sandpaper
- Silicone caulk
Specialty bonding primer allows the paint to properly adhere to slick surfaces like tile and metal. Pick latex paint for easier cleanup and low odor.
Prep Steps
Proper prep ensures your painted backsplash looks flawless:
- Clean thoroughly with degreasing cleaner
- Lightly sand glossy tiles to roughen up surface
- Wipe away all dust
- Apply bonding primer evenly and let fully dry
- Caulk edges, seams and gaps
Taking time to prep creates the best foundation for smooth, long-lasting paint results.
Painting Tips
Use these techniques for a professional-looking finish:
- Cut-in grout lines carefully with angled brush
- Roll larger tile areas for even coverage
- Apply two coats for best results
- Let dry 24 hours between coats
Don't rush through painting. Patience leads to a more polished finish. Let the paint fully cure before using kitchen again.
Finishing Touches
Final steps to complete your backsplash makeover:
- Apply clear sealer for protection
- Replace outlet covers, fixtures
- Touch up paint as needed
Sealing the paint gives it a subtle shine and protects from moisture and stains. Complete small touch ups to fix any imperfections.
Inspiring Painted Backsplash Examples
See how stunning painted backsplashes can look with these gorgeous kitchen examples.
Bold and Bright
Make a lively color statement by using vivid hues like emerald, sapphire or marsala for your backsplash paint. Contrast with neutral cabinets for pop.
Neutral and Subtle
For a more subtle look, opt for barely-there neutrals like greige, almond and mushroom. Coordinate with countertops.
Contrasting Tones
Try painting your backsplash a darker shade than your cabinets for definition, or vice versa. The contrast adds interesting dimension.
Problems and Solutions with Painted Backsplashes
While painted backsplashes are fairly low maintenance, possible issues can arise. Here are solutions for common problems:
Scratches and Marks
Over time, everyday use in the kitchen can lead to scuffs and scratches. Touch up with extra coats of paint in affected areas during routine maintenance.
Peeling/Flaking Paint
If paint starts peeling soon after application, the cause is likely inadequate prep and primer. Lightly sand, re-prime and repaint problem areas.
Grout Haze
Paint that gets onto grout lines can dry and leave a hazy finish. Remove with a soft sponge and water/vinegar solution.
Overall Fading
To keep your backsplash looking freshly painted, plan to recoat it with a fresh topcoat of paint every couple of years.
With just a little paint and elbow grease, you can quickly and affordably transform the look of your kitchen backsplash. No major remodeling or tile work required!
Refreshing your backsplash with paint can make the whole kitchen feel light, bright and brand new. See for yourself how simple yet dramatic the results can be.
Have you painted a backsplash or other kitchen surface? Share your amazing before and after photos! We'd love to see your gorgeous makeovers.