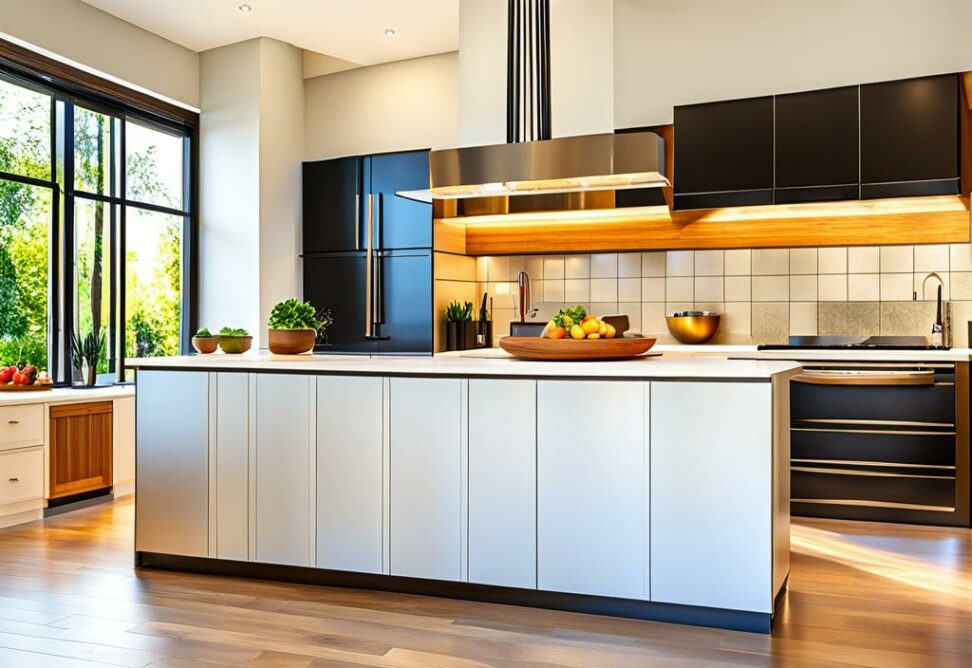
How to Build a Kitchen Island to Enhance Your Cooking Space
Adding an island is one of the best ways to improve your kitchen's function and appeal. Islands create more usable counter space, storage, and seating while also defining the kitchen's flow. With some planning and DIY dedication, you can build a quality island tailored to your cooking needs.
Constructing your own island gives you creative freedom over the size, shape, features, and materials.

Key Elements to Consider in Your Kitchen Island Design
Careful planning is crucial before building an island to suit your space and priorities. Keep these key considerations in mind as you conceptualize your perfect island oasis.
First, examine your current kitchen layout and traffic flow. Make sure there is adequate clearance for an island so it does not disrupt movement. View potential island dimensions in the context of your cabinets, appliances, and doorways.
Determine the Island’s Purpose
How will you utilize the extra surface area? Common goals include more meal prep zone, casual dining nook, entertainment hub, or storage expansion.
If extra seating is a priority, allow room for stools and enough counter overhang. For cooking and sink needs, ensure plumbing and electrical connections are feasible.
Select a Size and Shape
Standard island widths range from 36-48 inches wide and 16-24 inches deep. The shape can match your kitchen layout or introduce contrast.
A rectangular island is classic and versatile. For a corner, consider an L-shaped design. Rounded or curved islands soften traditional kitchens. Size impacts cost, so only make it as big as your needs and budget allow.
Pick Features and Finishes
Dream up what will make your island unique. Incorporate selections like specialized storage, prep sink, microwave or cooktop, pendant lighting, wine rack, appliance garage, or recyclables bin.
Finish choices like countertops, backsplashes, cabinetry, and hardware let you customize with style. Just be sure added features do not compromise usable surface area.
Building a Sturdy Kitchen Island Frame
With the design complete, it is time to construct the base. This frame will provide essential support, so build it intentionally.
Gather Your Materials and Tools
You will need lumber like 2x4s and 2x6s to make the legs and frame. Plywood or boards create cabinet boxes mounted onto the base. Have wood glue, screws, nails, sandpaper, and finishes on hand.
Must-have tools are a saw for cutting, drill, tape measure, level, and clamps. Safety gear like glasses and ear protection are also essential.
Assemble the Island Base
Cut your 2x4 lumber to the desired lengths with a miter saw. Arrange them flat on the floor in the island shape. Use right angles and check for square. Drill pilot holes and join frame pieces with wood glue and screws.
For stability, attach diagonal crossbraces. Double check the legs sit flush on the floor and the frame is level.
Attach Cabinet Boxes
Measure and cut plywood for the cabinet sides, tops, bottoms, and shelves with a circular saw. Drill pocket holes, then use glue and screws to assemble them into boxes.
Mount these to your 2x4 base securely. The island top should be flat and level once attached. Shim the frame if needed.
Installing Countertops, Plumbing, and More
With the structural work complete, it is time to outfit your island to be functional and stylish.
Add the Countertop
Have your chosen countertop cut to size by a professional fabricator. They will transport the slab and install it securely. Be sure to seal any seams against moisture.
Include Plumbing, Electrical, and Storage
If adding a sink or appliances, carefully drill openings and make connections. An electrician can wire pendant lights, outlets, and switches.
Add cabinet doors, drawers, and shelves for storage. For a built-in look, install side panels to enclose the island’s cabinetry.
Apply primer and paint or stain to give your island that finished look. Seal your countertops and use silicone caulk anywhere there are gaps.
Finally, install the handles and knobs to dress up your island. Stock your new space and celebrate your expanded kitchen workspace!
With the right planning and skills, you can create an island tailored to your cooking and entertaining needs. Take it from conception to completion and enjoy the fruits of your labor.