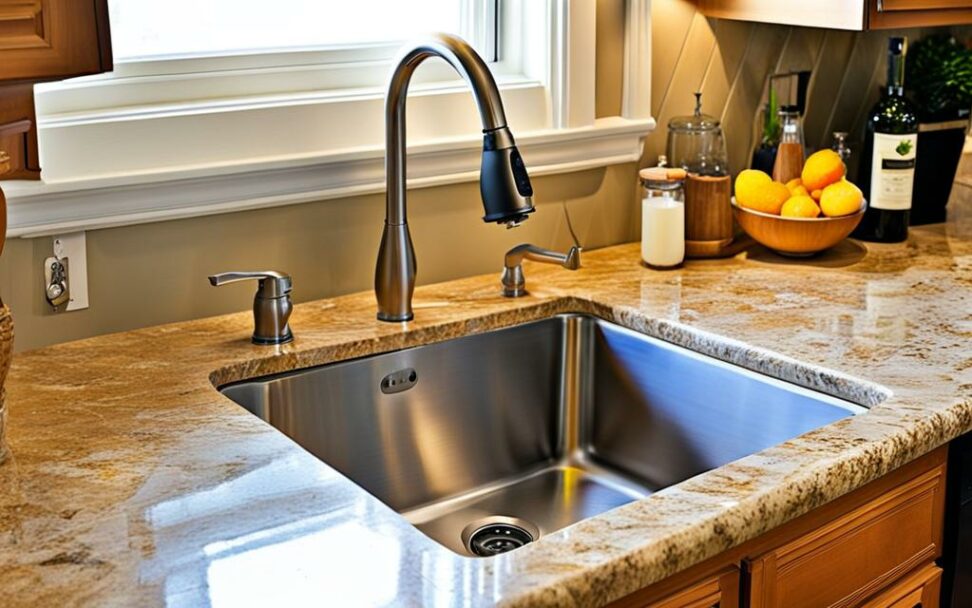
How To Easily Refinish Your Stainless Steel Kitchen Sink
Is your stainless steel kitchen sink looking a little lackluster? Over time, daily use can lead to scratches, stains, and a dulled finish. Replacing the entire sink is an expensive proposition. Fortunately, refinishing that worn stainless steel sink to look like new is an easy and affordable weekend DIY project.
Refinishing returns the sink's surface to a smooth, scratch-free shine. Read on to learn the steps, supplies, and techniques to revitalize your kitchen sink.

Materials Needed for Refinishing
Refinishing your sink's surface requires just a few simple supplies. You likely already have most of what you need in your pantry and cleaning closet.
Abrasives
Abrasive products like steel wool, scouring pads, and soft sponges provide the scrubbing power to smooth away stains and scratches. Start with a softer sponge, then use steel wool for stuck-on grime.
Cleaners
Baking soda, vinegar, lemon juice and bleach gel break down residue while disinfecting. Avoid harsh chemical cleaners that could damage the finish. Make pastes with baking soda or salt and lemon juice to tackle specific stains.
Polishing Compounds
Metal polish and buffing attachments for power drills give professional-quality shine. Apply polish by hand or buffing wheel after cleaning for best results.
Other Supplies
Have ready clean rags, rubber gloves, eye protection, and a bucket. Protective gear prevents irritation from chemicals while cleaning.
Cleaning and Prepping the Sink
Thorough cleaning and disinfecting prep the sink for refinishing. Remove all debris, soap scum and mineral deposits first.
Cleaning
Make a paste of baking soda and water. Apply and scrub with a soft sponge or scouring pad. The baking soda will cut through grease and residue.
Disinfecting
Spray sink surface with bleach gel cleaner. Let sit for 15 minutes before rinsing thoroughly with hot water.
Removing Rust Stains
For stubborn rust stains, make a paste using lemon juice and salt. Rub paste directly on stains and allow to sit for 30 minutes before rinsing and drying completely.
Removing Hard Water Stains
Fill sink with equal parts hot water and vinegar. Allow to soak for 30 minutes, then scrub with a soft sponge. The acetic acid in vinegar dissolves mineral deposits.
Refinishing the Surface
With the sink cleaned, now refresh the surface itself using abrasives and polishing.
Scrubbing Away Imperfections
Use steel wool to gently scrub the sink in the direction of the grain. Apply pressure to smooth over small scratches and nicks.
Polishing to a Shine
Apply a dollop of metal polish to a clean rag and buff the steel by hand. For best results, attach a buffing wheel to a power drill. Work thoroughly over the entire surface until gleaming.
DIY vs Professional Refinishing
DIY refinishing works well for minor surface stains and scratches. For deeper scratches or restoration, professionals have commercial grade buffing tools to fully revive the sink.
Maintaining the Refinished Sink
Keep that freshly refinished sink looking its best with simple daily and periodic care.
Daily Care
Get in the habit of immediately drying your sink after washing to prevent water spots. Avoid abrasive scouring powders or harsh chemical cleaners.
Occasional Maintenance
Periodically cleanse with a baking soda paste. Every 6-12 months, reapply metal polish to maintain the refreshed finish.
Refinishing a stainless steel kitchen sink is an easy, inexpensive alternative to replacement. With some simple supplies and a weekend of elbow grease, you can strip away years of grime and wear to reveal the sink's original shine.
Follow these steps to renew your sink yourself. Just remember to clean and dry daily and re-buff periodically to make the results last. Get ready to fall in love with your kitchen again!