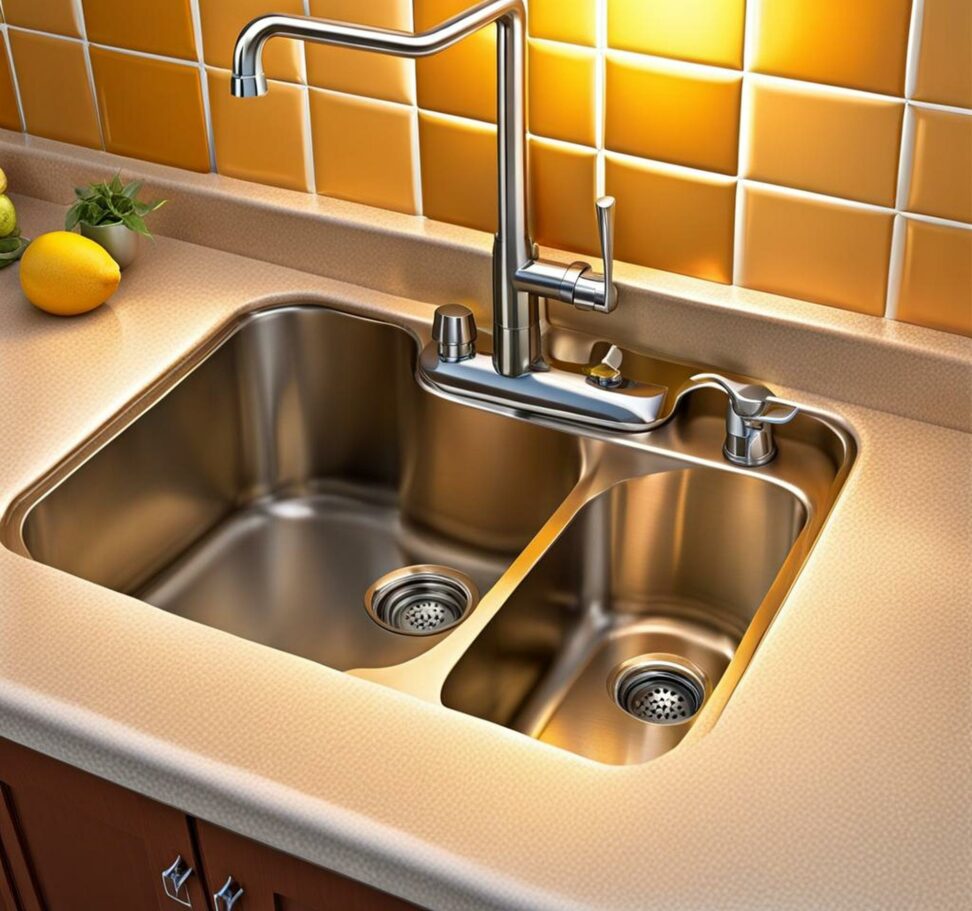
How To Repair Loose Joints and Leaky Pipes Under Your Kitchen Sink
It's frustrating when you notice water dripping from under the kitchen sink. Over time, worn gaskets, loose slip joints, and damaged pipes can cause leaks. While you may be tempted to ignore minor drips, it's important to repair leaks right away. Allowing joints and pipes under the sink to leak can lead to water damage, mold growth, and costly repairs.
Luckily, repairing loose connections and leaky pipes under the kitchen sink is a straightforward DIY project for most homeowners. With the right parts and tools, you can take apart, replace, and reassemble the pipes in just an hour or two. We'll walk through the steps to diagnose, fix, and prevent future leaks.

Detecting the Source of the Leak
Start by thoroughly inspecting all the water lines and joints under your kitchen sink. Turn on the faucet and check for drips near the shut-off valves, supply tubes, slip joints, P-trap, tailpiece, and elbows. Leaks most often occur where components join together.
Look for visible corrosion, cracked fittings, loose slip nuts, and damp areas. Leaks tend to leave behind mineral deposits and rust. Locate where the water is dripping from to pinpoint which joint or pipe needs repair.
Preparing for the Repair Project
Before taking pipes apart, gather the necessary replacement parts and tools . You may need new P-traps, washers, slip nuts, tailpieces, or flexible supply tubes. Have clean rags, a bucket to catch water, and safety gear like goggles ready.
Make sure to turn off the water supply valves before disconnecting anything. Relieve pressure by opening the faucet. Place a bucket under the pipes to catch residual water as you dismantle the joints. Protecting the flooring from leaks with towels or a tarp is also a good idea.
Disassembling the Drain Pipes
Start by detaching the drain tailpiece from the P-trap using slip joint pliers or an adjustable wrench. Unscrew the slip nuts securing the curved section of the P-trap. Remove it to inspect for cracks and corrosion.
Then loosen the slip nuts connecting elbows and straight pipes. Carefully disassemble the remaining pieces including the basket strainer . Thoroughly clean pipe ends with emery cloth or sandpaper to get rid of buildup.
Replacing Damaged Parts
Examine the condition of the pipes, slip nuts, washers, and P-trap. Make sure to replace any cracked, corroded, or defective parts. Apply thread sealant to the threads of pipes and fittings to prevent future leakage.
Use new slip joint washers and nuts to join the pipes. Rigid PVC, ABS, copper, or flexible braided stainless steel pipes are common under kitchen sinks. Pick compatible slip connectors and fittings when replacing any pieces.
Reconnecting the Pipes
Reinstall the P-trap and reconnect it to the branch tailpiece and elbow using your hands first. Then tighten the slip nuts 1/4 turn past hand tight using pliers or a wrench.
Attach the tailpiece to the sink drain basket. Make sure all compression nut connections are secure. Slowly turn the water back on and check for any drips or leaks. Tighten joints further if needed before replacing all the sink contents.
To avoid loose joints and leaks in the future, regularly inspect visible pipes for corrosion. Replace worn washers and connections proactively. Using pipe clamps and straps provides additional support.
Applying Teflon tape on threaded fittings helps create a tighter seal. Over-tightening joints can cause them to crack - find the right amount of torque. Maintaining the drainage system under your kitchen sink prevents leaks and water damage.
Repairing leaky pipes under the sink is an affordable DIY project for most homeowners. With the right preparation and parts, you can permanently fix drips and restore full function to your kitchen sink plumbing.