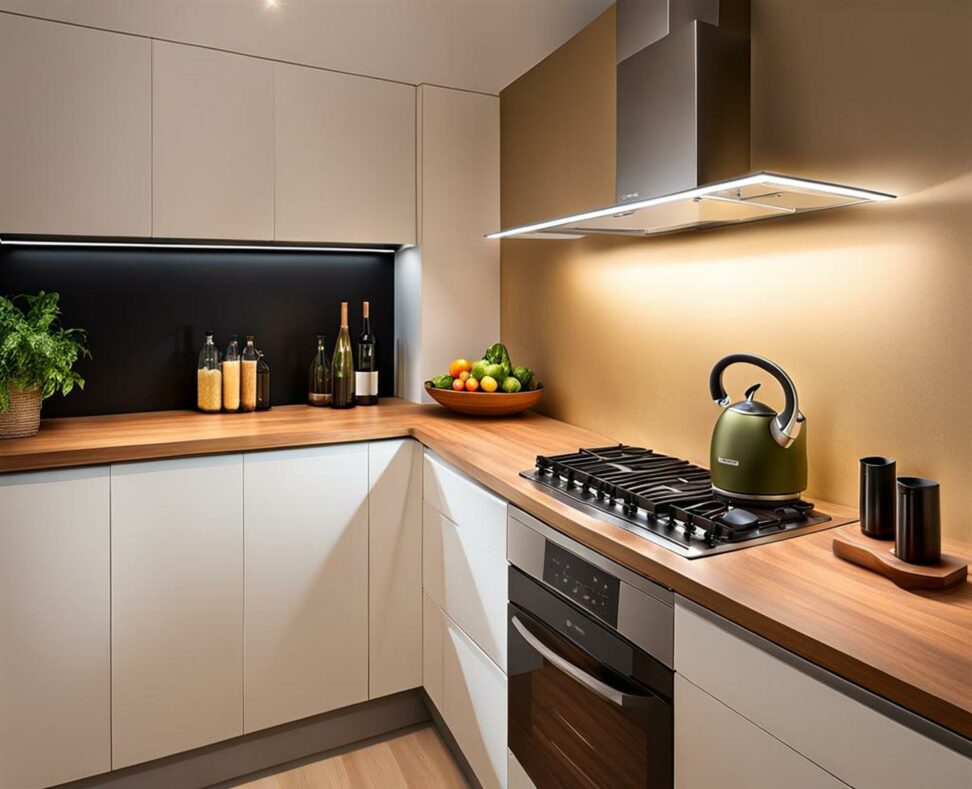
Illuminate Your Kitchen with Stylish and Functional Pin Lights
Kitchens are busy spaces that require ample lighting for cooking, cleaning, and gathering. Installing pin lights is an easy way to add task lighting exactly where you need it. These compact fixtures provide focused illumination perfect for highlighting kitchen work zones.
With their plug-in design and small size, pin lights can be installed virtually anywhere in minutes. Let's explore how pin lights can transform your kitchen's lighting design.
Picking the Perfect Pin Lights for Your Kitchen
Today's pin lights offer diverse options for meeting your kitchen's unique lighting needs:
LED vs Xenon Bulbs
LED pin lights last longer and are more energy efficient than xenon versions. Xenon bulbs offer brighter light, but need replacing more often.

Adjustable Beam Angles
Narrow 15-30 degree beams highlight specific tasks. Wider 50-60 degree beams provide broader illumination. Omnidirectional lights spread light in all directions.
Cord Length
Standard 12-24 inch cords work for most under cabinet uses. Longer 36-48 inch cords allow mounting higher up, like above sinks.
Finishes and Colors
Pin lights come in finishes like brushed nickel, oil rubbed bronze, and matte black to coordinate with modern or traditional kitchen decor.
Smart Options
Some pin lights offer built-in features like motion sensors, timers, and dimmers for added convenience.
Ideal Pin Light Placement for Kitchen Tasks
Under Cabinets
Install pin lights near the front edge of cabinets to indirectly illuminate countertops for food prep, cooking, and clean up. Place them near corners to reduce shadows.
In Drawers and Displays
Accent contents of drawers and glass-front displays with pin lights. Position them to avoid glare on the glass.
Over Sinks
Mount pin lights above sinks, stoves, and other workstations for direct task lighting right where you need it.
On Shelves
Spotlight collections, plants, or decor using pin lights placed discreetly on shelves. Avoid shine reflections on display objects.
Step-by-Step Guide to Installing Pin Lights
Installing pin lights is a simple project you can tackle in just a few steps:
1. Clean mounting surface thoroughly to maximize adhesive grip.
2. Remove film backing and press light firmly in place for 30 seconds.
3. Plug light into outlet. For hardwired fixtures, connect wires properly in junction box.
4. Turn lights on and adjust angle as needed. Enjoy your new task lighting!
Get Inspired by Creative Pin Lighting Ideas
Pin lights uniquely complement any kitchen's decor. Here are some inspiring examples:
- Modern kitchens - Line up pin lights under glossy cabinets for clean accent lighting.
- Rustic kitchens - Discreet bronze pin lights accentuate farmhouse charm.
- Industrial kitchens - Black pin lights lend understated job site-style illumination.
- Traditional kitchens - Brushed nickel pins provide a soft glow under detailed cabinetry.
The Pros and Cons of Pin Lights
Like any lighting option, pin lights come with pluses and minuses. On the pro side, they offer:
- Small size to fit tight spaces
- Focused beams highlighting tasks
- Quick and easy plug-in install
Potential limitations include:
- Visible glare if improperly angled
- Limited light output from the small fixtures
- Messy if adhesive doesn't hold
With their compact size and easy installation, pin lights are ideal for delivering task lighting precisely where you need it most in your kitchen. Give them a try for accentuating counters, workstations, and displays!