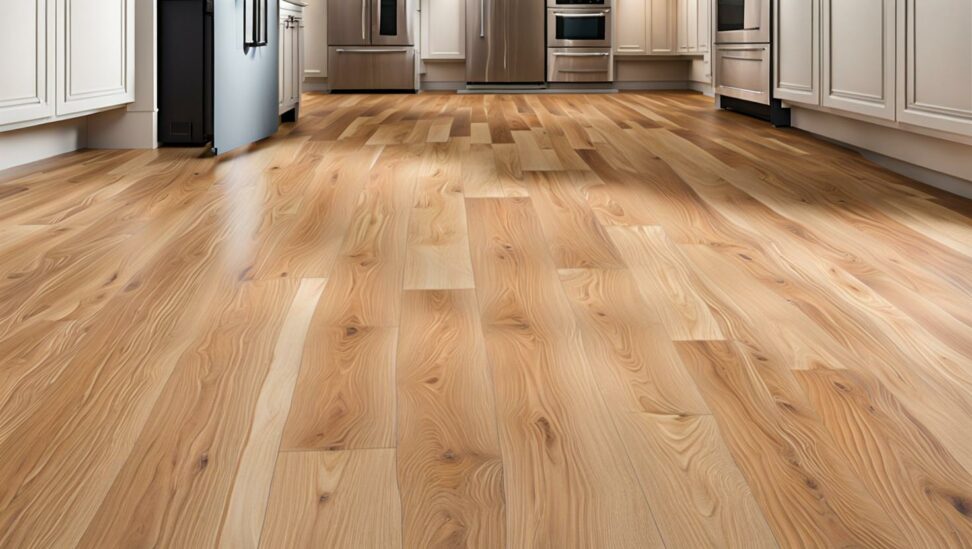
Install Vinyl Plank Flooring in Your Kitchen This Weekend
Looking to upgrade your kitchen floor without the headache or expense of a full remodel? Installing vinyl plank flooring is an achievable weekend DIY project that can completely transform the look and feel of your kitchen.
With just a few basic tools and materials, you can install a stylish, durable vinyl plank floor that’s waterproof and family-friendly. Read on to learn the step-by-step process so you can install vinyl plank flooring in your kitchen over one weekend.
Planning and Preparing for Installation
The first step is measuring your kitchen space and calculating how much vinyl plank flooring you’ll need to purchase. Be sure to add an extra 10% onto your total square footage to account for cutting waste and mistakes. Once you know how much flooring you need, choose a style you love from brands like Pergo, LifeProof, or SmartCore.

Next, clear out your kitchen and remove any existing flooring or tile. Fill any cracks or holes in the subfloor with floor leveler. You may also need to sand down high spots for a flat surface. Sweep and mop the floor multiple times so it’s perfectly clean for the new vinyl planks.
Gather Tools and Materials
For installing vinyl plank flooring in your kitchen, you’ll need the following supplies:
- Vinyl plank flooring
- Underlayment
- Tape measure
- Utility knife
- Jigsaw or table saw
- Rubber mallet
- Spacers
- Adhesive (if needed)
Having all your materials and tools ready ahead of time will make the project go smoothly.
Other Prep Work
Remove any appliances or furniture from the kitchen. Pull out the dishwasher, refrigerator, and range so you can access the entire floor area. If possible, remove cabinetry as well for full access to the space. Otherwise, be prepared to cut planks to fit around them.
Step-by-Step Installation
Once you have prepped the subfloor and gathered supplies, you’re ready for installation. Follow these steps:
- Roll out underlayment over the entire floor.
- Dry fit planks and cut pieces as needed for best layout.
- Install planks in starter row, clicking together at ends.
- Click additional rows into place, staggering seams.
- Use spacers between planks and walls.
- Make precision cuts around cabinets, fixtures.
Be sure to tap planks firmly into place and allow proper expansion room. Cut tricky pieces with a jigsaw for best results. Some vinyl plank flooring will click together while others must be glued down.
Finishing Touches
Once the main kitchen floor is installed, reinstall trim pieces, transitions between rooms, and appliances. Sweep away any debris. Thoroughly clean the new vinyl plank flooring 2-3 times to remove dust and footprints.
Inspect your work, touch up any problem spots, and enjoy your brand new kitchen floor! The planks can scratch and dent over time, so take care moving appliances and heavy items back into the kitchen.
Tips for DIY Success
Installing vinyl plank flooring is very doable for homeowners willing to take their time. Keep these tips in mind:
- Let flooring acclimate to your home's temperature for 24-48 hours.
- Stagger end seams at least 6 inches apart.
- Be patient tapping planks into place to avoid damage.
- Save leftover planks in case you need to make repairs later.
Having a helper makes the job easier and go faster. Don’t rush through installation - take breaks as needed. With the right preparation, tools, and patience, you can achieve beautiful results!
Frequently Asked Questions
What tools do I need for installation?
You'll need basic DIY tools like a tape measure, utility knife, jigsaw, rubber mallet, spacers, and safety goggles. Many vinyl plank flooring brands also require a tapping block for proper installation.
How long will installation take for my kitchen?
For a standard 10x10 kitchen, expect vinyl plank installation to take 2 full days working at a moderate pace. Professional installers can complete it in 1 day.
What are some best practices for installing around cabinets?
It's ideal to remove cabinetry if possible for full floor access. If not, leave a 1/4" gap between flooring and cabinets for expansion. Cut planks to fit shape. Install planks perpendicularly under toe-kick.
Should I remove my existing kitchen flooring first?
Yes, it's best to remove old flooring down to the subfloor for proper vinyl plank installation. This prevents uneven surfaces.
What tool should I use to cut the vinyl planks?
A jigsaw with a fine-toothed blade designed for vinyl works best. You can also use a circular saw or handsaw, working slowly to avoid damage.
With the right preparation and patience, installing vinyl plank flooring is an achievable DIY project for homeowners. Follow the techniques outlined above to install waterproof, family-friendly vinyl plank flooring in your kitchen over one weekend.
The transformation will be amazing. No more stained or dated floors - just a fresh, clean look in your favorite room. Your kitchen will become a stylish gathering place for family and friends when you upgrade with vinyl plank flooring.