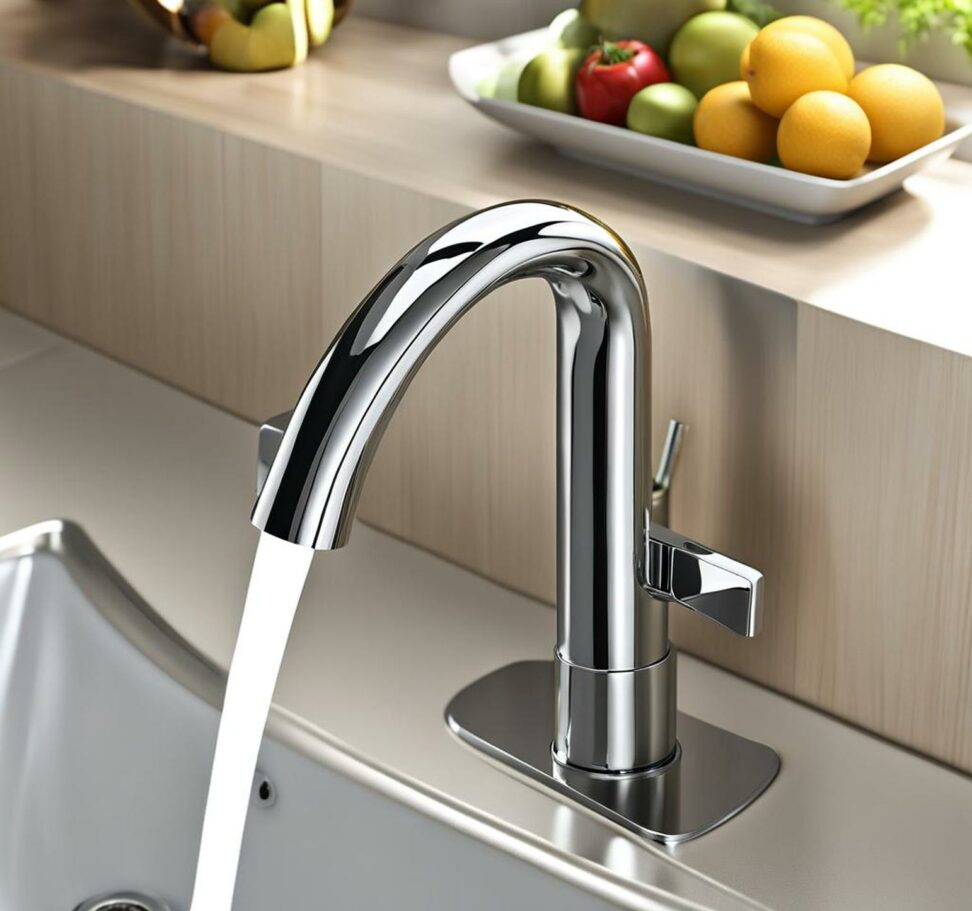
Instantly Stabilize and Quiet That Loose Kitchen Faucet
Having to deal with a frustratingly loose faucet handle in our kitchen not only diminishes functionality but also disrupts our home life with annoying drips and wobbles. Fortunately, stabilizing a loose kitchen faucet is often a quick and straightforward fix we can tackle ourselves without waiting and paying for a plumber.
By methodically working through a few key troubleshooting steps, we can have our faucet working properly again in no time. With some basic DIY skills and the right tools on hand, securing a loose kitchen faucet restores convenience and order to our home.

Determine the Underlying Cause
Before attempting to repair our loose kitchen faucet, it's important first to diagnose what's causing the loosening issue. There are a few common culprits we should inspect first:
- A loose set screw that attaches the handle to the faucet base
- Worn-out rubber O-rings or gaskets allowing too much movement
- The loose retaining nut or mounting nuts under the sink
- Incorrect original installation of the faucet and hardware
By taking a few minutes to scrutinize these specific components, we can better pinpoint the problem area.
Gather the Necessary Tools
Before diving into securing our wobbly kitchen faucet, we should gather some basic tools to complete the repairs properly. Having these DIY items on hand will make the process much smoother:
- Flashlight for seeing under the sink
- Basin wrench for reaching nuts in tight spaces
- Allen wrenches for the set screws
- Screwdrivers
- Adjustable wrench
- Teflon tape
- Non-permanent thread sealant
With this standard toolkit assembled, we'll have the key equipment to stabilize our loose faucet handle and perform any necessary part replacements.
Shut Off the Water Supply
Before doing any work on our kitchen faucet, we must turn off the water supply lines first. This crucial safety step reduces the chance of water leaks or damage during repairs. Under the sink, locate the angle stop valves that control water flow to the faucet. Turn these clockwise until tight to prevent accidental flooding while we work.
Close Angle Valves
Angle stop valves are typically found under the sink connected to the water supply lines. Turning these completely clockwise safely cuts off water flow during faucet repairs.
Verify Water is Off
After closing the angle stop valves, turn on the faucet briefly to confirm the water has stopped flowing from the spout. If drips continue, further tighten the valves before proceeding.
Remove the Decorative Handle Cap
Some single-handle kitchen faucets have a decorative cap covering the handle screw we need to access. Using a flat head screwdriver, we can carefully pry this cap off to expose the screw. Take care not to scratch the chrome finish. Removing this cap allows us to secure interior components.
Tighten Interior Screws and Nuts
With decorative caps removed and the water supply off, we're ready to address the loose faucet handle itself. Use an Allen wrench to firmly tighten the set screw, securing the handle back in place. For handles without a set screw, tighten the retaining nut or other interior mounting nuts stabilizing the faucet mechanics.
Replace any Worn-Out Parts
If tightening the screws doesn't eliminate all wobble, worn-out O-rings or gaskets likely need replacing. Unscrew the faucet bonnet nut to access these parts. Swap in new O-rings and reassemble ensuring proper positioning. Lubricating rubber gaskets can help seat them correctly to prevent future drips or leaks.
Confirm Proper Function
With the loose kitchen faucet handle tightened and parts replaced as needed, restore water supply and test functionality. Carefully check for any remaining leaks around the base of the spout or handle. Also verify proper water pressure and smooth handle control before considering repairs complete.
To help keep our kitchen faucet securely tightened long-term, remember to periodically check screws and interior connections. Replace worn washers, O-rings, and gaskets over time. Proper cleaning and handling when using our faucet also reduces future loosening.
We can rely on a safe functioning kitchen faucet for many years to come with consistent maintenance and follow-up. The annoyance of a wobbly, dripping faucet handle is typically an easy DIY fix.