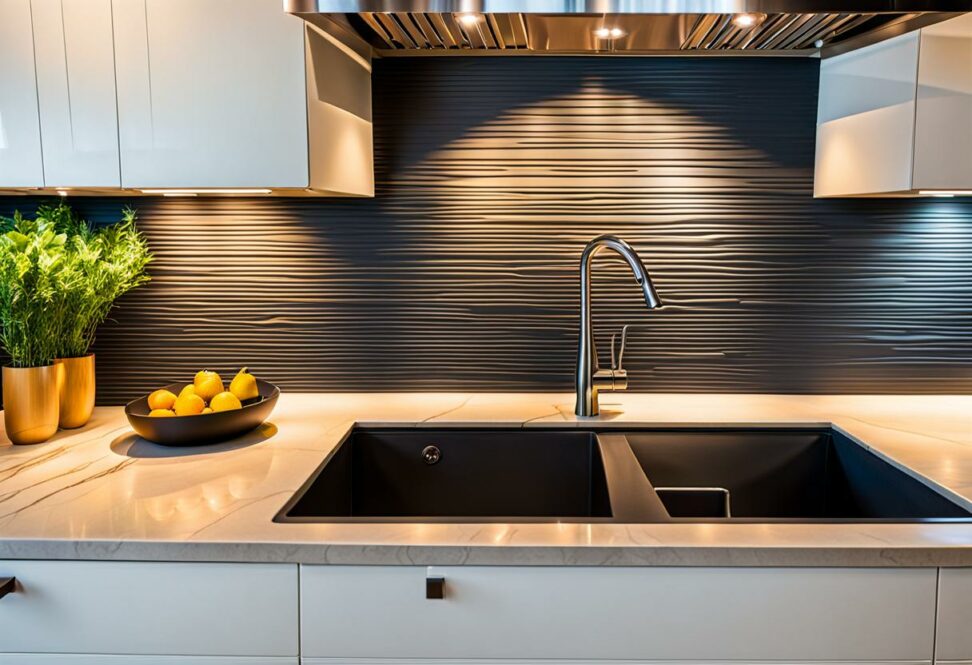
Make a Statement with a Trendy Kitchen Backsplash - Here's How
Are you looking to give your kitchen an instant facelift without the hassle and expense of a full remodel? One of the easiest and most dramatic ways to update your cooking space is by installing a fresh, fashionable backsplash. From sleek subway tiles to eye-catching mosaics, the options are endless for creating a focal point that will make a statement. Read on to learn how even novice DIYers can achieve a spectacular backsplash transformation.
A backsplash serves practical purposes like protecting your walls from splatter and moisture. But it also provides the perfect blank canvas to infuse color, texture and personality into any kitchen design. With the variety of materials like ceramic, glass, metal and stone available today at accessible price points, you can customize your backsplash to suit your own unique style.
Planning Your New Backsplash
The first step to any successful backsplash project is proper planning and preparation. You’ll want to consider the look you’re trying to achieve and choose materials accordingly before purchasing anything.
Ceramic, porcelain or glass tile remain ever-popular backsplash choices that now come in an endless array of colors, shapes, finishes and patterns. Subway tiles in white or bold hues are a classic, while mosaics and large format tiles can create visual drama. Metallic, iridescent and hand-painted art tiles are also great for making a statement. Stone slabs like granite, marble or quartzite can provide an upscale, natural look. Or go for an industrial edge with metal tiles in stainless steel, copper, brass or aluminum. Peel-and-stick tiles or panels offer a temporary and budget-friendly backsplash solution.

Measurements and Layout
Once you’ve settled on your backsplash materials, take careful measurements of the installation area so you can purchase the correct quantities. Don’t forget to account for pattern repeat and awkward cuts around corners or appliances. A good rule of thumb is to buy 10-15% extra tiles. You’ll also want specialty trim pieces like bullnose tiles to finish the edges nicely.
Now is the time to map out the placement of your backsplash tiles and decide on your layout. The traditional grid or brick layout with its offset pattern remains popular. Or make a statement by stacking elongated subway tiles in vertical columns. Be sure to choose grout colors and widths that complement your tile style.
Adhesive and Grout
For tile backsplashes, use a polymer-modified thinset mortar adhesive designed for walls. Make sure to choose the right grout for your project - sanded grout for joints wider than 1/8 inch and unsanded for smaller joints. Along with color, the type of grout you use impacts the overall look, durability and water resistance of your backsplash.
Preparing Walls and Workspace
Once you’ve done the prep work of choosing materials and colors, it’s time to ready your work area for installation. First, remove any existing backsplash tile or laminate using a putty knife or heat gun. Thoroughly clean the walls and fill any holes or imperfections with spackle before sanding smooth. Apply primer if needed.
Now is also the time to protect your counters, floors and appliances with rosin paper or plastic sheeting. Be sure to gather all the necessary tools - notched trowels, tile cutter, buckets, sponges, kneepads and gloves will all come in handy. Have a workspace cleared and be mindful of safety.
Installing the New Backsplash Tile
With your prep work complete, it’s finally time for the fun part - installing your trendy new backsplash tile. The key is taking your time and following all manufacturer’s instructions.
Applying the Adhesive
Start by applying a thin, even layer of thinset adhesive on a small section of the wall using a notched trowel. Only spread adhesive over areas you can tile within the adhesive’s open time. Using a notched trowel ensures proper adhesive contact and coverage behind each tile.
Be sure to follow the open time recommendations on the adhesive packaging, as allowing the thinset to dry too much prevents proper bonding. Work in sections until the entire backsplash area is covered with adhesive.
Cutting and Placing Tiles
Measure and mark any perimeter or cut tiles needed using a pencil and ruler. For straight cuts, use a wet saw or manual tile cutter. Irregular edges and notches can be nibbled away with tile nippers. Set full and cut tiles into the adhesive, using plastic spacers to maintain even grout line width. Be sure tiles are fully pressed into the thinset.
Wipe away any excess adhesive and allow your tiles to set according to adhesive drying times before proceeding with grouting. Doing a small test area first helps you get your technique down.
Grouting Between Tiles
Once the tile adhesive has cured completely (usually 24-48 hours), it’s time to “grout” - applying grout between the tile joints. Use a rubber grout float to spread grout over your tiles, pressing it deeply into joints. Let the grout sit slightly before wiping the tile faces clean with a damp sponge.
Remove any remaining grout haze once dry. Allow the grout to fully cure for 72 hours before use and sealing. Take care not to get the grout wet during this time.
You’re in the home stretch now! After allowing grout to cure completely, seal grout lines with a penetrating sealer to protect from stains and moisture. Finish by caulking the transition between the backsplash and countertops or walls with silicone caulk. Finally, stand back and admire your gorgeous, on-trend backsplash installation!
With the right planning and preparation, even novice DIYers can achieve professional-looking backsplash results. Not only will you save on installation costs, but you’ll also have the satisfaction of enhancing your home with your own hands. Turn your blank kitchen wall into an inspiring focal point and make a statement with a fashionable, functional backsplash.