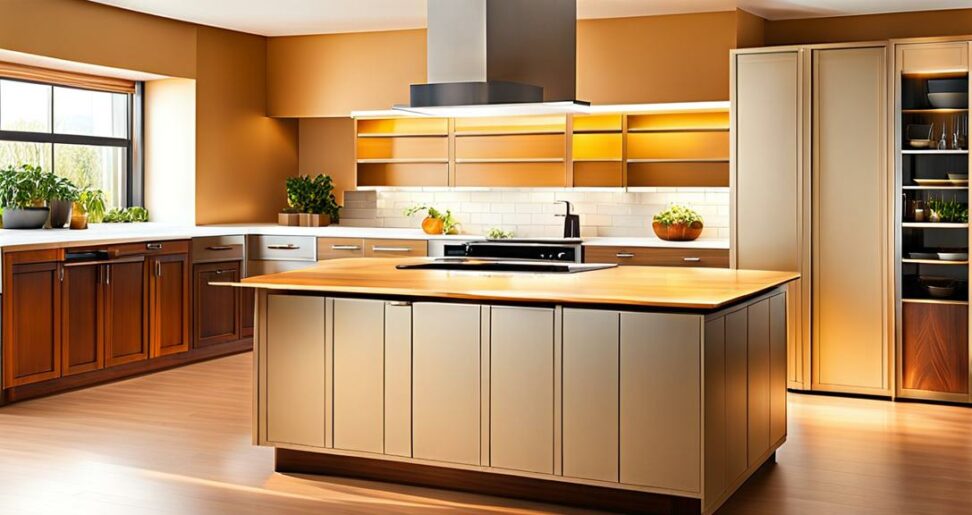
Make the Most of Your Kitchen with This Clever DIY Island
Is your kitchen layout leaving you frustrated? Do you find yourself wishing for more prep space and storage? If it feels small and disorganized, it may be time to consider an island makeover.
Adding a kitchen island can transform an inefficient footprint into a chef's dream. Just imagine gaining extra counter space for chopping and mixing, cabinets for storing essentials, and seating for casual dining. With some basic DIY skills, you can create a custom island using stock base cabinets and maximize every inch of your kitchen.

Transform Your Kitchen Layout with a Custom Island
An island is one of the most popular kitchen remodeling projects because it solves so many needs in an aesthetically pleasing way. Islands give you more room to spread out for food preparation and serving while also enhancing the look of your space.
With an island, you can improve kitchen work triangles that lack flow and functionality. Move appliances or the sink to the island to reduce cross-traffic and backtracking. Even in a small kitchen, an island can make better use of the footprint.
Use Stock Cabinets for an Affordable DIY Island
One of the best parts of using stock base cabinets is that they provide a budget-friendly way to build out an island specific to your space. Mix and match cabinet sizes to create a custom footprint and layout.
For a typical island, combine two base sections like a 36-inch cabinet and a 42-inch cabinet. For more seating, use four 18-inch bases. Add doors, drawers, open shelving, and pulls suited to your storage needs.
Prefabricated cabinet boxes mean you don't have to build a frame and entire structure from scratch. Focus on finishing details like trim, hardware, and decorator panels to reflect your personal style.
Choose the Right Countertop for Your Island
One of the biggest decisions will be choosing a countertop material that fits your lifestyle. Granite and quartz offer rugged durability ideal for chopping, rolling and kneading. Marble provides elegance but requires more maintenance.
Allow a 10-12 inch overhang on sides where you want barstool seating. A reduced overhang of 1-3 inches works on sides meant solely for circulation. Coordinate with existing countertops.
If adding a sink or cooktop, select a waterproof, heat-resistant material. Research options to find an attractive, functional surface within your budget range.
Build Your Island Frame and Cabinetry
Constructing an island is a moderately advanced DIY project but quite achievable with proper planning and care. Follow the base cabinet manufacturer's directions for assembly and installation.
Reinforce the island structure by joining cabinets together securely and adding sturdy corner posts. Levelers allow you to compensate for any uneven spots beneath the island.
Make It Functional with Storage Solutions
Take advantage of all the available space inside your DIY island by incorporating storage racks, trays, and other organizational systems. Pull-out shelves in corner cabinets are great for unwasting space.
Consider recycling those rarely used pots and pans by storing them in the island and freeing up primary kitchen cabinets. Appliances like undercounter wine refrigerators can be integrated seamlessly.
Give It Character with Personalized Design Details
Simple upgrades like swapping knobs for cup pulls or painting cabinets can make the island unique. Open shelving offers handy access to frequently used items. Contrasting finishes add eye-catching style.
Dimmable pendant lights hovering above the countertop create ambiance for prepping or casual meals. Don't be afraid to mix metal finishes like brass, black, and nickel for an eclectic look.
Prepare for a Seamless Installation
Careful planning is required prior to installing a kitchen island if you want to get it right on the first try. Confirm the subflooring can support a heavy island load.
Factor in necessary clearances from existing walls, appliances, doorways. Electrical and plumbing may need to be roughed-in beforehand. Have helpers available and remove baseboards if needed.
Transport the assembled island carefully to avoid damage. Anchor securely through the base cabinets into the floor joists. Caulk and trim for a polished, integrated appearance.
Once assembled and installed seamlessly, it's time to outfit your dream island. Fill cabinets and drawers to maximize storage. Top with decorative accents that inspire you to create delicious meals.
Keep surfaces lovely by promptly wiping spills and avoiding direct heat that could scorch. Pull up a stool and enjoy the new open, efficient heart of your kitchen.