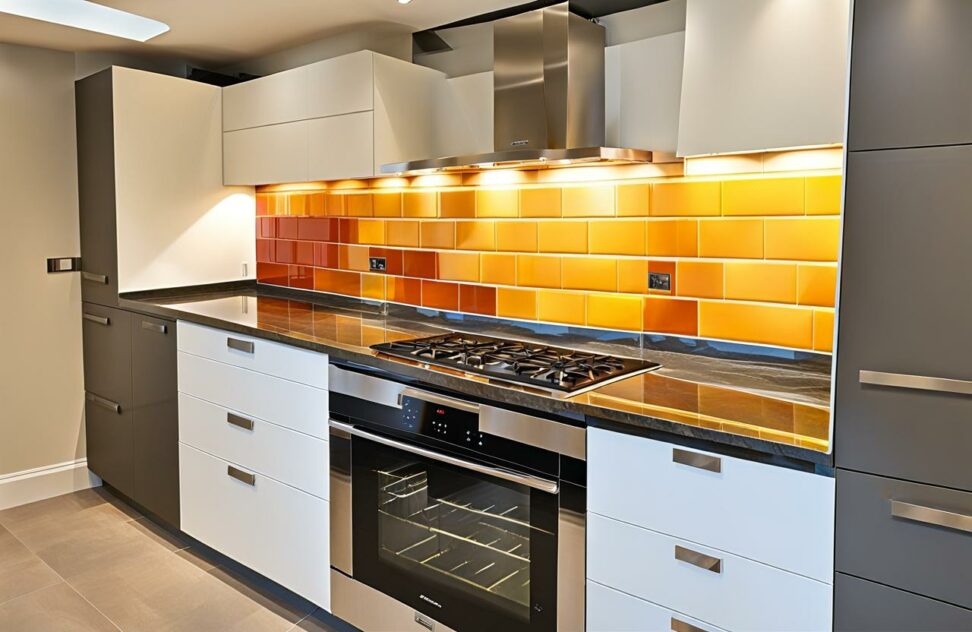
Master Splashback Tiling in Your Kitchen Step-by-Step
Dreaming of a stylish, eye-catching kitchen splashback but daunted by the idea of tiling it yourself? With the right planning, materials, and techniques, you can totally transform your kitchen with a gorgeous DIY tiled splashback. Follow this step-by-step guide to achieve stunning results you'll love showing off.
Tiling your own splashback creates a custom look while saving on labor costs. The layered dimension of tile adds artistic interest to your kitchen's backdrop. From elegant marble or rustic stone to cool glass or classic ceramic, choices abound to suit your style.
Plan Your Tiled Splashback
Careful planning ensures your tiled splashback complements your kitchen design aesthetics. Keep practical factors in mind too when selecting tiles and layouts.

Choose Appropriate Tiles
The tile type sets the tone for your entire splashback. Choose from:
- Ceramic - Budget-friendly classic option offering endless colors/patterns
- Porcelain - Low maintenance with superior water resistance
- Glass - Sleek, modern look with high-end vibe
- Stone - Elegant natural beauty yet higher upfront cost
Small formats like mosaics and subway tiles suit traditional kitchens. Go bold with large statement tiles for contemporary flair. Focus on durable, low-maintenance materials rated for walls and wet areas.
Design the Layout
Map out tile patterns before purchasing. Place a focal point tile first if using an accent. Frame with complementary neutral tiles. Classic layouts like bricks or herringbone add orderly visual appeal. Stick to simplicity if using elaborate tile designs.
Sketching arrangements on graph paper helps avoid narrow awkward cuts. Measure to ensure your planned design properly fits the whole splashback space.
Measure and Calculate Tile Needs
Precise measurements ensure you buy sufficient tiles. Experts recommend adding 10% extra for cuts and breakages. Use an online tile calculator to determine how many whole tiles your design requires. Have extras for repairs down the road.
Prepare the Surface
Proper prep creates the sound foundation needed for tiles to adhere long-term. Don't shortcut these important first steps.
Wall Inspection and Repairs
Start by removing any existing splashback tiles or grout. Fill dents and holes with spackle, allowing complete drying/curing before sanding smooth. Check for plumb and flatness. Address any underlying issues.
Clean and Prime the Wall
Thoroughly clean then rinse the surface to remove soiling, grease, and debris. Allow drying fully. For very porous walls, apply appropriate primer and let cure completely per product directions.
Use Proper Tools and Materials
Having the right equipment and supplies on hand makes tiling go smoothly. Don't start without:
- Tile cutter and/or wet saw
- Notched trowel for spreading adhesive
- Tile spacers
- Grout float
- Thinset mortar adhesive
- Grout
- Sealant
Installing the Tiles
With your prep work complete, it's time for the fun part - seeing your tiles turn into a stylish splashback.
Apply Adhesive
Use a notched trowel sized for your tile type to spread a thin, even layer of thinset adhesive. Cover small sections at a time to prevent drying before tile placement. Using high-quality modified thinset suitable for the wall surface.
Set the Tiles
Place border/perimeter tiles first. Use plastic spacers between each to control grout line width for a consistent professional finish. Avoid narrow sliver cuts on edges. Work methodically in stages across the wall.
Achieve Full Adhesive Cure
Allow thinset to cure fully (usually 24 hours) before grouting. This prevents tiles shifting or lifting. Be patient for best long-term results.
Grouting for a Finished Look
Grout pulls your tiled design together, transforming it into an artistic splashback focal point.
Mix and Apply Grout
Prepare grout mix per package instructions. Apply grout float diagonally across the joints to fill completely. Take care to fully pack joints.
Clean Excess Grout
Wipe diagonally across joints with minimal water to avoid pulling grout from tile joints. Polish for a smooth uniform finish. Allow thorough curing before use.
Keep your splashback tiles looking like new with proper ongoing care:
- Seal grout periodically
- Promptly clean spills
- Use gentle cleaners
- Re-caulk edges if needed
With the right prep and techniques, you can install an elegant, on-trend tiled splashback that makes your kitchen pop. Just follow these steps for sensational results you'll love showing off to friends and family.