Maximise Your Kitchen's Potential with a Countertop Makeover
Is your kitchen looking tired and dated? Dingy counters can make the whole room feel dark and gloomy. The good news is that with a DIY countertop makeover, you can give your kitchen an affordable facelift and create a brighter, more modern look in a weekend.
Upgrading your existing countertops doesn't have to break the bank. With budget-friendly materials like paint, contact paper, and tile, you can re-envision your kitchen counters without replacing them. Read on to explore your options!
Affordable Countertop Materials for Quick Kitchen Upgrades
When planning a countertop makeover, the first step is choosing your materials. Consider how much you want to spend and your own DIY skills.
Here are some of the most popular and wallet-friendly options:

Paint
Painting your existing counters is the easiest and most affordable way to give them a fresh, new look. After proper prep and priming, you can use latex or specialty countertop paints to coat your counters in any color you desire. Paint allows you to cover up stains, damage, or outdated hues in just a weekend. However, painted counters will show scratches over time and need to be touched up.
Peel-and-Stick Materials
For a quick cosmetic upgrade, turn to peel-and-stick contact paper, tile, or laminate sheets. Available in many colors and patterns, these materials literally stick right onto your existing counter. They are super easy for DIY beginners to install, and can also be easily removed or replaced when you want to change up the look. However, peel-and-stick counters won't stand up to heavy wear and tear long-term.
Tile
Tile is a great way to get a built-in, high-end look without replacing your whole counter. Ceramic, porcelain or glass tile can be cut to size and installed right over your existing substrate. Grouting requires some skill, but the results are durable, waterproof, and easy to wipe clean. The grout will need periodic sealing to avoid stains. Go for a full tiled counter or just do a fun tile backsplash zone.
Wood/Butcher Block
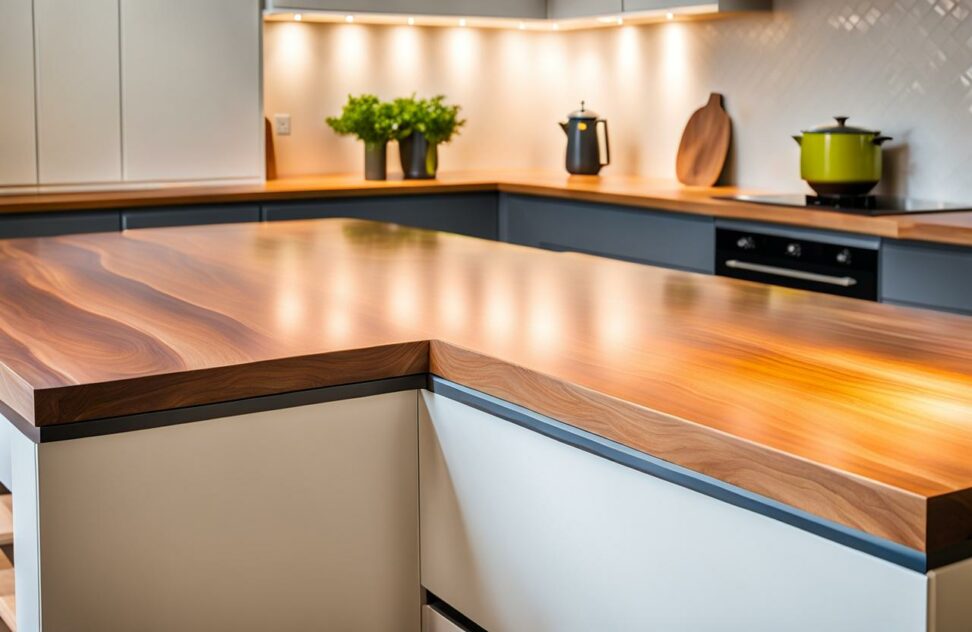
For a warm, natural look, turn to wood counters. Affordable butcher block can be cut to fit your counters and sealed to protect against moisture and bacteria. Wood counters add beautiful grain patterns but will show wear over time. Be sure to use cutting boards rather than cutting right on the wood. Resealing it yearly will keep it looking fresh.
Laminate
High-pressure laminate sheets offer the look of natural stone or quartz for much less money. Available in endless patterns from solids to granites, laminate comes on flexible sheets that can be wrapped over existing substrates or used to build new counter bases. The seams are not always seamless, but the installation is DIY-friendly. Be sure to fully adhere laminate to prevent lifting or curling.
Step-by-Step Instructions for a Seamless Countertop Makeover
Once you've selected your materials, it's time to prep and install your new countertop surface. Follow these key steps for a successful makeover:
- Clear counters of appliances, dishes, food items. Cover floors with dropcloths.
- Thoroughly clean and sand existing counters to prep for new materials.
- For painting, apply primer first for best adhesion and coverage.
- Measure carefully and cut materials to fit your counter space.
- Apply adhesive or mortar evenly to set tiles or wood/laminate.
- Use a roller or putty knife to smoothly install contact paper or laminate sheets.
- Grout and seal tile once fully set, using a sealant like epoxy.
- Allow all materials to fully cure based on package directions before use.
- Finish edges with trim pieces or caulk for a seamless look.
Take your time with each step, and make sure you have the right tools and materials on hand. Thorough prep and patience leads to the best finished results. In one to two weekends, you can have a kitchen with the look and feel of a luxurious remodel for a fraction of the price!
Maintaining Your Makeover Magic
To keep your new counters looking like new, be sure to:
- Use cutting boards rather than cutting directly on counter surfaces.
- Wipe up spills quickly to avoid stains on porous materials.
- Avoid placing hot pans or appliances directly on the counters.
- Reseal tile grout and wood counters annually.
- Spot paint any scratches on painted counters.
Your makeover can last for many years with proper care and maintenance. Take the time to clean and protect your new investment.
Once your counters are refreshed, new doors, sinks, backsplashes and lighting can extend your kitchen revamp. Consider these easy add-ons:
- Paint or replace existing cabinets.
- Install a new faucet and sink.
- Add a glass tile backsplash.
- Display dishes in open shelving.
- Paint the walls a fresh new hue.
- Switch out light fixtures for pendant lamps.
With so many budget-friendly DIY options, you can give your kitchen a top-to-bottom transformation. Turn a dull, dated kitchen into a stunning showpiece space you can't wait to spend time in.
Don't live with a kitchen you don't love any longer. A countertop upgrade can help you fall back in love with the heart of your home. With a little planning and elbow grease, you can maximise your kitchen's potential with a countertop makeover!