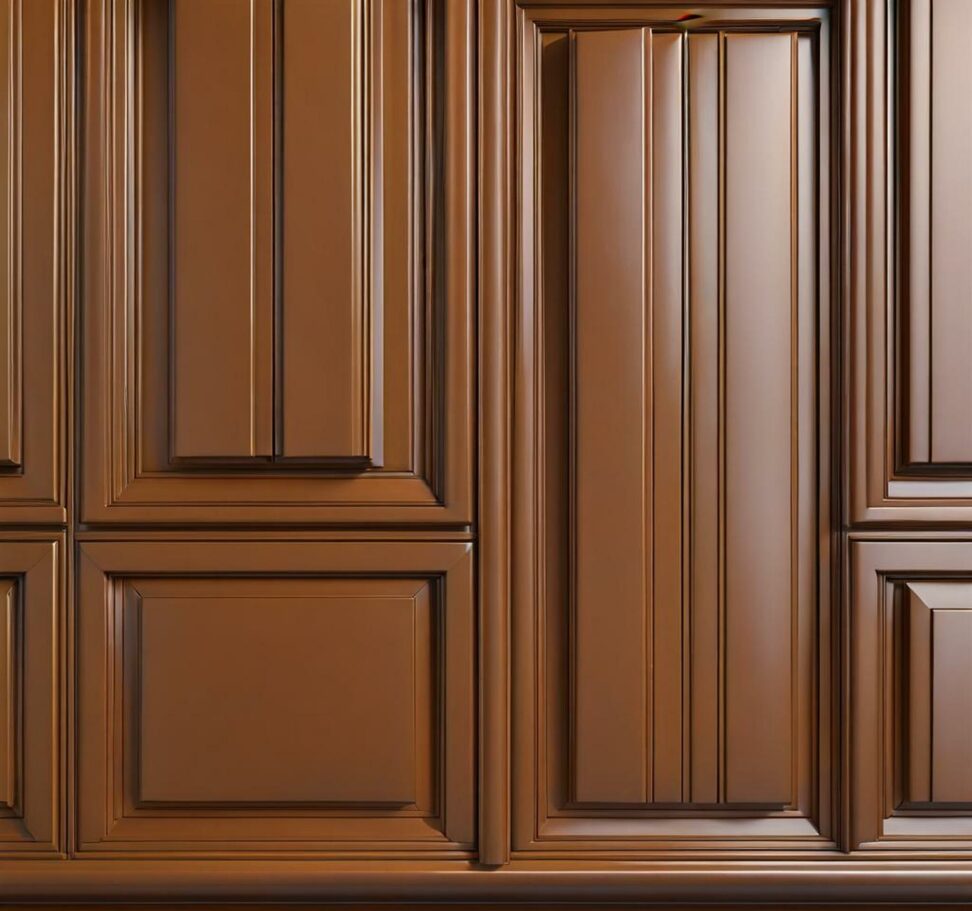
Modernize Cabinets with Painted Knotty Pine
Tired of living with outdated, worn knotty pine cabinets? Painting them yourself can provide a dramatic yet affordable way to refresh your home's style. We'll walk through the key steps to successfully transform dingy cabinets into a modern showpiece.
Painting knotty pine cabinets is more complex than typical cabinet painting. But proper preparation and technique allows you to overhaul even well-worn cabinets with beautiful results. Let's explore how a fresh coat of paint can modernize your home without breaking the bank.
Assessing Your Existing Knotty Pine Cabinets
Painting can revive even the most outdated knotty pine cabinets. Check for these signs that your cabinets need some TLC:
- Visible wear, cracks, or scratches in the wood
- Discoloration or yellowing of the surface
- Outdated rustic aesthetic that clashes with home's style
Inspect cabinets inside and out for areas needing repair before painting. Cracks or holes from normal use can be filled, but extensive damage may call for refacing or replacement instead.

When to Consider Refacing
If your knotty pine cabinets show signs of rot, mold, or wood-boring insect damage, refacing provides a middle ground between paint and full replacement. Refacing preserves the cabinet boxes while replacing doors, drawers and hardware.
This approach saves money over custom cabinets. And it allows changing door style for a fresh look while keeping structurally sound cabinet boxes.
Preparing Cabinets for Painting
Proper prep work leads to smoother painting and better adhesion. Follow these best practices:
Supplies Needed
- Sandpaper (150-220 grit)
- Tack cloth
- Painter's tape
- Primer (oil-based or shellac)
- Paint (enamel recommended)
- Trim paint brush
- Foam roller (for flat surfaces)
Clean Surfaces
Remove surface contaminants with a degreasing cleaner or denatured alcohol. This helps paint adhere properly.
Sanding also provides a cleaner foundation for painting compared to painting over years of cooking residue and built-up gunk.
Sand Away Clear Coat
Lightly sand to rough up the clear coat on your knotty pine cabinets. This allows the primer to penetrate better.
Use 150-220 grit sandpaper for best results. Avoid stripping down to bare wood which isn't necessary.
Fill Cracks and Gaps
Use painter's caulk to fill any cracks or gaps for a seamless painted finish. Pay special attention around joints and corners.
Fill knot holes with wood filler before sanding smooth. Proper filling prevents air bubbles in the paint.
Paint Selection and Techniques
Choosing the right paint and application method impacts results:
Paint Options for Cabinets
Enamel, latex, and acrylic cabinet paints cover well and provide a durable finish:
- Enamel paint - Hard, glossy finish
- Acrylic paint - Richer look than latex
- Latex paint - More affordable, easy soap-and-water cleanup
High quality paint resists yellowing and stands up to cleaning better over time.
Brush vs Roller Application
Brushing reaches corners and details better. But rolling creates a smooth surface on flat cabinet panels. Many painters use an angle sash brush for corners and trim work in combination with a foam roller for large surfaces.
Synthetic bristle brushes offer the best finish with water-based cabinet paints. Cover doors and drawers separately after removing hardware.
Achieve Full Coverage
Apply paint liberally to fully cover in 2-3 quick coats. Thin coats take more effort to look flawless. Allow proper drying time between coats.
Sand lightly with 220 grit sandpaper to remove any drips or bumps prior to the final coat for a glass-smooth finish.
Painting Doors, Drawers and Hardware
For the most cohesive look, paint cabinet components separately:
Doors and Drawers
Number each door and drawer to ensure putting them back correctly later. Use painter's tape for clean edges along hinges and joints.
Hardware
Remove knobs and handles before painting doors and drawers. Clean hardware so paint doesn't chip later when reattaching.
Use drop cloths or cardboard inside cabinets to protect interiors from drips during the painting process.
Achieving Long-Lasting Protection
Adding a protective clear top coat helps painted knotty pine cabinets maintain their refreshed look:
Protective Sealants
Water-based polyurethane or acrylic sealant / varnish provide a protective barrier without yellowing:
- Polyurethane - Tougher protection for heavily used cabinets
- Acrylic - Clear, non-yellowing sealant good for low-to-medium use cabinets
An added protective coat means painted cabinets stay looking freshly updated for years longer.
Caring for Painted Cabinets
Use mild soap and water for cleaning rather than harsh chemical products containing ammonia or bleach that can break down paint over time.
Promptly touch up any nicks or scrapes in the paint to defend against moisture damage.
The warm, fresh look of painted knotty pine cabinets can make the entire room feel luxurious. The pine's visible wood grain shines through pale paint colors beautifully.
Crisp white painted cabinets pop against natural stone or butcher block countertops in cottage kitchens. Soft pastel cabinet colors complement antique brass hardware and fixtures for a vintage yet updated look.
Beyond kitchens, painted knotty pine provides unlimited possibilities in bathrooms, laundry rooms, built-ins and beyond to revive your home's style.
Painting offers an affordable way to overhaul worn knotty pine cabinets without the expense of new custom cabinetry. Properly prepped and painted knotty pine translates beautifully into any preferred color scheme.
While the process requires some elbow grease, the spectacular makeover payoff makes DIY painted knotty pine cabinets a decidedly wise upgrade well within reach.