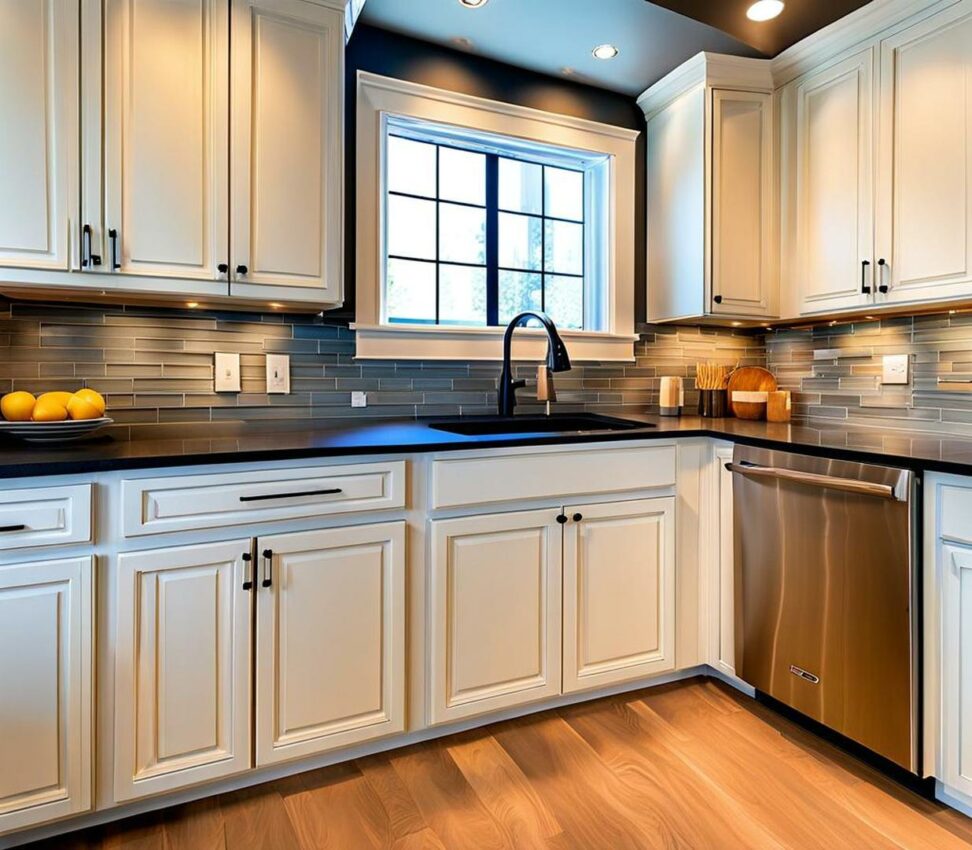
No Experience Needed! Learn How to Easily Install Kitchen Cabinets
Dreaming of a kitchen makeover but intimidated by the cost of hiring contractors for cabinet installation? With some basic DIY skills, you can tackle this project solo and save thousands in the process. Installing your own kitchen cabinets may sound daunting, but breaking the process down into simple steps makes it very approachable even for total beginners.
With proper planning, the right tools, and taking precautions, you can have stunning new cabinets hung in your kitchen in a weekend.

Step 1: Remove Existing Cabinets and Prepare the Space
Before putting in new cabinets, take out your old ones using a pry bar. Be careful not to damage surrounding walls in the process. With the old cabinets gone, now is the time to patch holes, repair flaws, and give the whole kitchen a fresh coat of paint.
For a smooth install, do a deep clean of your countertops, floors, and walls where new cabinets will be positioned. It's also essential to turn off any gas, electric, or plumbing lines that could get in your way during the cabinet hanging process.
Safety Tips
Wear gloves, glasses, and other protective gear when demolishing old cabinets. Go slowly and methodically. Have an assistant help with lifting to avoid injury.
Step 2: Map Out Your New Cabinet Layout
Grab a measuring tape and sketch out where your cabinets will go. Standard upper cabinets are 30-36 inches high and 12-24 inches deep. Base cabinet depths run 24 inches. Ensure your design maximizes your unique kitchen's dimensions.
Mark stud locations for drilling pilot holes to hang cabinets. Locate them with a stud finder and make small pencil marks. Group cabinets to install into logical sections for a smooth workflow.
Pro Planning Tips
Work from the corner outwards. Hang uppers before lowers. Install corner cabinets first. Leave 3/4" between ceilings and tops of cabinets. Include decorative trim pieces in your plan.
Step 3: Mount the Upper Cabinets
Starting in a corner, lift and temporarily hold the first wall cabinet in place. Level it with shims, and drill pilot holes marked in your layout. Secure the cabinet through the back rail into the wall studs using at least two 2-inch screws anchored firmly.
Repeat this process across the kitchen, hanging one cabinet at a time. Always pre-drill holes and use shims to compensate for any uneven spots on your walls. Double check each cabinet is plumb and level before moving onto the next.
Hanging Tips
Get help lifting heavy upper cabinets. investing in cabinet installation screws for enhanced strength. Take breaks to prevent fatigue and mistakes.
Step 4: Add the Base Cabinets
With the upper cabinets securely mounted, shift your focus to the lower ones. Set base cabinets in place, starting in the same corner. Use shims just like you did for the wall units to level.
Anchor to the wall studs through the cabinet back or side. For stability, attach cabinets together through the face frames. Adjust any doors and drawers to ensure smooth operation.
Base Cabinet Pointers
Prepare flooring where bases will sit. Have an assistant help lift heavy cabinets. Take care when installing corner base cabinets and other unique shapes.
Step 5: Complete the Details
You're in the home stretch! Add any decorative trim pieces, side panels, or molding to finish off your new cabinetry. Adjust doors and drawers as needed so everything operates correctly.
Install hardware like knobs and pulls. Clean your new cabinets and treat surfaces to protect the finish. Schedule tasks like counter installation once your beautiful new DIY cabinets are all hung.
Finishing Touches
Check all cabinets are securely fastened before adding details. Wipe down cabinet exteriors after adjusting to remove dust.
With proper planning and a methodical approach, even kitchen cabinet installation novices can achieve pro-level results. Taking precautions and following these steps will transform your kitchen with stylish new cabinets you installed yourself.
This undertaking will require some sweat equity, but the thousands saved in labor costs make it so rewarding. Just imagine the pride of telling friends and family you tackled this DIY project solo! You may even inspire others to take on their own home upgrades.