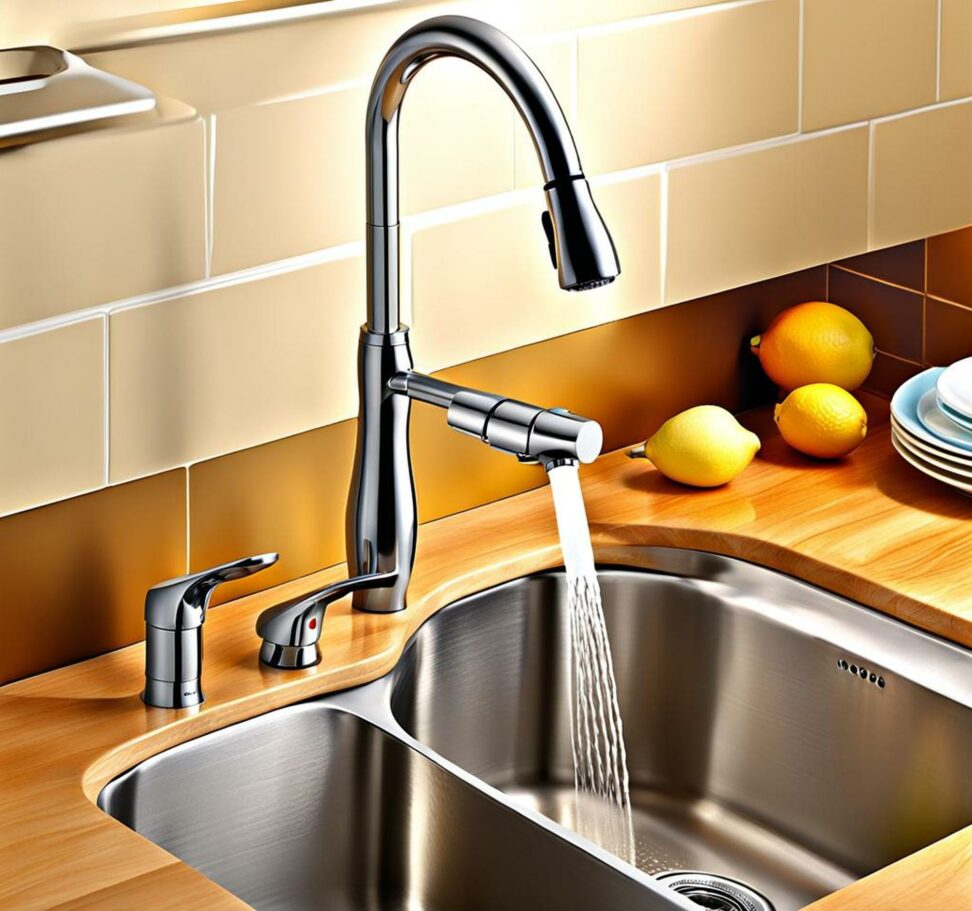
No More Drips! Fix a Loose Kitchen Faucet in 3 Easy Steps
Is your kitchen faucet driving you crazy with constant drips and leaks? A loose faucet can quickly become a huge annoyance as well as lead to bigger problems if left unfixed. Many homeowners deal with the aggravation of a loose kitchen faucet at some point. Luckily, this is an easy DIY repair that you can knock out in a few simple steps.
A loose kitchen faucet is typically caused by an untightened nut under the sink, worn out internal seals and washers, improper original installation, or issues with incompatible components. No matter the cause, the good news is that permanently fixing a loose faucet is a straightforward process anyone can tackle.
Step 1: Tighten the Faucet Nut
The first step is to locate and tighten the nut that connects the faucet base to the underside of the counter or sink. This nut can loosen over time, especially if the faucet gets frequent use.

Locate the Faucet Nut
Start by shutting off the hot and cold water supply valves under the sink. This prevents water from spraying out when you work on the faucet. Clear out any items under your kitchen sink so you can access the faucet nut.
Check where the faucet base meets the sink or counter. Identify the faucet nut that is used to secure the two together. It will look like a rounded hex nut or threaded cylinder.
Tighten the Nut
Use a basin wrench or locking pliers to grip the edges of the faucet nut. Turn the nut 1/4 turn clockwise to tighten it. Apply firm pressure, but do not overtighten. The nut just needs to be snug.
Test for Leaks
Turn the hot and cold water supply valves back on. Check around the faucet base and handle for any drips or leaks. If the faucet is still loose, continue tightening the nut in 1/4 turn increments until the dripping stops and the faucet feels firmly in place.
Step 2: Replace Faucet Cartridge and Seals
If tightening the faucet nut does not fix the problem, the issue is likely damaged seals or washers inside the faucet cartridge. Replacing the cartridge and its internal o-rings will stop leaks between the cartridge and faucet body.
Remove Old Cartridge
Start by turning off the water supply valves again and opening the faucet to relieve any pressure. Remove the faucet handle and the dome cap underneath to access the cartridge. Use pliers to pull the old cartridge straight out.
Replace Cartridge and Seals
Insert the new replacement cartridge, making sure it is aligned correctly. Replace any worn out o-rings or rubber seals. Then reassemble the faucet handle and dome cap.
Test Water Flow
With the new cartridge installed, turn on the water supply and check for any leaks around the cartridge. Also test that the faucet handle operates smoothly and water flow is restored.
Step 3: Reinstall Faucet Properly
If an improper initial installation is causing the loose faucet, you will need to remove it completely and install the faucet properly.
Remove Existing Faucet
Start by turning off the water valves and disconnecting the flexible supply lines from the faucet inlets. Unscrew the mounting nuts under the counter to fully detach the faucet.
Prepare Mounting Holes
Seal up any gaps or cracks in the sink mounting holes with silicone. Verify the holes are the proper diameter for your faucet size.
Install New Faucet
Align the faucet base and gasket with the mounting holes in the sink or counter. Hand tighten the mounting nuts to secure everything together. Reconnect the hot and cold supply lines.
Confirm Proper Installation
Turn the water back on and check for any leaks around the faucet base. Fully test the faucet handles, sprayer, and valves to make sure everything is working properly before finishing the installation.
Following these simple DIY steps will quickly and permanently fix a loose kitchen faucet. Tightening the nut, replacing seals, and proper installation will stop annoying drips and leaks. Now you can finally use your kitchen faucet in peace again!