Paint or Stain? How to Give Kitchen Cabinets a Fresh New Look
Does your kitchen need a quick refresh but a full remodel isn't in the budget? Painting or staining the cabinets can make a dramatic update without the hefty price tag of new cabinetry. But should you paint or stain to give your kitchen a lift? Both techniques allow you to transform the color of your cabinets for a fraction of the cost. Weigh the pros and cons of each method to decide which fits your style, skillset, and budget.
Painting cabinets completely changes the color for a bold, vibrant look. Staining offers a subtler update by tinting the natural wood. Keep reading to learn key steps for prepping, painting, and staining so you can take your kitchen from drab to fab.
Assessing Your Existing Cabinets
Before deciding on paint or stain, examine your current cabinets closely. Are they wood, laminate, or thermofoil? The material impacts the prep work required. Inspect for damage like chips, peeling veneers, or excessive grime. Severely worn cabinets may need extra sanding and patching for the best results.
Also note if doors and drawers operate smoothly. You'll remove them for the painting or staining process, so it's a good time to fix any issues like sticking or rubbing.

Prep Work for Painting
Proper prep sets the stage for a smooth, durable painted finish. Remove all doors, drawers, and hardware using a screwdriver. Number pieces so it's easy to reinstall correctly later. Thoroughly clean cabinet surfaces, then sand to rough up the texture so paint adheres better.
Fill any holes or imperfections with wood filler and let dry completely. Wipe sanded cabinets with a tack cloth to remove dust before priming.
The Painting Process
High quality cabinet paint or enamel designed for woodwork adheres best to slick cabinet surfaces. Opt for an interior semi-gloss or satin sheen. Gather your supplies including primer, angled paintbrushes, a roller with smooth nap, a paint tray, and drop cloths.
Priming is crucial for even coverage and durability. Use a small brush to carefully cut-in around edges, hinges, and corners. Then quickly roll primer onto flat surfaces before it dries. Apply paint in thin, smooth coats allowing proper drying time between each.
Achieving Smooth Cabinet Painting Results
Lightly sanding between coats gives the smoothest finish. Spray painting cabinets yields the most seamless look but requires much masking in the kitchen to avoid overspray. While painting, frequently step back to spot drips or uneven coverage.
A high quality mini roller prevents obvious roller marks. Maintain a wet edge and avoid overlapping passes to prevent blotchiness. Pay special attention to visible areas like cabinet fronts and door edges.
Finishing Touches for Painted Cabinets
Once thoroughly dry, replace hardware using your numbered reference. Upgrade to new knobs or pulls for extra flair. Remove any painter's tape and thoroughly clean the kitchen to reveal your fresh, revitalized space.
Staining Kitchen Cabinets
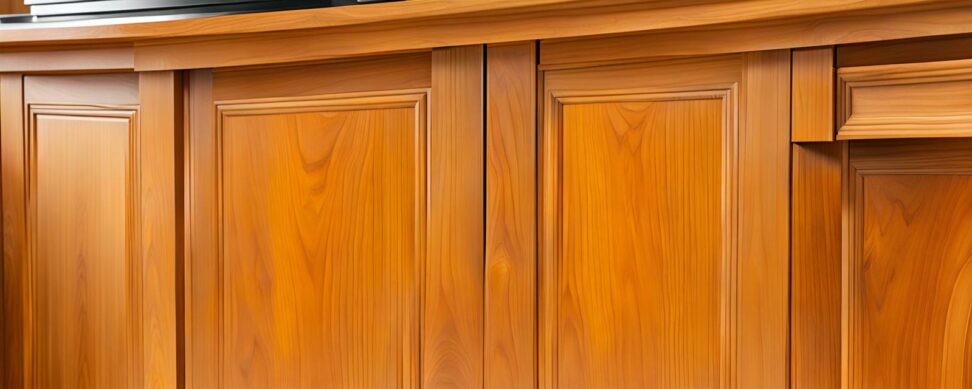
Stain provides a subtler update than paint, tinting the natural wood grain rather than covering it. Gel stains offer easiest application for beginners. Purchase supplies including stir sticks, lint-free rags, stain brushes, and painter's tape.
Prep Work for Staining Cabinets
Thoroughly clean cabinets and lightly sand surfaces to open the wood grain. Wipe away dust with a tack cloth. Using a wood conditioner provides a more uniform stain absorption, especially on oak cabinets.
Tape off any areas like walls or countertops not being stained to prevent drips. Cover floors with drop cloths as well.
Tips for Staining Cabinets
Test your chosen stain color on a hidden spot first. When ready to begin, stir the stain and maintain a “wet edge” as you work to prevent lap marks. Apply stain liberally along the wood grain using a rag or brush.
Immediately wipe off excess stain with a clean cloth for controlled color results. Let stain dry thoroughly before evaluating if additional coats are needed to achieve your desired tone.
Achieving an Even Cabinet Stain
Always apply stain to all surfaces evenly and completely to prevent a spotty or blotchy appearance. Allow proper drying time between coats. Adding more coats in thin layers provides deepest color saturation.
Maintain safety removing rags soaked in stain, which can self-combust. Allow rags to dry flat or soaked in water before disposing.
Finishing Touches on Stained Cabinets
Remove any painters tape once the stain has fully dried. Reinstall cabinet hardware and seal stained cabinets with polyurethane if desired for added protection.
Key Considerations Before Painting or Staining Cabinets
The process requires a serious time commitment for proper prep work and application of multiple coats. Budget for purchasing enough high-quality primer, paint or stain. Proper ventilation is a must due to strong fumes.
Weigh your skill level to determine if you can achieve the smooth, professional results you’re after. If you don't feel up to the task, consider hiring a painting contractor skilled in cabinet refinishing.
Once your cabinets sport a fresh coat of paint or stain, post before and after photos to inspire others. Complement your new cabinet color with updated hardware, countertops, backsplash or flooring.
With the right prep and technique, painting or staining cabinets can make your kitchen feel brand new again. Determine the best method to match your goals, then follow key steps to achieve stunning results.