Painted Cabinet Ideas to Makeover Your Kitchen on a Budget
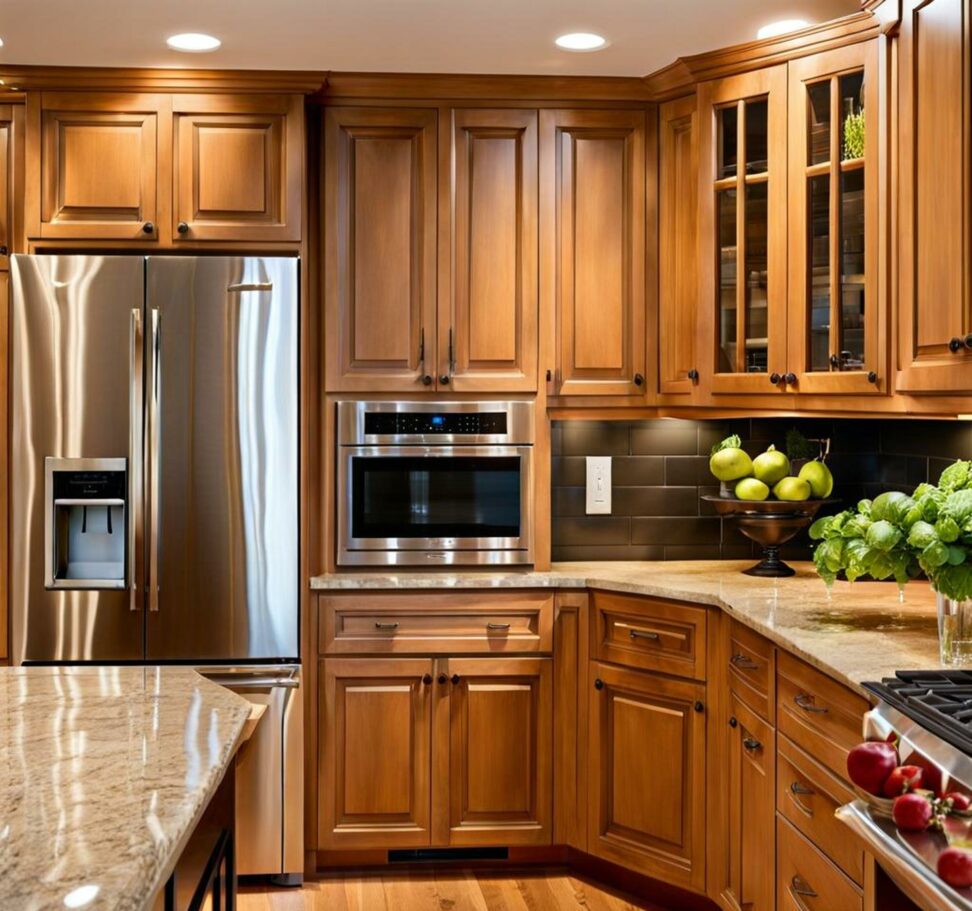
Outdated oak cabinets got you down? Before you go blowing your budget on a full kitchen remodel, consider refreshing your space with a simple cabinet makeover. With some paint, primer, and a few supplies, you can give your kitchen an affordable facelift.
Painting your cabinets opens up a world of possibilities to inject color and style into your kitchen without breaking the bank. Keep reading to learn everything you need to know to plan and execute a painted cabinet makeover on a budget.
Choosing Your Cabinet Paint Color
The first step is selecting a shade that will give your kitchen the look you want. Neutral white and light grey are popular cabinet colors because they keep things bright and airy. If you're feeling bold, navy blue, forest green, or even black can look crisp and stylish.
Buy a few paint samples in your top color choices and paint them onto pieces of cardboard to test out in your kitchen. Look at them at different times of day to see how the light affects the shades. Decide on one hue or go for a two-tone look with different colors on upper and lower cabinets.

Complementary Colors
Choose a paint color that pairs well with your countertops and backsplash. Cool tones like blues and greens look great with marble, granite, or slate surfaces. Warmer wood cabinet colors complement natural stone or tile.
If you're adding new countertops consider the cabinet color at the same time. But painting your existing cabinets can be a much cheaper way to get a cohesive look.
Preparing Cabinets for Painting
Proper prep is crucial for your painted cabinets to turn out smooth and professional-looking. Start by removing all doors, drawers, and hardware so you can fully access all the nooks and crannies.
Clean cabinet surfaces thoroughly with a degreaser like TSP to remove built-up grime and oils. Lightly sand glossy finishes to rough up the surface so the paint adheres properly.
Filling Holes and Repairs
Inspect cabinets and fill any holes, cracks or defects with wood filler according to package directions. Make repairs to any water damaged or deteriorating areas.
Once your filler has dried, sand the area smooth. Wipe all surfaces down with a tack cloth to remove any remaining dust before priming.
Priming Cabinets
Priming is an essential first step, especially for stained or darker wood cabinets. The primer coats will prevent undertones from showing through your topcoat of paint.
Use an oil-based primer for the best coverage and adhesion. Apply in thin, even layers using a combination of paintbrushes and mini foam rollers.
Give your primer coat adequate drying time before a light sanding and applying two to three finish coats of cabinet paint. Oil-based paints also hold up best for a smooth, hardwearing finish.
Safety Precautions
Work in a well-ventilated area when using oil-based primers and paints. Wear an OSHA-approved respirator mask to prevent inhaling toxic fumes.
Be diligent about properly sealing and storing paints and solvents when not in use to avoid health hazards.
Painting Cabinet Doors
For the cabinet doors, an angled sash brush lets you easily get into the grooves and trim details. Use smooth strokes and don't overload your brush.
Paint both sides of doors and drawer fronts for a finished look. Lay doors flat on sawhorses or across two stepladders set on low rungs.
Sealing Edges
Be sure to seal all exposed edges of doors and drawers to prevent moisture from seeping in and causing cracks and chips in the paint.
Use painter’s tape for ultra crisp edges along cabinet frames. Remove it immediately after painting while the coat is still wet.
Avoid Common Paint Mistakes
Patience and attention to detail will help you avoid drips, uneven coverage, brush marks, and other mishaps that can ruin a paint finish. Applying thin coats and allowing proper drying time between them is essential.
Rushing through and skipping steps like sanding and priming can also lead to paint not properly adhering and lasting. Take your time and do it right for cabinets that will look freshly painted for years.
Once your cabinet paint job has fully cured, use a polyurethane sealer to protect the finish from daily wear and tear. Filling old hardware holes and installing new knobs and pulls is the perfect finishing touch.
Beyond the cabinets themselves, think about easy ways to style the new space. Swap out your old lighting fixtures or showcase pretty dishware with glass cabinet inserts. The right accents will enhance your fresh painted cabinet makeover.
With some strategic planning, effort, and a budget-friendly paint job you can give your kitchen a whole new look. No major renovation required!