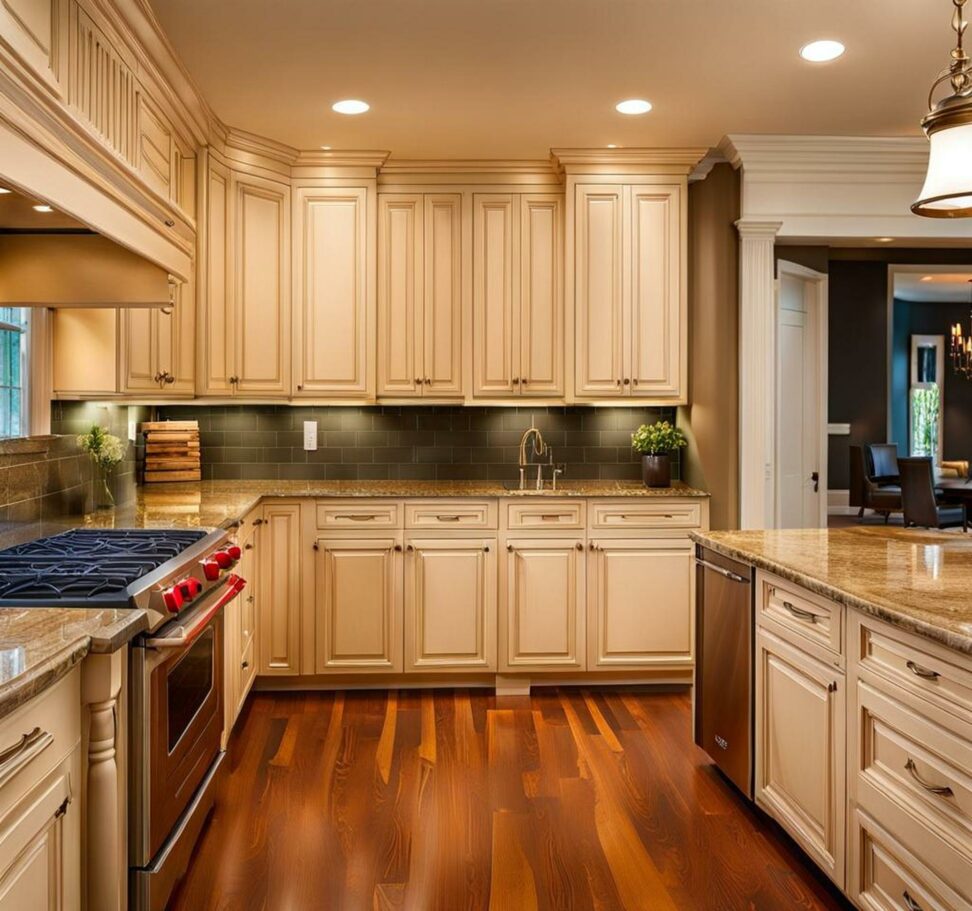
Refinished Cabinets Give You a Brand New Kitchen at a Price You'll Love
If your kitchen cabinets are looking worn and outdated but you dread the disruption and expense of a full remodel, refinishing may be the perfect solution. Refinished cabinets can transform the look of your kitchen in just days with dramatic results but without the huge price tag.
We'll also cover the refinishing process step-by-step, so you can achieve stunning “after” results that make your kitchen look brand new again.
When to Refinish vs. Replace Your Cabinets
There are a few signs that indicate it may be time to update your kitchen cabinets:
- The color and style look dated or drab
- You notice visible wear, peeling finishes, or damage
- Discoloration has built up over years of use
- The layout or storage options no longer work efficiently for your needs
Before deciding whether to refinish or replace your cabinets, assess the current boxes themselves. Check that the underlying structure and construction are solid without any water damage or rot. High quality wood boxes with standard sizing will refinish beautifully.

Cost is often the deciding factor. Refinishing existing cabinet boxes averages $2,000-$5,000 for a full kitchen makeover. Complete cabinet replacement typically starts at $10,000 for midrange options and can exceed $20,000 for premium custom cabinets.
Reasons to consider refinishing your cabinets include:
- Dramatic savings over the cost of new cabinets
- Retain the current layout if it still functions efficiently
- Quick, budget-friendly update to the entire kitchen
- Process only takes 2-3 days rather than remodeling for weeks
Refinishing Cabinets Step-by-Step
Prep Work is Key
Proper prep work ensures the new finish adheres well and looks smooth.
The first step is removing all doors, drawers, shelves, and hardware from the cabinets. Number doors and shelves to keep them organized for reinstallation later.
Thoroughly clean cabinet boxes, doors, and drawers to remove grease and dirt. Use TSP cleaner to cut through grime before sanding. Sand surfaces to rough up the existing finish so the new paint or stain bonds better.
Degrease any damaged or stained areas of bare wood. Use wood filler to patch any holes or flaws for the best results.
Choosing Between Paint and Stain
Painting allows you to cover existing surfaces with any color. For dramatic transformations from light to dark hues, paint is the best option.
Stains add color while allowing the wood grain to show through. Stain can update cabinets without fully concealing the natural wood.
For painted cabinets, opt for satin, semi-gloss, or high gloss sheen. Matte finishes show more flaws. Oil-based paints provide the hardest finish.
Gel stains work beautifully to stain cabinets. They cling well to vertical surfaces and are easy to control.
Painting Cabinet Boxes
Set up a well ventilated workspace for painting cabinet boxes. Remove doors, drawers, and hardware so only cabinet frames remain. Use painter’s tape to mask off adjacent walls or countertops.
After sanding, apply a primer if changing color significantly. Priming helps the new color adhere evenly. Use an angled trim brush to paint cabinet frames. Maintain a wet edge and work systematically from top to bottom.
For large cabinet boxes, a paint sprayer provides the most smooth, consistent coverage. Allow proper dry time between coats according to manufacturer directions.
Painting Doors and Drawers
With doors and drawers detached, it’s easy to paint the cabinet fronts. Set doors on sawhorses or across chairs for painting. Use painter’s tape on door edges to prevent drips.
Foam rollers or spray systems work well on flat door and drawer front areas. Switch to a high quality angled trim brush for detail areas like the grooves in recessed cabinet panels.
Sand lightly between coats to ensure an ultra smooth finish. Allow full drying as directed before reinstalling doors and drawers.
Staining Wood Cabinets
When staining existing wood cabinets, gel stains offer easy, controlled application. Use a wood conditioner first for more even absorption of stain.
Apply gel stain in smooth strokes following the wood grain pattern using a foam applicator. Remove excess after 10 minutes by wiping across the grain with a clean cloth.
Allow the first coat to fully dry before evaluating if a second coat is needed for your desired color depth. Seal stained cabinets with polyurethane for protection.
Topcoats Are Vital
A clear protective topcoat is highly recommended for both painted and stained cabinets. Water-based polyurethane works for either finish type.
Multiple thin coats of polyurethane provide better protection than one thick coat. Lightly sand and clean between each layer. At least two topcoats are best for cabinets that get heavy use.
Once fully cured, reattach doors, drawers, shelves, and hardware to complete your kitchen’s amazing transformation. Stand back and admire your beautiful “new” cabinets!
DIY vs. Hiring a Pro
Refinishing cabinets yourself costs less but requires more labor and learning. Pros refinish cabinets frequently and can complete the makeover faster with expert results.
Consider DIY refinishing if you’re handy, willing to learn, and want to choose custom colors. Watch online tutorials to gain techniques. Allow extra time to complete it yourself.
Hiring a professional refinishing company offers benefits like speedier turnaround, high quality workmanship, and less disruption. Get references and evaluate examples of past projects when choosing a pro.
Whether DIY or contracted, proper prep and using the right products lead to beautifully revitalized cabinets. Your dream kitchen awaits!
Seeing the dramatic before and after photos of refinished kitchens proves the amazing transformation. Dated cabinets are modernized, color-revived, and look completely custom - all on a budget.
With refacing instead of replacing, you can achieve a brand new, gorgeous kitchen makeover for a fraction of the cost. Better storage, upgraded style, and renewed functionality completely change the space.
Love your kitchen again by refinishing cabinets instead of opting for a full renovation. Contact us today to discuss options for giving your kitchen a fresh new look.