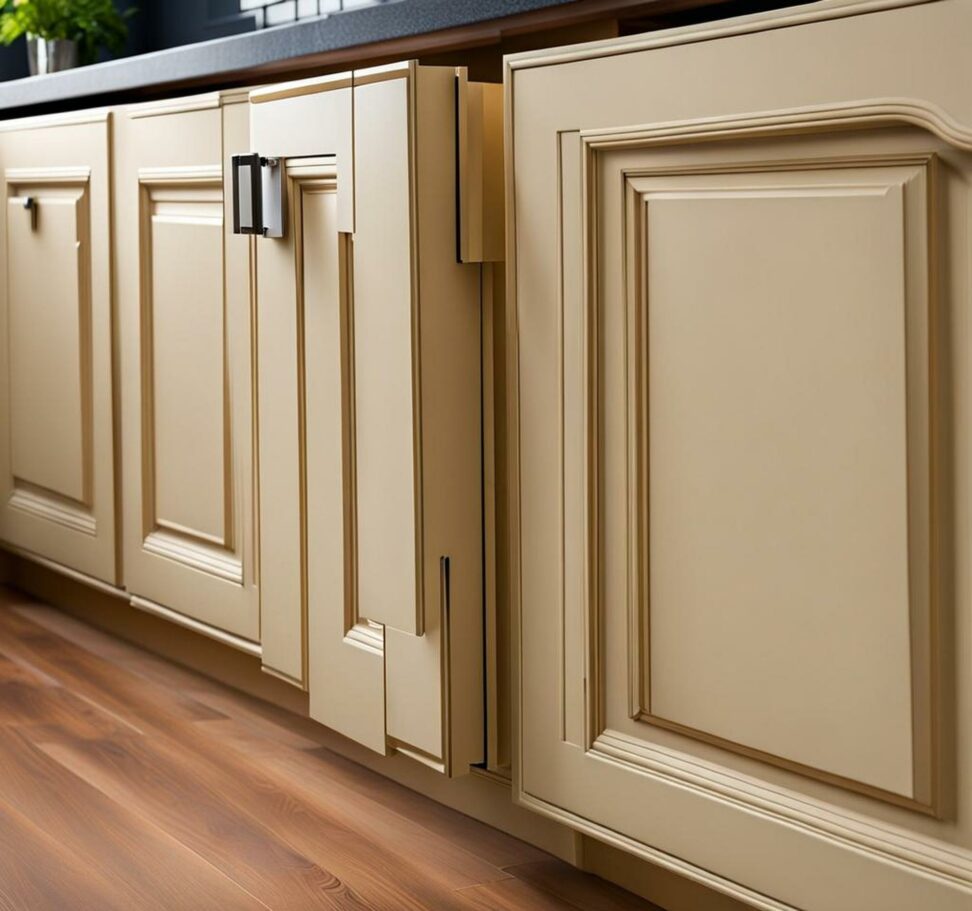
Refresh! Repaint Worn MDF Cabinets in 4 Easy Steps
If your kitchen cabinets are made from medium density fiberboard (MDF), they can start to look worn and dated over time. The material is prone to absorbing stains and moisture, causing it to swell and warp. Fortunately, you don't need to replace your MDF cabinets. With some simple cleaning, sanding, priming and repainting, you can give them a fresh new look on a budget.
Follow these 4 easy steps to revitalize your worn MDF cabinets with a new coat of paint. No fancy tools or previous experience required!
What You'll Need to Repaint Cabinets
Before starting any painting project, it's important to gather all the necessary supplies. Repainting kitchen cabinets requires some specific tools and materials for the best, long-lasting results.

Painting Supplies
- Latex enamel cabinet paint
- Oil-based primer
- Angled paint brushes
- Paint tray and roller
- Painter's tape
- Drop cloths
Prep Supplies
- Screwdriver
- Soft cloths
- Mild detergent
- 150-220 grit sandpaper
- Tack cloth
Gather all supplies before starting so your project goes smoothly from start to finish. Don't forget to use drop cloths for protecting your floors and countertops.
Detach Cabinets Before Painting
Removing the doors, draws fronts, and hardware might seem tedious but it's an essential step. Detaching everything allows you to paint the cabinets more easily without paint dripping onto the hinges or hardware.
Use a screwdriver to detach the doors and fronts from the cabinets. Remove all handles and knobs too. Place the hardware in labeled bags so you don't lose anything. Now you're ready to clean, sand and paint each piece individually.
Thoroughly Clean Cabinets
Before painting, it's critical to clean away any dirt, dust, oil or grime so the new paint properly adheres...
Supplies for Cleaning
- Warm water
- Mild detergent
- Soft cleaning cloths
- Scrub brush
Mix warm water with a small amount of mild detergent like dish soap or all-purpose cleaner. Dampen a soft cloth, wring out excess liquid, and wipe down all cabinet surfaces. The warm soapy water helps cut through grease and residue. Use a small scrub brush for tougher grime.
After cleaning, wipe cabinets with a fresh damp cloth to remove all soap. Thoroughly dry with clean, soft towels. Allow the MDF cabinets to air dry for at least 60 minutes before sanding or priming.
Sand Cabinets and Remove Dust
Before painting, it's important to gently sand the cabinets. This helps the paint better adhere to the MDF material. Lightly sanding also smoothes any small scratches or imperfections...
Use 150-220 grit sandpaper and "feather" it across all surfaces, lightly smoothing any rough areas. Try a sanding sponge for hard to reach corners. Carefully wipe away all dust with a dry cloth after sanding.
Priming Tips for Best Results
Priming is a crucial step when painting MDF cabinets. Primers seal the porous material so regular paint doesn't soak in and cause swelling or discoloration. Oil-based primers offer the best seal on MDF.
Thoroughly stir the primer before and during application. Use a good quality angled brush and apply the primer in thin, even strokes. Allow the primer to fully dry for at least 18-24 hours before lightly sanding again or painting.
Painting Cabinet Doors and Fronts
When selecting cabinet paint, choose a high-quality latex enamel designed specifically for painting kitchen cabinets. Latex enamels offer excellent coverage and a durable, scratch-resistant finish that holds up well over time.
Tips for Painting Cabinets
- Stir paint thoroughly before and during use
- Apply paint in thin, smooth coats using a brush or roller
- Allow proper drying time between coats
- Lightly sand and clean between paint coats
- Apply at least 2-3 coats for best coverage
Use long, parallel strokes to evenly apply the paint. Avoid excessive brushing or you may brush off too much. Paint the cabinet frames first, then doors and fronts. Finally attach the hardware to put your refreshed, repainted cabinets on display!
Now that you've succeeded in repainting your worn MDF cabinets, you'll want to keep them looking fresh as long as possible. Here are some useful maintenance tips:
- Avoid placing heat generating appliances nearby
- Quickly clean up any spills
- Use cabinet liners to protect shelving
- Consider re-sealing annually
Repainting your cabinets can look great for many years before you need a refresh. No need to replace cabinets when a few coats of paint lets you revitalize cabinets on a budget!