Refresh Your Kitchen Cabinets with Removable Vinyl Wraps
Is your kitchen looking tired and dated, but you don't have the budget for a full renovation? Refreshing your existing cabinets with removable vinyl wraps offers an affordable and temporary solution to give your kitchen a fresh new look.
Vinyl wraps allow you to revitalize the look of your kitchen in a weekend and change it up again whenever you get the itch for a new style. Read on to learn how this budget-friendly DIY can help you fall in love with your kitchen again!
An Introduction to Vinyl Cabinet Wraps
Vinyl wraps, also known as self-adhesive films or contact paper, are thin sheets of decorative vinyl with an adhesive backing. They can be easily applied to a variety of surfaces like walls, furniture, and cabinets to give them a new printed look or solid color.
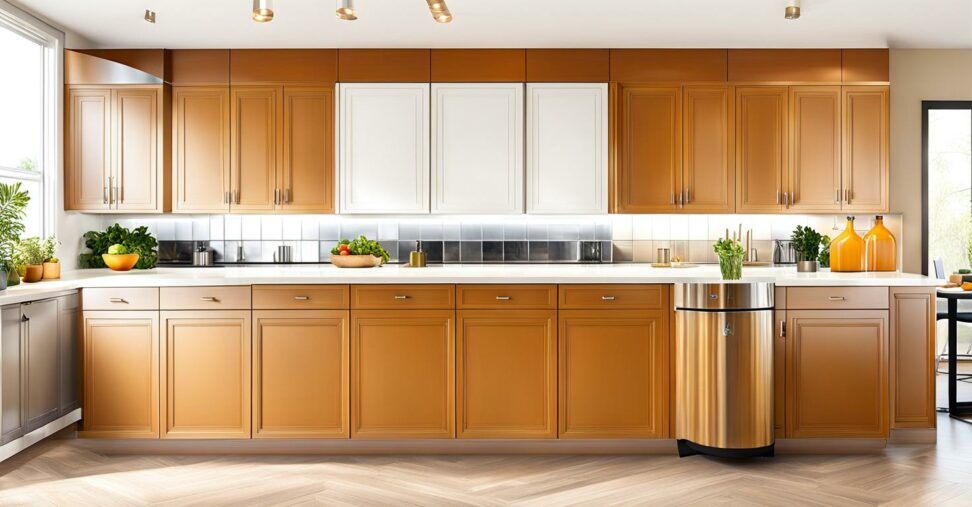
For kitchen cabinets, vinyl wraps are attached directly onto the existing doors and face frames to disguise damaged or dated surfaces. Rather than demolishing your old cabinets, you can cover them with wood-patterned vinyl to achieve the look of brand new cabinets for a fraction of the price.
Benefits of Vinyl Wraps for Kitchen Cabinets
There are many advantages to using peel-and-stick vinyl rather than taking on a full kitchen remodel when your goal is to update your cabinets:
- Cost savings - Vinyl wraps for an entire kitchen may cost a few hundred dollars rather than thousands for new cabinets.
- Quick installation - Prepping and wrapping cabinets can be done over 1-2 days.
- Easy DIY project - No need to hire contractors for installation.
- Customizable look - Vinyl comes in hundreds of colors and patterns.
- Removable - Vinyl can be swapped out whenever you want a change.
- Less waste - Eco-friendly compared to tossing old cabinets.
While vinyl wraps won't provide the flawless look of brand new cabinetry, they offer the ability to give your kitchen an updated style conveniently and affordably.
Factors to Consider
Vinyl wraps won't work well on every type of cabinetry. Here are a few things to take into account:
- Condition - Cabinets with peeling laminate or paint may need repairs first.
- Surface - Textured or bumpy surfaces are tricky for smooth vinyl application.
- Quality - Low-quality films more prone to lifting or bubbling over time.
- Accessibility - Wrapping inside cabinet boxes can be very difficult.
- Pattern matching - Prints may be hard to align between doors/drawers.
With proper prep and care, even cabinets with minor damage or wear can benefit from a vinyl wrap transformation. Focus wraps on the visible exterior surfaces for maximum impact.
Choosing a Vinyl Wrap Design for Your Kitchen
The options are nearly endless when it comes to picking a vinyl film style for your kitchen cabinets. Consider what will best complement your existing kitchen decor, or choose something totally different for a major change.
Take Measurements
The first step is carefully measuring each cabinet door, drawer front, and side panel that you plan to cover. Having precise measurements will allow you to purchase just the right amount of vinyl for the job. It's better to have a little extra than to come up short.
Select a Style That Inspires You
Browse vinyl wrap colors and patterns online or in stores. Some popular kitchen options include:
- Wood looks - oak, cherry, maple, walnut
- Solid colors - white, black, gray, blue
- Faux finishes - marble, stone, distressed
- Patterns - tile, Moroccan, geometric
Order samples first if possible. Seeing a small swatch on an actual cabinet will help you visualize the finished look.
Purchase Cabinet Vinyl Wrap
Once you've selected your vinyl wrap style, purchase enough to cover all your cabinets allowing for potential mistakes. Many vinyl wrap brands sell cabinet door application kits for convenience.
Prepping Cabinets for Vinyl Installation
Preparing your cabinets thoroughly before applying vinyl wrap will ensure the film adheres smoothly and lasts long-term. Proper prep work makes a huge difference.
Clean Surfaces
Use a degreasing cleaner to remove any dirt, grease, or grime so the vinyl will stick well. Rinse thoroughly and let the cabinets dry completely.
Sand Down Rough Areas
Lightly sand any bumps, scratches, or uneven areas on cabinets so the vinyl film won't bubble. Fill small holes with wood filler and sand smooth.
Remove Doors and Hardware
Taking off cabinet doors and handles will make the vinyl wrapping process much easier. Number doors to keep them in order for reinstallation.
Apply Primer or Sealer if Needed
For damaged or very porous surfaces, an oil-based primer or sealer helps the vinyl adhere properly without sagging. Let primer fully cure before vinyl application.
Applying Vinyl Wraps to Cabinets
Once your cabinets are prepped, you're ready to transform them with your vinyl film of choice! Follow these key steps:
Cut Vinyl Pieces to Size
After measuring each surface, use a sharp utility knife on a cutting mat to cut your vinyl wrap into pieces sized for each door, drawer, and panel.
Remove Backing and Position Vinyl
Slowly peel away the adhesive backing, align the vinyl on the cabinet surface exactly where you want it, then press down gently.
Smooth Out Bubbles and Wrinkles
Use a plastic applicator tool to adhere the vinyl evenly, moving from the center outward. Remove any air bubbles and wrinkles as you go.
Trim Off Excess Vinyl
Use the utility knife to carefully trim away excess vinyl at corners, edges, and seams for a smooth finish.
Reinstall Doors and Hardware
Once the vinyl is installed, screw cabinet door hinges back on and reattach handles and knobs to finish off your "new" cabinets.
Caring for Your Vinyl Wrapped Cabinets
With proper care and maintenance, vinyl wrapped kitchen cabinets can look fabulous for years. Here are some vinyl wrap care tips:
- Use only mild, non-abrasive cleaners and avoid harsh chemicals.
- Re-adhere lifted edges carefully with a hairdryer.
- Patch small rips or scratches with touch-up pieces of vinyl.
- Check for wrinkling or damage regularly and smooth with heat.
The vinyl may wear faster in certain spots, like near the oven or sink. But overall it will provide a fresh update with minimal fuss and expense!
Removing and Replacing Vinyl Wraps
When it comes time for a change, removing vinyl wrap from cabinets is also doable as a DIY project. Here's how to do it safely:
- Heat the vinyl with a hairdryer as you gently peel it off.
- Pull slowly so you don't damage the underlying cabinet finish.
- Use adhesive remover to get rid of any sticky vinyl residue.
And just like that, you can apply a brand new vinyl wrap design for another kitchen mini-makeover! Change up the look seasonally or whenever the mood strikes.
Vinyl cabinet wraps offer a budget-friendly shortcut to reviving your kitchen without the mess and expense of a remodel. In a fraction of the time and cost, you can give dated or damaged cabinets an eye-catching updated look and switch it out anytime.
With hundreds of vinyl wrap options to choose from, you can match your existing decor or go bold with a completely new style. Preparing surfaces properly and applying the vinyl methodically does take some work, but yields huge visual impact.
If your kitchen is looking tired but a renovation isn't feasible, removable vinyl cabinet wraps help you fall in love with your kitchen again! With some creativity and elbow grease, you can have stylish cabinets minus the headaches and huge price tag.