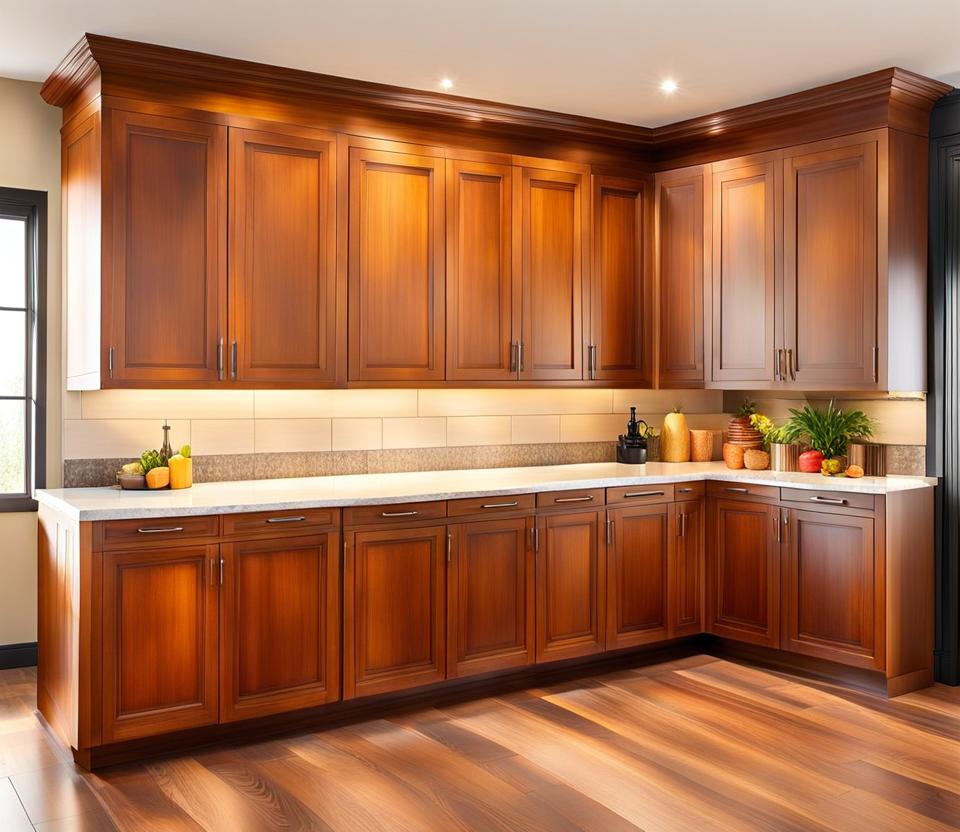
Rejuvenate Tired Cabinets with Professional Stain Results
Is your kitchen looking tired and dated thanks to old, worn cabinets? With the right staining techniques and products, you can easily transform those cabinets from drab to fab without the high cost of replacement. Read on to learn how proper preparation, staining methods, and topcoat application can rejuvenate your existing cabinetry with beautiful, professional-grade stain results.
Refinishing cabinets is an affordable way to upgrade your space with dramatic results. Follow the steps in this DIY staining guide to revitalize your cabinets with rich, flawless color and a like-new appearance.
Gather the Necessary Refinishing Supplies
Staining cabinets is a relatively straightforward process, but having the right tools is key. Here are the supplies you'll need for each step of the process:
Sanding and Surface Prep
- Sandpaper (120 and 150 grit)
- Sanding blocks and sponges
- Chemical paint stripper
- Degreasing cleaner like TSP
- Denatured alcohol
- Tack cloths
Stain Application
- High-quality staining brushes
- Lint-free cloths and pads
- Paint roller and tray (for large surfaces)
- Stir sticks
- Wood conditioner or pre-stain
Topcoat Supplies
- Oil-based or water-based polyurethane
- Disposable gloves and drop cloths
With the right products in hand, you'll be ready to tackle even the most worn-out wood cabinets.

Preparing Cabinets for Staining
Proper prep is crucial for stain to adhere evenly and beautifully. Here are the key steps:
Remove Doors, Drawers and Hardware
Detach all doors, drawers, knobs and pulls. This allows you to stain the cabinet boxes and doors separately for easier access.
Repair Imperfections
Inspect surfaces and use wood filler to patch any holes, gouges or flaws for a smooth finish.
Strip Away Old Finishes
Use a chemical paint stripper to remove any existing paint or stain from your cabinets. This gives the new stain a clean surface to bind to.
Clean and Sand Cabinets Thoroughly
With old finishes removed, you can now prep the bare wood for staining. Proper cleaning and sanding ensures maximum adhesion.
Clean with a Degreaser
Wipe all surfaces down using a degreasing cleaner like TSP. This removes any grease or grime so stain doesn't get repelled.
Smooth with a Sander
Use an orbital sander with 120 grit paper to smooth out any rough spots or wood grain texture. Always sand in the direction of the grain.
Hand Sand Details
For corners and detail work, hand sand with 150 grit sanding blocks. This prevents rounding over edges.
Remove Dust
Wipe surfaces completely with a tack cloth to remove any dust before staining.
Prep Wood for Staining
For the most uniform stain penetration, prep bare wood using either a wood conditioner or pre-stain treatment.
Apply Wood Conditioner
Wood conditioner seals porous areas so stain absorbs evenly across the entire surface.
Use Pre-Stain Treatment
Pre-stain treatments work similarly to conditioners to prevent blotchy areas when staining.
Let the conditioner or pre-stain fully dry as directed before applying stain.
Staining Techniques for Flawless Results
With surfaces properly prepped, you're ready for staining. Follow these tips to achieve beautifully colored cabinets:
Thoroughly Stir the Stain
Before and periodically during application, mix the stain to maintain color consistency.
Use High Quality Brushes
Invest in good staining brushes made for oil-based products. Quality bristles hold more stain for better coverage.
Apply Stain with a Mini Roller
For large flat areas, use a 4-inch mini foam roller to quickly and evenly apply the stain.
Maintain a Wet Edge
Work in sections, applying stain across the cabinet set before moving on. This prevents lap marks as you go.
Let Stain Sit Briefly Before Wiping
Letting stain dwell for 5-15 minutes allows more absorption before wiping. This builds richer color.
Wipe in Direction of Wood Grain
Use lint-free cloths to wipe off excess stain in careful strokes following the wood grain pattern.
These techniques help the stain absorb beautifully and evenly for professional looking results.
Apply a Protective Topcoat
The final step is sealing your stained cabinets with a clear protective topcoat. Polyurethane offers a durable yet beautiful finish.
Allow Stain to Fully Dry First
Before topcoating, let the stain cure completely according to manufacturer guidelines to prevent issues.
Brush On Polyurethane
Apply 2-3 coats of oil-based or water-based polyurethane using a high quality synthetic bristle brush.
Lightly Sand Between Coats
To ensure a smooth finish, lightly sand each coat before applying the next using 220 grit paper.
Let Topcoat Cure Before Reassembly
Once fully cured, you can reinstall the doors, drawers, and hardware to complete your kitchen's amazing transformation.
With some simple tools, preparation, staining techniques, and sealant, you can easily convert your old, dated cabinets into an elegant and eye-catching focal point in your kitchen. The difference staining can make is remarkable.
Follow this guide and you'll be amazed at the beautiful, professional-grade results you can achieve, all without the expense of new cabinets. A stained cabinet refresh is a budget-friendly route to a wholly upgraded space.