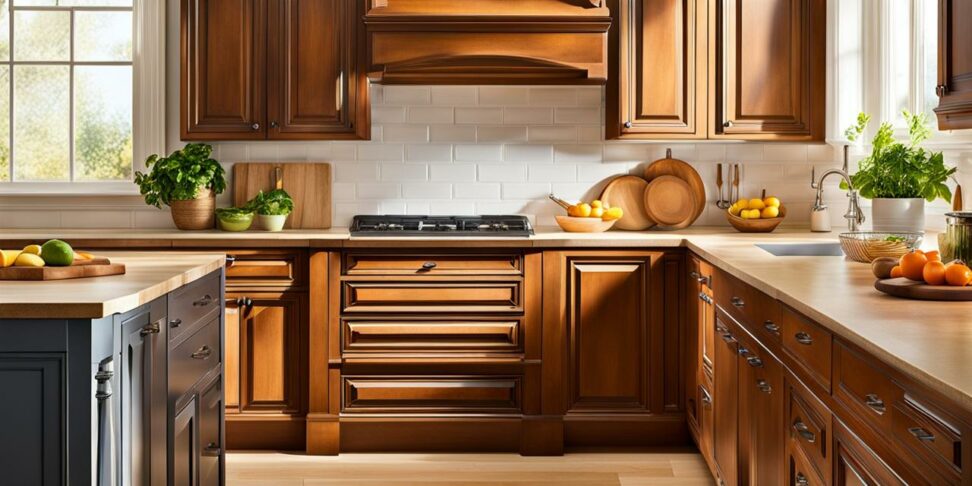
Rejuvenate Your Kitchen on a Budget - Cabinet Chip Fixes
Is your kitchen looking tired and dated thanks to chipped and damaged cabinets? With a few simple repairs, you can breathe new life into your kitchen without spending a fortune. Read on to learn how easy and budget-friendly it is to fix cabinet chips and refresh your kitchen's style.
Repairing minor cabinet damage like chips and nicks is an easy DIY project that makes a big visual impact. Small flaws really stand out on kitchen cabinets and make the whole room feel worn. The good news is you don't have to live with damaged cabinets or replace everything to get your dream kitchen. Strategic repairs go a long way!
Assessing Cabinet Damage
Before you begin repairs, take time to evaluate your cabinets. Are they made of laminate or solid wood? Laminate has a plastic-coated surface while solid wood will show natural wood grain on the doors and unfinished edges.

Examine each cabinet door and drawer front for flaws. Note the location, size, and severity of any chips, cracks, or gouges. Damage on frequently used doors near the stove or sink is common.
When to DIY vs Call a Pro
Minor chips and dents are easy DIY repairs. But if the damage spans large areas or you see cracks in the wood, it's best to call in a professional to avoid making it worse.
If the inner wood is exposed, paint touch-ups won't suffice. Extensive repairs require new cabinet doors or professional refacing.
Supplies Needed
Gather these supplies before starting work:
- Sandpaper (120, 150, and 220+ grit)
- Wood filler or wood putty
- Paint or stain supplies for color matching
- Polyurethane for protection
- Painters tape
- Clean rags, brushes, putty knife
Preparing the Damaged Area
Proper surface prep ensures your repairs blend in seamlessly. Lightly sand the damaged spot and surrounding area to roughness and remove any loose splinters. This helps the filler adhere properly.
Thoroughly clean the sanded area to remove dust. Consider taping off nearby walls and undamaged cabinet sections to keep them unblemished.
Filling Holes and Chips
Select a filler designed for your cabinet material. Wood filler works on solid wood while plastic wood filler is better for laminate. Scoop a small amount onto a putty knife.
Press the filler into the damaged spot, overfilling slightly. Smooth with the putty knife until flush with the surrounding surface. Allow the filler to dry for 1-2 hours as recommended before sanding.
Sanding the Repair
Lightly sand the filled area using 120-150 grit sandpaper. Be careful not to dig into the filler. Your goal is to smooth and shape the patch to match the contours of the cabinet.
Do a final sanding with 220+ grit to achieve an ultra-smooth finish. Blend the edges so they fade seamlessly into the cabinet. Thoroughly clean the surface when you're done.
Matching Color
Matching the existing cabinet color is crucial for an undetectable repair. Test stain or paint samples on an inconspicuous underside or back. Allow drying between coats.
You may need to tint the stain or paint with darker and lighter shades to achieve the perfect color match. Apply in thin layers until satisfied with the results.
Protecting and Finishing
Seal in your repair and add protection from future damage by applying 1-2 coats of satin polyurethane. Select a sheen level that matches your existing cabinets.
Let the finish fully cure for several days before putting your cabinets back into use. Buff away any uneven edges or residue.
Your DIY chip repair brings new life to worn cabinets, but you'll want to keep them looking pristine. Here are tips to avoid new dings:
- Use cutting boards and hot pads instead of cutting directly on cabinet surfaces
- Open and close doors gently instead of slamming
- Add bumpers to protect high impact corners
With these easy DIY techniques, you can rejuvenate your kitchen cabinets without replacing them. Minor repairs make a major difference! Get started on renewing your space today.