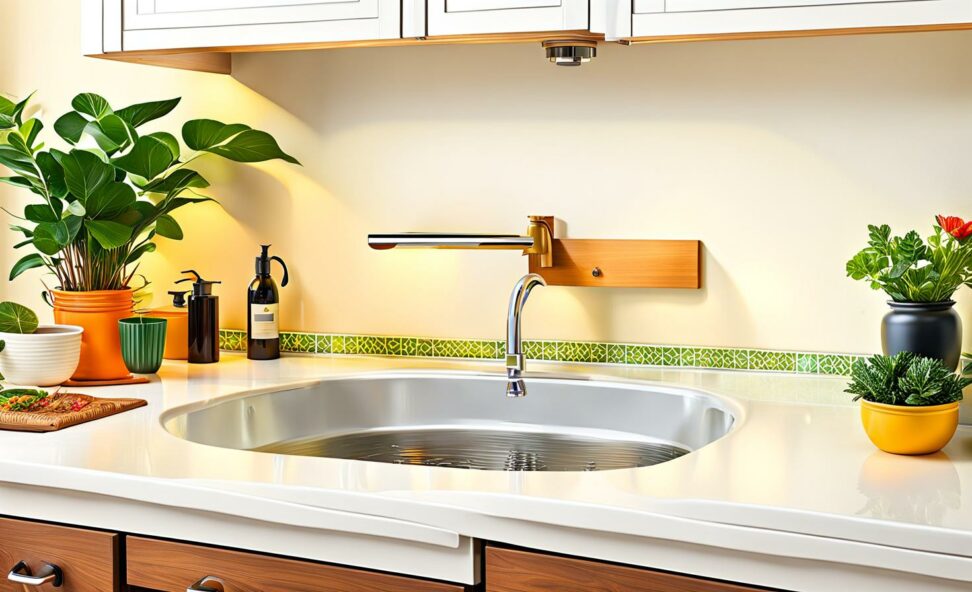
Rejuvenate Your Kitchen Sink with an Easy DIY Makeover
Is your kitchen sink looking a little dull or dated? Those chips, stains, and faded areas can make even the nicest kitchen feel dingy. But you don't have to replace the whole sink to give it a fresh new look. With some simple DIY refinishing techniques, you can rejuvenate your sink affordably and easily.
From prepping to priming to painting, we've got you covered with tips for a successful DIY sink makeover project.
Gather Your Refinishing Supplies
The first step is gathering the right supplies. You'll need:

- Sandpaper - 120-150 grit
- Tack cloth
- Cleaning solutions - degreaser, soap
- Primer - bonding primer for slick surfaces
- Paint - appliance epoxy or porcelain/enamel paint
- Paint supplies - roller, brush
- Sealant - polyurethane or enamel clear coat
- Tools - palm sander, paint tray, stir sticks
Having all your prep, priming, painting, and sealing materials ready ahead of time will make the process smoother.
Thoroughly Clean the Sink
Before painting, it's crucial to fully clean and degrease the sink. Use an abrasive cleaner or degreaser to remove all dirt, grime, soap scum, and oils from the surface of the sink. You want to get it as clean as possible so the paint will properly adhere.
Scrub all areas with a brush or scrubbing pad. Be sure to rinse very thoroughly after cleaning. Any residue left behind can cause problems with paint adhesion. Wipe down with a lint-free cloth after rinsing.
Sand Down the Glossy Surface
Most kitchen sinks have a slick, glossy surface that needs some roughing up before painting. This helps the primer and paint grab onto the surface better.
Use 120-150 grit sandpaper to scuff up the entire sink basin. Make sure to sand thoroughly and evenly. You don’t need to remove the gloss completely, just scratch it up a bit. Wipe away all dust with a tack cloth when finished.
Prime, Paint, then Seal
With the prep work done, you're ready to get into the fun part - choosing a fresh new color! Follow these steps for best results:
Apply a Primer Coat
Primer creates a bonding layer between the sink and paint for better adhesion. Use a high-adhesion primer formulated specifically for slick surfaces like porcelain, ceramic, enamel, acrylic, and stainless steel.
Use a small foam roller and brush to apply a smooth, even layer of primer over the entire sink basin. Let the primer dry fully before moving onto painting.
Paint with Thin, Even Coats
For painting the sink, enamel or appliance epoxy paints are recommended because they cure hard and are very durable. Pour the paint into a paint tray and use a small foam roller to roll on the paint evenly.
Apply thin coats and allow each coat to fully dry before adding another. This prevents drips and runs in the paint. Lightly sanding between coats also helps smooth the final finish. Allow the final coat to cure fully (24-48 hours) before use.
Seal with a Protective Topcoat
For added protection and durability, apply 1-2 coats of a clear polyurethane or enamel sealant over the painted sink. This seals the finish and creates a protective barrier against moisture, scratches, chemicals, and fading.
Use a high-quality brush to smoothly apply the sealant. Allow proper drying time between coats. The sealant enhances the look of the paint and keeps your sink looking like new.
With a little routine care, your refreshed sink will continue looking fabulous for years. Here are some maintenance tips:
- Use mild cleaners and soft sponges to avoid scratching
- Rinse thoroughly after cleaning
- Avoid abrasive scouring pads
- Dry with a soft cloth to prevent water spots
- Re-seal annually to maintain protection
- Touch up paint chips quickly to prevent moisture damage
Refinishing can extend the life of a worn sink for a fraction of replacement cost. In about a weekend, you can have a sink that looks brand new with this easy makeover. Just follow the steps for cleaning, sanding, priming, painting, and sealing for results that will have your kitchen looking refreshed and renewed.