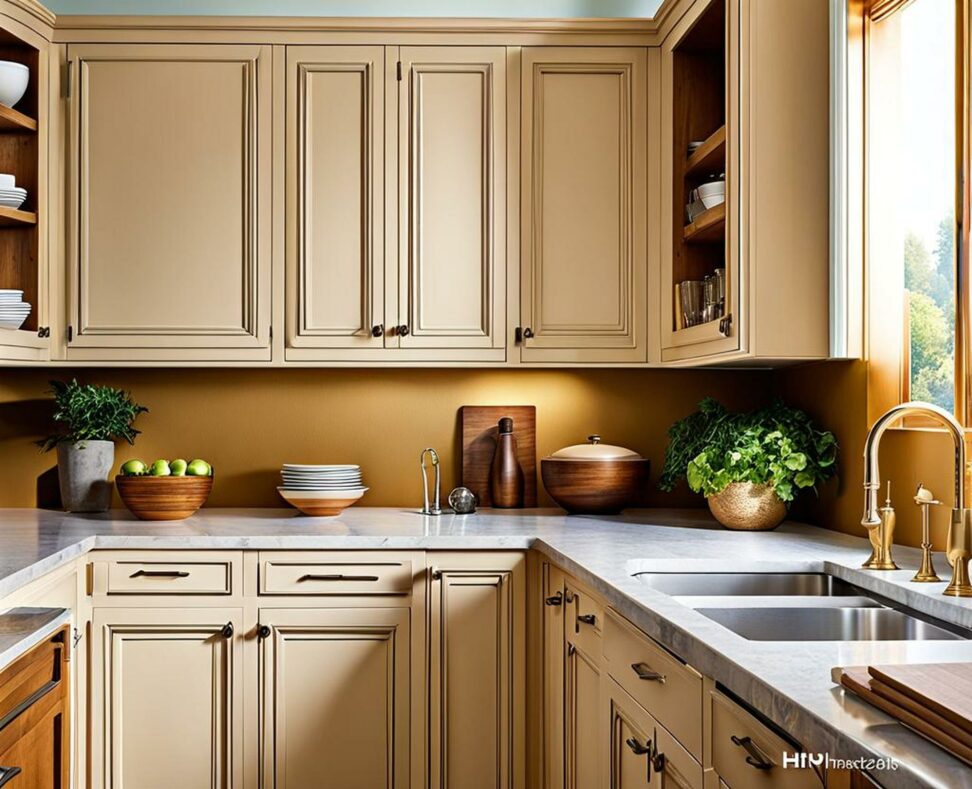
Replacing Cabinet Hardware is the Best DIY Kitchen Makeover
Is your kitchen looking tired and dated? Ready for a change but can't afford a full renovation? Updating your cabinet hardware is an easy, affordable way to give your kitchen a fresh new look.
Replacing cabinet knobs, handles, hinges and pulls can make a huge impact without a huge investment. With a few new pieces of hardware and a couple hours of work, you can transform the look and feel of your kitchen almost instantly.
Assessing Your Current Cabinet Hardware
Before selecting new hardware, take a good look at your existing knobs, handles, hinges and pulls. Note the finish, style, size, placement and installation. Do certain pieces need replacing more than others? Evaluate condition and determine if you want to replace all hardware for a cohesive look or just upgrade part. Also consider the existing holes and spacing, as this will impact what new hardware can work.
Take Measurements
Pay close attention to the distance between holes and the diameter of the holes themselves. Having this information handy will ensure your new hardware fits properly. You may need to fill holes, drill new ones, or look for new hardware that aligns with your existing layout.

Determine Your Style Goals
Decide if you want your new hardware to match your kitchen's current style or go in a completely new direction. For example, you may want to update dated brass knobs to a more modern matte black handle. Or maybe you'll stick with traditional style but just freshen up the finish. Determine your ideal look before shopping.
Selecting New Cabinet Hardware
Once you've assessed your current situation, start selecting new hardware. There are lots of options to sort through, so keep your goals in mind as you shop. Here are some factors to consider:
Choose Cabinet Hardware Style
Look at different styles like traditional, modern, minimalist, or eclectic based on your kitchen's aesthetic. Popular finishes include brushed nickel, oil-rubbed bronze, satin brass, and matte black. Decide between knobs, handles, or recessed pulls. Get the look you love.
Consider Size and Placement
Measure two times to determine proper sizing. Proportion is key—knobs and pulls should align with cabinet height and door/drawer size. Use your original hardware spacing if possible for an easier install. A hardware jig can help you drill evenly spaced new holes.
Estimate Your Budget
Add up total knobs, handles, hinges needed. Prices range widely from inexpensive plastic knobs to higher end styles. Set a budget before falling in love with something too pricey! Shop sales and budget brands to save.
Order All Hardware Together
Buying everything at once ensures it coordinates. Order a few extras in case of any issues. Try to avoid multiple shipping charges if possible.
Removing the Old Cabinet Hardware
Once your new hardware arrives, it's time to remove the old. Having the right tools on hand will make this much easier. You'll need a drill, screwdriver, hammer, and pry bar. Remove any screws first, then gently pry off knobs and handles as needed. Take your time to avoid damaging cabinets. Fill any large leftover holes with wood filler so they're ready for new hardware installation. Give cabinets a good clean while you have them empty.
Have Patience!
Removing hardware can be tedious. Avoid frustration by working methodically. Have a system for keeping different screws and parts organized. Proper prep now makes for smooth new hardware installation.
Preparing Cabinets for New Hardware
Examine all cabinet doors and drawers to ensure the new hardware will fit properly. Fill any gaps between old and new hole placement with wood filler. Sand and prime the cabinets if needed—ask for primer recommendations at your local hardware store. Priming is optional, but it gives your cabinets a refreshed, cohesive look.
Drill New Holes
If your new hardware requires different spacing, carefully measure and drill new holes. Using a jig helps keep holes evenly positioned. Go slowly to avoid splintering cabinets. New holes may also be needed for recessed pulls.
Installing the New Hardware
You're almost done! First attach your new hardware to one drawer or door to get the hang of it. Use a screwdriver to securely attach any provided screws. Be careful not to over tighten. Once you've got the process down, do the same for the remaining cabinets. Work in sections—don't try to do it all at once.
Protect Your Cabinets
Use painter's tape around the new hardware to avoid damaging cabinets as you work. Be prepared to touch up with matching paint if needed once done. Then stand back and admire your handiwork!
Finishing Touches
New cabinet hardware can totally transform the look of your kitchen. But why stop there? Now is the perfect time to add other easy updates like:
- New cabinet liner
- Under cabinet lighting
- Fresh paint color
- Stylish new knobs or pulls for drawers
- Updated fixtures
Completing your cabinet hardware makeover doesn't have to mean you're done updating your kitchen. Let your new hardware be the inspiration for other simple, affordable changes.
As you can see, replacing your dated or worn out cabinet hardware is one of the easiest and most budget-friendly ways to give your kitchen a fresh new look fast. With some planning and elbow grease, you can tackle this project in less than a weekend. No major remodeling required!
Hardware makes a huge impact. Freshening up your cabinets with new knobs, pulls, and handles will help modernize your kitchen instantly. So don't settle for an outdated kitchen you don't love. A hardware makeover can transform the heart of your home.