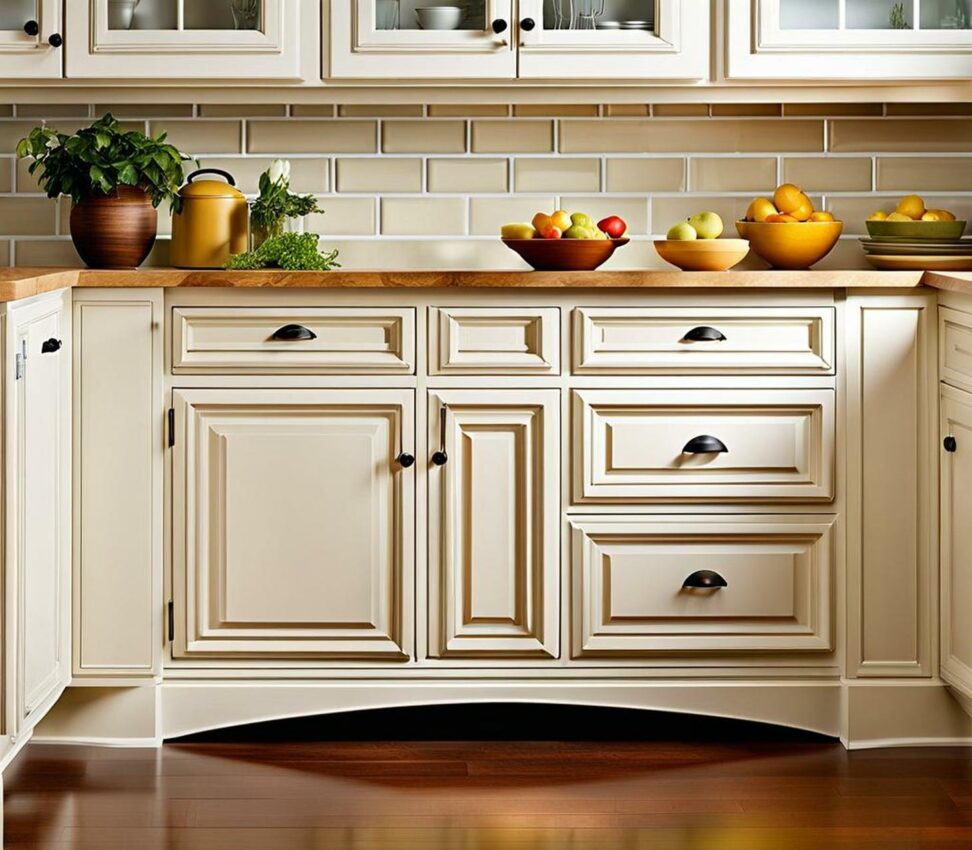
Revive Your Kitchen Instantly with All-In-One Cabinet Paint
Does your kitchen seem tired and dated, no matter how much you clean? Drab wooden cabinets can drain the life out of the heart of your home, making even a sparkling countertop and new backsplash ineffective. The prospect of a full kitchen remodel can be daunting, requiring pros, high costs and weeks of disruption. But you can breathe new life into your kitchen in a weekend for a fraction of the cost simply by repainting your existing cabinets.
All-in-one cabinet paint provides an easy DIY shortcut to a dramatic transformation. With some simple prep work, these specialized paints allow you to prime and paint your cabinets in one step. No lengthy stripping or heavy sanding required. The right all-in-one paint will adhere to glossy finishes and cover existing stains beautifully. With a fresh coat of paint in a modern, uplifting shade, you can update your kitchen almost instantly.
Choosing an All-in-One Cabinet Paint
The first step is selecting the right paint for your kitchen cabinets. All-in-one options combine primer and paint in one formula for convenience. You'll typically have a choice between latex and oil-based varieties.

Types of Paint
Latex paints have easy soap and water cleanup, but less durability on hard use surfaces than oil-based options. Acrylic latex formulas are a good compromise, offering great adhesion and longevity. For super tough and glossy finishes, alkyd enamel is ideal. Milk paint is a non-toxic, eco-friendly formula gaining popularity.
Popular Brands
Quality all-in-one cabinet paints from leading brands include Sherwin Williams ProClassic, BEHR Cabinet & Trim and General Finishes Milk Paint. Rust-Oleum Transformations has a basecoat and protective topcoat. Shop sample sizes to test colors and coverage.
Sheens and Finishes
Flat or matte paint hides imperfections but needs clear topcoat for protection. Satin is moderately reflective. Semi-gloss is very durable and resists yellowing over time. Consider a polyurethane for extra water and stain resistance.
Custom Colors
Tint your all-in-one paint to seamlessly coordinate with your existing decor. Feeling bold? Try a creative color like navy blue, mint green or cherry red for a playful pop.
Cost Comparisons
All-in-ones average $35-50 per quart. Separate primer and paint may cost less but require more time. For a medium kitchen, 2-3 quarts usually provides sufficient coverage.
Prep Work for Painting Kitchen Cabinets
Thorough prep work ensures the all-in-one paint bonds tightly and looks uniform. Proper prep will also minimize your work smoothing imperfections later.
Cleaning
Wash cabinet doors, sides, frames and interiors with a degreasing soap in warm water. Remove all doors, shelves and hardware for easiest access.
Sanding
Lightly sand glossy finishes to help the paint adhere. Address any dents, scratches, chips and flaws in the wood surfaces.
Repairs
Fill holes from old hardware with wood filler. Replace any damaged hinges, pulls or knobs before painting.
Priming
Some all-in-ones prime as they paint. But for drastic color changes or staining, prime first.
Masking and Ventilation
Carefully mask off countertops, floors, etc. Open windows and use fans for optimal airflow and drying.
How to Paint Kitchen Cabinets
Applying all-in-one cabinet paint is easier than you may think. Follow these pro tips for a smooth, flawless finish.
Brush Painting
Use high-quality angled sash brushes for cutting in edges and smaller trim brushes for details. Brush parallel to the wood grain for best results.
Rolling
A foam or high density microfiber roller cover prevents bubbles and lines. Keep the roller loaded evenly as you go for consistency.
Spraying
An airless sprayer allows fast, even coverage but requires masking anything you don't want painted. Practice first to get the hang of spraying.
Multiple Coats
Apply 2-3 thin, even coats for full coverage and an ultra smooth look. Lightly sand and wipe clean between coats as needed.
Achieving a Flawless DIY Finish
With patience and care, you can achieve truly professional results. Here are tips for avoiding common mistakes and troubleshooting any issues that pop up.
Avoiding Painting Mishaps
Drips, brush marks and "orange peel" texture can occur. Catch errors between coats when they're easiest to fix.
Troubleshooting Problems
If you encounter peeling, cracking or bleeding stains, the cause may be high humidity, insufficient dry time between coats or inadequate prep work.
Protective Clear Topcoats
A polyurethane or acrylic clear coat adds extra durability and enhances the paint's sheen.
Enjoy Your Fresh, Reborn Kitchen
With all-in-one cabinet paint and a weekend's work, you can reveal a kitchen that looks completely new. The difference a fresh coat of paint makes can be astounding. For extra visual impact, consider updating the hardware, lighting fixtures, faucet and other accents to match your new color scheme. You've saved thousands over the cost of installing all new custom cabinetry. Now sit back and enjoy the renewed heart of your home.
All-in-one cabinet paints make it simple for DIYers to quickly and affordably transform the look of their kitchens. With minimal fuss and just a few supplies, you can prime and paint your cabinets in a weekend. Follow the guidance in this article for choosing a top quality all-in-one formula, proper prep work and application. With stunning results and huge cost savings, you'll be eager to tackle painting projects in other rooms next!