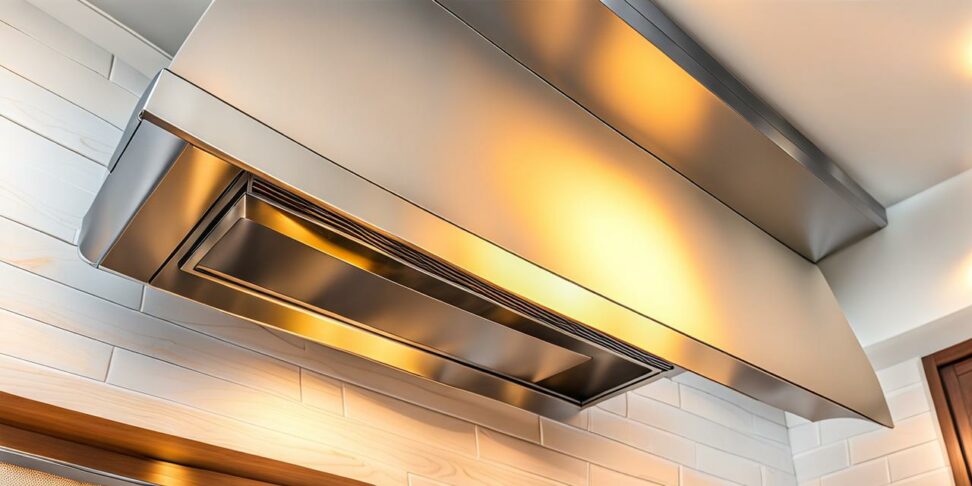
Save Your Walls and Cabinets! Kitchen Vent Hood Installation Made Simple
If your kitchen frequently gets filled with smoke and cooking grease, installing a new vent hood can make a world of difference. Vent hoods whisk away smoke, grease, odors and moisture to keep your kitchen cleaner and prevent damaging grease buildup.
Installing a kitchen vent hood may seem intimidating, but it can be a straightforward DIY project if you're handy and plan accordingly.
Planning Your Kitchen Vent Hood Installation
Careful planning is key to a smooth vent hood installation. Start by thinking about these key planning steps:

Choosing the Right Kitchen Vent Hood
You'll first want to decide between a ducted or ductless range hood:
- Ducted range hoods are more effective at clearing the air because they vent smoke and grease to the outside.
- Ductless range hoods have built-in filters but recirculate the air back into the kitchen.
Also consider the hood's width, which should be at least as wide as your stovetop/cooktop. Look at the CFM rating to make sure the fan is powerful enough for your cooking needs.
Some other features to look for include LED lights, removable grease filters, and different mount types like wall-mount or under-cabinet. Island mount hoods work best for island stoves.
Ductwork Planning
For ducted range hoods, plan the route for venting to the outside. Minimize duct length and turns/elbows for optimal airflow. Use online duct calculators to properly size the ducting.
Make sure to account for insulation, wall and ceiling thickness when measuring your ductwork route.
Safety Tips and Precautions
For safety:
- Turn off power at the circuit breaker before starting.
- Use sturdy ladders and work safely at height.
- Wear gloves and eye protection.
Also check your local building codes for any permits or requirements before installing your new hood.
Step-by-Step Installation Guide
Once you've selected your hood and planned the ductwork, you're ready to install. Follow these key steps:
Mounting the Hood
First, choose either wall or ceiling mounting depending on your preferences and kitchen layout:
- For wall mounts, position the mounting bracket centered over the stove.
- Ceiling mounts work well for island hoods; position the brackets above the cooktop.
Use the included template to mark and drill holes for the mounting screws. Then secure the brackets using a level to keep the hood even.
Installing the Ductwork
After mounting the hood, install the ductwork:
- Cut holes in the wall and/or ceiling for the ducting to run through.
- Join ductwork pieces with sheet metal screws.
- Wrap all duct joints with aluminum tape for an airtight seal.
Try to minimize duct length and keep runs straight for optimal airflow.
Connecting the Hood
With the ductwork in place, complete the hood connections:
- Connect the ducting to the hood's exhaust collar with foil tape.
- Finish the electrical hookups according to the manufacturer instructions.
Carefully slide the hood onto its mounting brackets after the connections are made.
Finishing Touches
To complete the installation:
- Test the hood by turning on the fan - make sure it vents properly.
- Snap in the metal grease filters.
- Install the lightbulbs and chimney.
- Caulk around exterior ducting to weatherproof.
After finishing, clean up any dust or debris from the installation process.
Performing Regular Maintenance
Your kitchen vent hood needs occasional maintenance to keep it working properly:
- Clean the metal filters at least monthly according to manufacturer guidelines.
- Remove fan blades every 6 months to clean grease and other buildup.
- Inspect ducting for leaks or blockages that reduce airflow.
It's also smart to replace the metal filters every few years when they become too difficult to clean and maintain.
By routinely cleaning and maintaining your hood, you can keep your kitchen air fresh and prevent fires or other hazards.
Installing a new kitchen vent hood provides powerful ventilation that makes cooking easier and more pleasant. While it may seem challenging, you can install a hood yourself with good planning and by carefully following the steps.
If you're ever unsure about proper ducting or electrical connections, don't hesitate to call in a pro. But with patience and safety precautions, installing a vent hood can be a very doable and rewarding DIY project.
We hope these tips give you the knowledge to upgrade your kitchen with a new range hood. Let us know if you have any other questions!