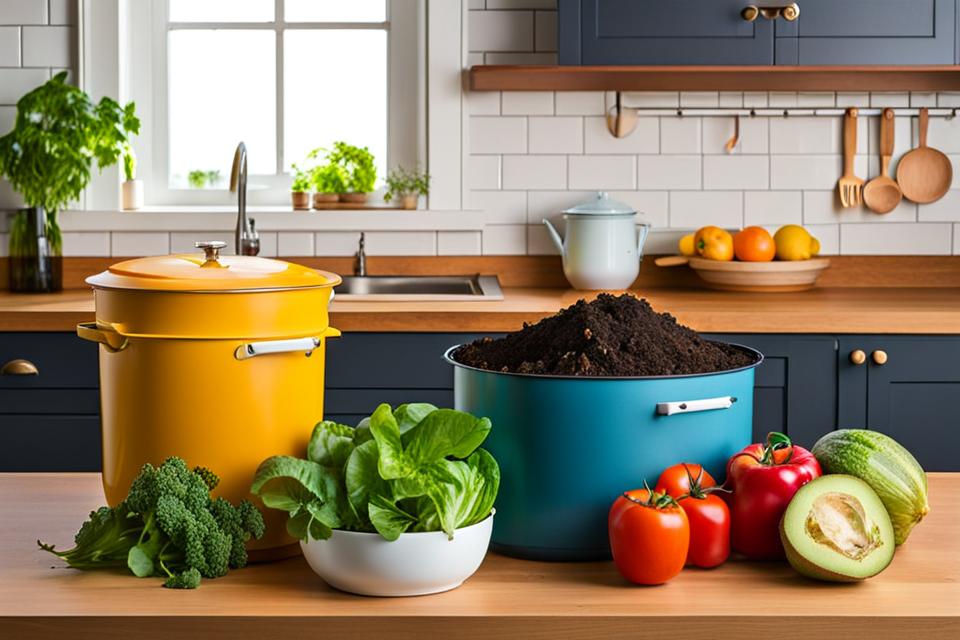
The Beginner's Guide to Kitchen Composting
Have you been throwing away excess food scraps without a second thought? Composting your food waste can reduce garbage while providing fertile, nourishing compost for gardens. Kitchen composting makes this eco-friendly habit accessible for even the smallest living spaces. Learn how with this beginner's guide to small-scale composting right in your own kitchen.
Composting food waste has many benefits beyond reducing landfill contributions. Keeping scraps out of the trash means less smelly garbage and lower waste removal bills. Composting enables you to reuse food residues to feed your plants, completing the cycle from plate to garden. Read on to get started composting your kitchen's organic refuse.
Getting Started with Kitchen Composting
Kitchen composting requires a few basic supplies to collect, contain, and process your food waste. Start by choosing a composting system that fits your space and lifestyle. Here are some composter options for convenient kitchen composting:

Selecting a Composting System
- Outdoor compost bin - Enclosed bins work well for larger backyards.
- Indoor countertop composter - Small and odor-free for apartments or kitchens.
- Under sink compost pail - Discrete built-in bins keep smells contained.
- Worm composting bin - Worms eat scraps to produce vermicompost indoors.
Consider your living situation when deciding where your composter should live. Countertop systems work best for kitchens and indoor areas. Backyards with some space are ideal for outdoor compost bins. Place bins in shady spots close to where compost will be used.
Supplies Needed
Arm yourself with these essentials for gathering and managing food waste:
- Compost bin or pail
- Countertop composter
- Worm bin (optional)
- Bags for collecting scraps
- Garden fork or compost aerator
Now that your composting system is set up and ready, it's time to learn what materials can and can't be added.
Composting Materials
Not all food scraps belong in your compost pile. Understanding carbon-rich browns versus nitrogen-rich greens helps create the ideal balance.
Greens - Nitrogen-rich
Fresh plant materials provide the nitrogen needed for compost microbes. Fruit and veggie scraps are classic compost greens:
- Fruit and vegetable scraps
- Coffee grounds and filters
- Tea bags
- Crushed eggshells
- Fresh grass clippings
Browns - Carbon-rich
Dried leaves, wood, and paper provide carbon energy to fuel decomposition. Common browns include:
- Dried leaves and twigs
- Shredded newspaper
- Paper napkins and towels
- Straw
- Wood chips
Aim for 2 parts browns to every 1 part greens. Too many greens can cause unwanted odors.
What Not to Compost
Some items should never enter your compost pile. Avoid composting:
- Meat, fish, or dairy
- Oils, grease, or fat
- Pet waste
- Diseased plants
Excluding meat and dairy prevents smells and pests. Omitting diseased plants stops pathogens spreading through your finished compost.
Maintaining Your Kitchen Compost
Proper maintenance yields finished compost faster. Mix, aerate, and monitor moisture levels to keep your compost in top form.
Regular Mixing
Turn or stir your compost pile weekly to mix contents. This allows vital airflow to support decomposition. Aerating compost bins or rotating outdoor piles gives the same effect. Don't let compost sit unmixed for too long.
Moisture Levels
Your compost should feel damp but not saturated. If compost is too dry, its microbes can't thrive. Excess moisture removes air pockets. Test moisture and add water or dry browns as needed to achieve an optimal balance.
Aeration
Oxygen powers the microbes responsible for breaking down organic matter. Regular turning or stirring manually aerates smaller compost piles. For larger outdoor bins, use a garden fork to fluff and mix the contents.
Troubleshoot any problems like bad smells or insects using appropriate adjustments. Then watch your kitchen scraps transform into black gold.
Harvesting and Using Finished Compost
With proper conditions, compost should finish decomposing in 4-6 months. Finished compost looks dark, crumbly, and earthy-smelling. Before using, sift compost through a mesh screen to catch any unfinished chunks for further breakdown.
This nourishing "black gold" adds nutrients and organic matter to garden beds or houseplants. Mix a few inches of compost into soil before planting. Store any extra compost in a cool, dry area until needed. Remember to replace what you remove to keep producing a steady supply.
Composting your food waste takes minimal daily effort while benefiting the earth and your green thumb. Diverting scraps from landfills saves resources and reduces waste accumulations. Finished compost feeds soils and plants naturally without chemical fertilizers.
Starting small with a kitchen compost pail or indoor worm bin makes the process simple. Over time, composting can become second nature. Get creative using your homemade compost in gardens, container plants, or even homemade potting mixes. Let your food scraps nourish new life instead of wasting them away in a landfill.