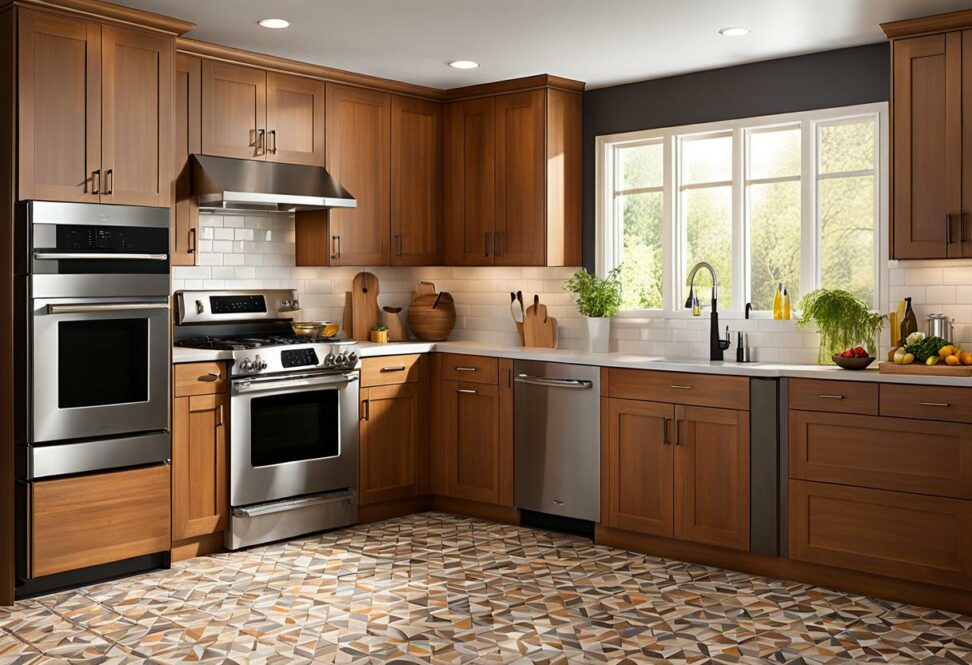
The Complete Guide to Installing Floor Tile in a Small Kitchen
Upgrading your kitchen floor with tile can make a dramatic difference in the look and feel of the space. But getting the perfect tile design for a small kitchen requires careful planning and execution. Follow this comprehensive guide to choose the ideal tile, prep properly, and install your new floor flawlessly.
With the right approach, your tiny kitchen can be totally transformed with stylish, durable new tile floors.
Measure Your Kitchen and Calculate Materials Needed
The first step is to measure every inch of your kitchen floor space. Be sure to get accurate lengths and widths, including any irregular areas. Measure doorways and openings too. Using a laser measure or wheel device will give more precise numbers than relying on a tape measure alone.

Once you have all the measurements, sketch out a floor plan and calculate the square footage. Don't forget to account for 10-15% extra tile and grout to allow for cuts, waste, and any future repairs.
Select the Best Tile for a Small Kitchen
Ceramic, porcelain, and natural stone tiles are all suitable options for small kitchen floors. Porcelain tiles offer greater stain and scratch resistance compared to ceramic. But ceramic provides a classic look on a budget. Durability, slip resistance, ease of cleaning, and aesthetics should factor into your choice.
Opt for smaller tiles, 12"x12" or below, to open up the look of a tiny kitchen. Square or rectangular shapes make for the easiest laying pattern. Carefully choose colors, textures, and finishes that will be easy to maintain and coordinate with your overall kitchen design.
Plan the Perfect Pattern and Layout
Simple grid, brick, or herringbone patterns avoid overwhelming the small space. Contrasting grout color helps define the tile shapes. Diagonal lines or a mini-grid layout add nice visual dimension without requiring large tiles.
Plan tile placement starting from the focal point out, whether that’s a back corner or central island. Mix tile packages during installation to minimize obvious cuts in conspicuous spots. Maintain recommended gaps between tiles and walls or cabinets for expansion.
Prep the Floor for Tile Installation
Get down to the bare subfloor by removing any existing flooring, if needed. Thoroughly clean the entire floor area, eliminating grease, wax, and debris that could impede adhesion.
Grind down any high points in the subfloor and fill low spots to achieve a perfectly flat surface. Install appropriate membrane layers or cement board as an underlayment for the new tile.
Set and Grout the New Tile
Apply thinset mortar evenly across the floor with a notched trowel. Set the tiles into place, using plastic spacers to maintain even grout line width. Allow a full 24-48 hours for the mortar to fully cure before grouting.
Grout application is key to get color consistency and full joint penetration. Remove spacers, then use a grout float to spread grout over the tile surface. Clean excess grout with a damp sponge once it becomes firm.
Sealing porcelain or natural stone tiles will boost stain resistance and simplify cleaning. Sweep or vacuum ceramic and porcelain tile regularly to prevent built-up dirt and debris.
Spot treat any stains or spills right away to prevent setting. Repair minor chips or cracks with grout or caulk to avoid moisture issues or further damage developing.
Properly installing tile transforms a tired small kitchen into a stylish space you'll enjoy for years. Follow these tips for flooring that looks beautiful while standing up to busy kitchen use.