The Complete Guide to Installing Your Kitchen Vent Hood
Installing a vent hood over your stove is one of the best ways to improve air quality and ventilation in your kitchen. Not only does a vent hood help clear smoke, grease, and odors while cooking, but it can also prevent damage to your walls and cabinets over time.
While it may seem intimidating, installing your own kitchen vent hood is totally doable as a DIY project. With proper planning and preparation, you can have a professional-quality vent hood set up in your kitchen in no time.
Plan Your Vent Hood Installation
The first step is deciding what type of vent hood you need. The two main options are:
- Ducted - vents outside through ductwork
- Ductless - recirculates air with filters
Ducted range hoods are more effective at removing contaminants but require access to ductwork. Ductless models are easier to install but won't improve indoor air quality as much.
Next, measure the area above your stove to ensure enough room for the hood. It should be mounted 18-24 inches above the cooktop. Plan where the ductwork will run if you're installing a ducted model.
Prepare for Installation
Gather the Right Materials
Making sure you have all the right supplies will make the installation go smoothly. You'll need:
- Range hood
- Ductwork, vent cap, adapters
- Mounting hardware and fasteners
- Basic tools - drill, tape measure, jigsaw, screwdriver, ladder
- Safety equipment - gloves, goggles, dust mask
Inspect the Installation Area
Before mounting the range hood, check for:
- Existing ductwork or electrical you can connect to
- Beams, vents or other obstacles
- Adequate structural support for the hood weight
Identifying any potential issues early allows you to adjust placement if needed.
Install the Range Hood
Create the Vent Opening
To connect the hood to ductwork, you'll need to cut an opening in the wall or bottom of the cabinet. Follow these steps:
- Measure and mark the opening location
- Cut hole with a jigsaw
- File any rough edges smooth
- Insert duct sleeve if needed
Wear safety goggles and a dust mask for this step to protect yourself from debris.
Mount the Hood
With the opening ready, it's time to mount the hood itself:
- Attach any mounting brackets or hardware
- Lift hood into place aligned with opening
- Secure hood with provided fasteners
- Caulk around edges to seal any gaps
Ensure the hood is level and secure before releasing your grip. Most hoods have mounting height adjustability built in.
Connect the Ductwork
To complete the ventilation pathway:
- Connect hood exhaust to ductwork
- Seal all duct joints thoroughly
- Extend ducting to exterior vent/hood cap
Minimize turns or kinks when running ductwork to maximize air flow.
Finishing Touches
With the main installation complete, finish up by:
- Testing hood functions and lighting
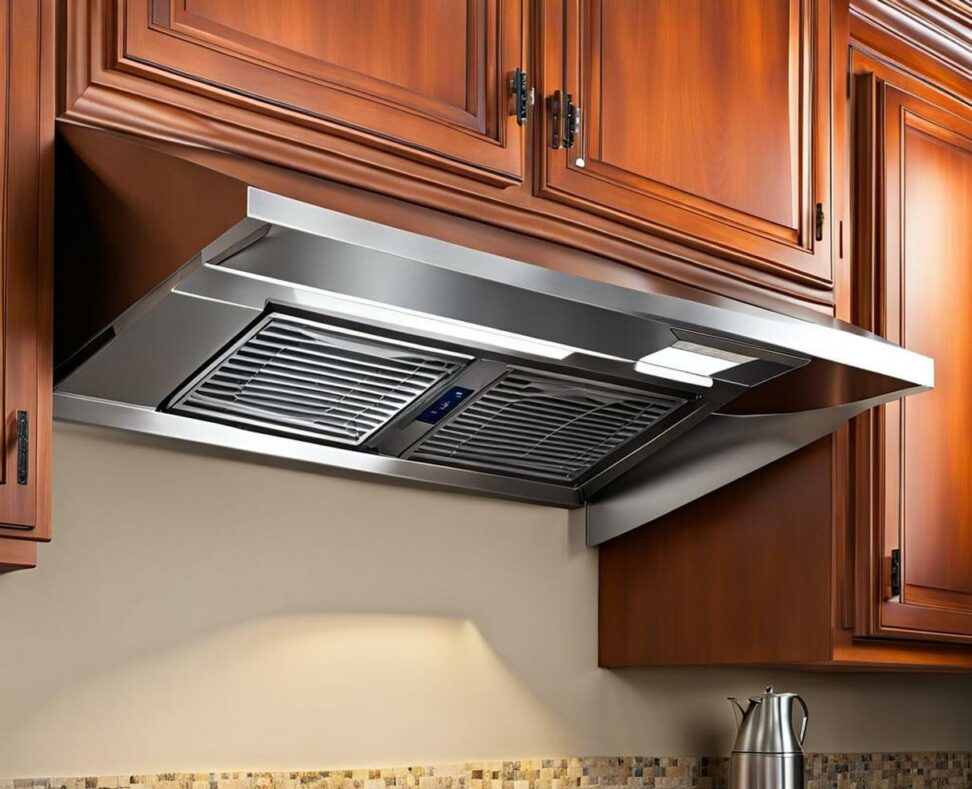
- Installing filters or grease collector trays
- Patching and painting surrounding walls
- Sealing any leftover holes or gaps
Run the fans and lights on high to confirm proper operation before closing up the installation area.
Installing your own kitchen vent hood requires careful planning and attention to detail. But with the right materials and safety precautions, it can be an achievable DIY project resulting in dramatically improved ventilation.
Following the steps outlined above will have you well on your way to enjoying clean kitchen air. Be sure to check your local building codes and have an outlet to vent air outside whenever possible.