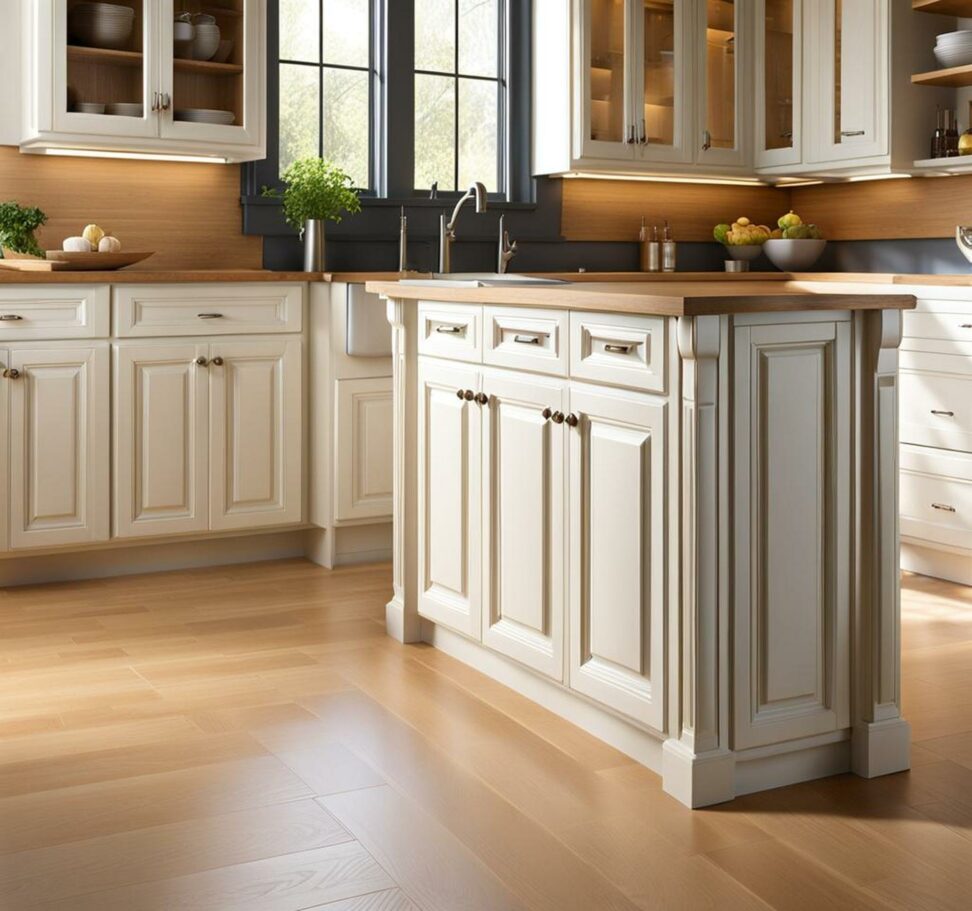
The Complete Guide to Painting Oak Cabinets White
Painting oak cabinets white can give your kitchen a fresh, updated look. But successfully painting oak cabinets white requires careful preparation and technique to achieve a smooth, professional finish.
We'll also provide tips to help you avoid common pitfalls and end up with a gorgeous kitchen you'll love.

Preparing Oak Cabinets for Painting
Proper preparation is crucial for getting cabinets ready for a fresh coat of white paint. First, thoroughly clean all cabinet surfaces using a degreaser and a soft-bristled brush or sponge to remove any dirt, grease or grime.
Next, lightly sand the cabinets with fine grit sandpaper. This roughens up the surface so the primer and paint can adhere better. Be sure to wipe away any dust after sanding.
Use wood filler to patch up any holes, scratches or imperfections. This helps ensure you'll have a smooth, flawless finish.
Also, remove all doors, drawers and hardware before painting. This allows you to more easily access all sides of the cabinet frames and doors for painting.
Choosing the Right Primer
Priming is a crucial step when painting oak cabinets white. Primer fills in the wood grain to create a smooth painting surface. It also prevents the white paint from settling unevenly into the crevices of the oak, which can give a splotchy appearance.
For oak cabinets, choose an oil-based primer formulated to prevent tannin bleed, or a shellac-based primer which will also block stains. Primers made specifically for painting kitchen cabinets are also a good choice.
Applying Primer
Use an angled sash brush to apply primer to the frame and a mini foam roller for the center cabinet panels. The primer coat should fully cover the wood, so don't skimp on this step. Allow the primer to dry completely before moving on to painting.
Painting Oak Cabinets
When choosing the paint for your oak cabinets, opt for a high-quality latex acrylic enamel or an alkyd enamel. Look for a paint with a satin or semi-gloss finish, which will be more durable and moisture-resistant.
Use short, even strokes to roll the center cabinet panels. Then use a brush to cut-in around edges and corners. Apply at least 2-3 thin, smooth coats of paint, allowing each coat to fully dry before adding another.
To paint the doors and drawers, hang them vertically from hardware hung from a painting stick. This makes painting easier. Be sure to paint both the inside and outside of the doors, frames and drawer fronts. Use angled trim brushes for best results.
Allow the paint to cure fully, for at least 24-48 hours, before reinstalling the doors and drawers. This prevents sticking.
Achieving a Flawless White Finish
Take steps to achieve the smoothest possible finish when painting your oak cabinets white:
- Lightly sand between coats to create an ultra-smooth surface.
- Paint cabinet boxes first, then doors, then drawers to avoid drips and smudges on smaller parts.
- Use painter's tape for ultra sharp paint lines and edges.
- Cover surrounding floors, walls and counters to prevent splatters.
Be patient and take your time during the painting process for best results. The extra care you put in will pay off in gorgeous, professionally painted cabinets.
Caring for Newly Painted Cabinets
Once your cabinets are painted, take steps to protect them:
- Allow the paint to cure fully, for at least 7 days, before using cabinets.
- Clean painted surfaces gently with mild soap and water only.
- Install clear cabinet door bumpers to prevent chipping if doors knock together.
- Use touch up paint to quickly fix any minor scuffs or scratches.
With the right prep and painting technique, you can give your oak cabinets a fresh white painted finish. Painting oak cabinets white brightens up the whole kitchen and gives it a light, airy feel.
Just be sure to thoroughly clean, sand, and prime the cabinets first. Then use a high-quality cabinet paint and applicator tools. Take your time, apply multiple thin coats of paint, and sand lightly between coats. The result will be a flawless, professional-looking white finish that updates your kitchen in style.