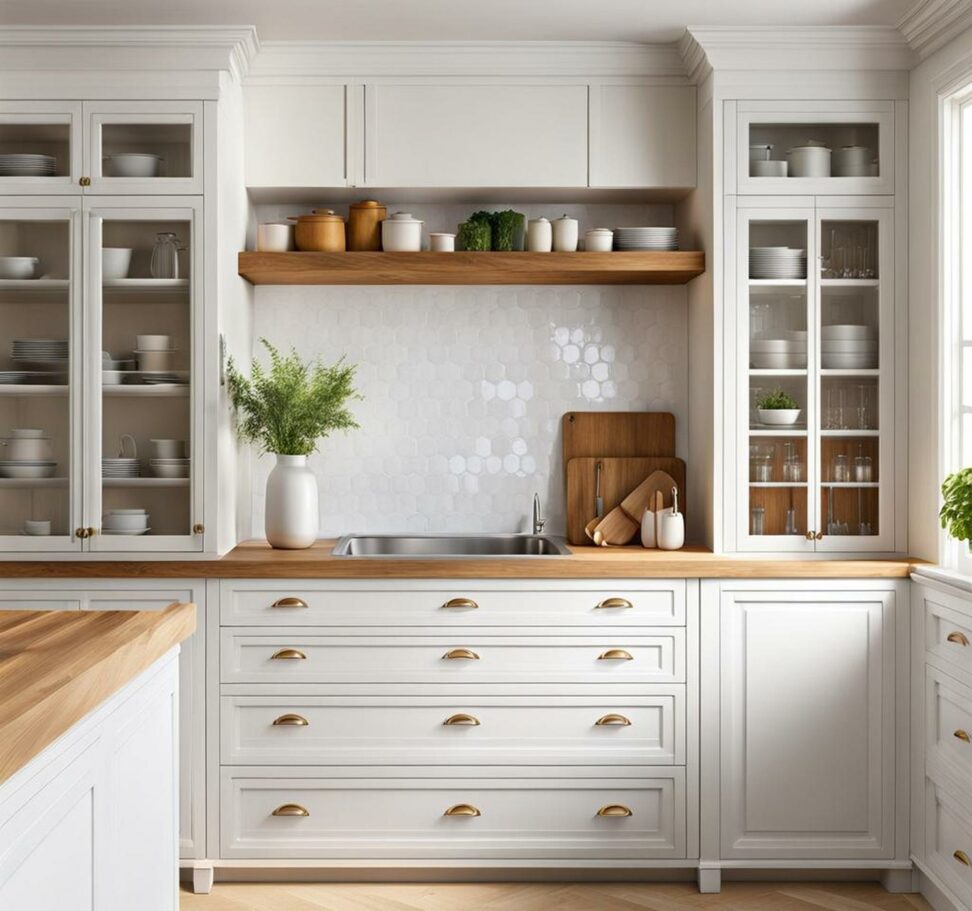
The Complete Guide to White Washing Your Kitchen Cabinets
White washed kitchen cabinets are becoming an increasingly popular trend for homeowners wanting to brighten up their kitchens. The white stained finish lightens wood while retaining some of its natural grain and texture.
White Washing Basics
White washing is a technique that gives wood a washed-out, weathered appearance. A white stain is applied to porous wood like oak or pine, allowing the natural grain to show through. The result is a lightened, coastal or farmhouse look that is subtler than painting the cabinets solid white.

While trends come and go, white washed cabinets have been around for centuries. Originating in coastal regions where sun exposure weathered wood to a pale driftwood gray, the look has been popularized in recent years by HGTV shows and home decor magazines.
Compared to painting cabinets, white washing has some advantages. It allows the wood's natural pattern and texture to show through. Since it stains rather than coating the surface completely, it's also easier for do-it-yourselfers to apply. However, it requires more frequent touching up than paint. Overall, white washing delivers a light and airy look while keeping some natural wood character.
Planning Your White Washed Kitchen
Assessing Your Existing Cabinets
Not all cabinet materials take well to white washing. The technique works best on porous woods like oak, ash, pine, and fir that will absorb the stain. Non-porous surfaces like maple and laminate won't achieve the same weathered patina. If your current cabinets are oak, you're in luck! This wood is the most popular choice for white washing since its dramatic grain looks beautiful under a light stain.
Proper prep is crucial for white wash to adhere properly. Fill any holes or imperfections in your cabinet boxes, doors, and drawers. Sand surfaces smooth and wipe away dirt and grease before applying stain.
Ideal Kitchen Layouts and Styles
White washed cabinets pair beautifully with all kitchen aesthetics, from modern to traditional. But certain layouts and decor styles really make them pop:
- Farmhouse - Exposed beams, butcher block, and subway tile complement white washed cabinets' timeworn charm.
- Modern - Sleek lines and materials like marble and stainless steel look crisp against the organic patina of white washed wood.
- Traditional - Fluted columns, rich granite, and glass-front cabinets build on white wash's classic appeal.
In small kitchens, go for lots of natural light, glass-front upper cabinets, and light wood or painted floors to enhance the sense of spaciousness.
White Washing Process Step-by-Step
Supplies Needed
To white wash your cabinets, you'll need:
- White stain, gel stain, chalk paint, or whitewash pickling stain
- High-quality synthetic bristle brushes in various sizes
- Sandpaper - 120 and 220 grit recommended
- Drop cloths or plastic sheeting
- Clean rags, tack cloth, wood cleaner/conditioner
Prep Work
Preparation is key for proper adhesion and finish. Follow these steps:
- Remove doors, drawers, and hardware using a screwdriver. Set aside all removable parts.
- Clean cabinet boxes, doors, and drawers with wood cleaner to remove grease, dirt, and dust.
- Sand surfaces lightly with 120 grit sandpaper to rough up the finish.
- Apply wood conditioner and let sit per manufacturer instructions.
White Washing Technique
For white washing, work in sections applying the stain in a random, overlapped pattern. Here are some tips for technique:
- Use high-quality synthetic brushes for applying stain.
- Work in circular, multi-directional brush strokes to layer on color.
- Overlap sections randomly to create a more authentic aged finish.
- Experiment with watering down your white wash slightly for a more translucent stained effect.
- For a shabby chic look, sand lightly between coats to distress the finish and expose wood.
Seal your stained cabinets with a matte water-based polyurethane for protection and durability.
Drying and Curing
Drying times vary based on products used. Most white wash stains become dry to the touch within 1-2 hours. However, full curing takes 5-7 days. Avoid heavy use during this time. Once fully cured, reattach your doors, drawers, and hardware.
Design and Decor Considerations
The right decor choices will enhance your white washed cabinets for a cohesive look:
- Add pendant lights over islands and undercabinet lighting for bright, even illumination.
- Contrast with dark granite or butcher block countertops and classic subway tile.
- Light, wide-plank floors keep the space airy and spacious.
- Open shelving, glass cabinet fronts, and windows maximize light.
Maintaining Your White Washed Cabinets
While white washed cabinets are lower maintenance than painted cabinets, they do require some care. Follow these tips:
- Clean with a soft cloth, mild soap, and water. Avoid abrasive cleaners.
- Re-apply white wash yearly, following the steps above, to refresh the finish.
- Immediately wipe up spills and water to avoid permanent discoloration.
Inspiring White Washed Kitchen Examples
From modern to traditional, here are some stunning real kitchens featuring white washed cabinetry:
[Insert photos showcasing white washed cabinets in different kitchen styles]
Whether going for an urban loft or farmhouse feel, you can see how white washed cabinets add cozy warmth while still feeling light and fresh. The varied grain, visible through the white patina, provides an organic contrast to sleek surfaces like marble.
White washing infuses kitchen cabinets with breezy, coastal charm while still allowing the wood's natural beauty to shine through. Following the steps above will have you on your way to achieving this hot look that brightens up any kitchen style. Just think of that first morning coffee in your newly whitewashed kitchen - we're sure it will be a moment to savor!