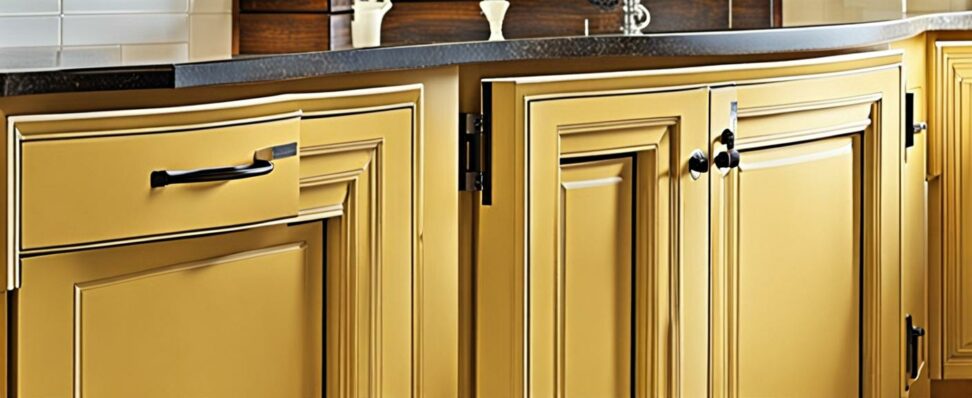
The Secret to Painting Over Glossy Cabinets Without Sanding
Upgrading your kitchen cabinets can be an expensive endeavor. Yet those dated, worn cabinets dominate the space and detract from your home's style. Before shelling out thousands on new cabinetry, consider the simple solution of giving them a fresh coat of paint. Painting transforms cabinet appearance while saving big on a remodel budget.
However, properly prepping glossy cabinets for painting can seem daunting. Some experts insist every trace of shine must be sanded down for paint to bond. Who wants to spend days sanding and stripping? Take heart, it is possible to prep and paint cabinets without all that tedious sanding. Follow these proven tips for success.
Should You Always Sand Before Painting Kitchen Cabinets?
Sanding wood, laminate, and glossy cabinet surfaces is a common preparation step before painting. But why is sanding recommended and when can you skip it?

Sanding serves two primary purposes:
- It etches and roughens up the slick surface so paint can adhere better.
- It removes loose paint or wood fibers for a cleaner bond.
Heavy sanding to completely strip the existing finish takes tremendous effort. Thankfully lighter scuff sanding is usually adequate preparation prior to painting.
When Sanding Cabinet Before Paint is Essential
In certain situations, sanding kitchen cabinets before painting is mandatory:
- If paint is peeling or damaged, sanding is needed to remove loose paint down to the bare surface.
- If cabinets were finished with wax, oil, or grease, sanding is required so paint will bond.
- If excessive dirt and grime have built up, sanding cleans the surface for painting.
When Sanding is Optional Before Painting
However, sanding can be skipped if cabinets have a factory-applied finish in good condition such as:
- Laminate surfaces
- Melamine or thermofoil coatings
- Properly cured polyurethane
- Existing latex paint
With proper cleaning, deglossing, and priming, new latex paint often adheres fine without sanding down to bare wood or laminate.
The Impact of Paint Types on Sanding Needs
Oil-based paints require more surface prep because they have less elasticity than latex. Scuff sanding ensures good adhesion for any topcoat.
Latex or acrylic paints can flex more without sanding. However, scuffing still helps paint grip better on slick surfaces.
Clean Cabinets Thoroughly Before Painting
Before any sanding or priming, kitchen cabinets must be cleaned meticulously. Grease and dirt impair paint bonding and cause chipping or peeling.
Scrub all surfaces with a degreasing cleaner like TSP substitute or liquid dish detergent. For heavy grease buildup, use a commercial degreaser. Rinse thoroughly and let dry.
Fix any water damage or replace swollen cabinet parts. Remove doors and hardware to clean all areas. Fill any cracks or gouges with wood filler designed for finished surfaces.
Scuff Sand Glossy Areas to Degloss
For quick surface deglossing, scuff sand glossy finishes before priming. This key step etches just enough to help paint grab hold.
Use 120-150 grit sandpaper and focus only on shiny areas. Sand lightly until you have dulled the sheen. Smooth the scuffed area afterward with 220 grit sandpaper.
Concentrate on the flat panel surfaces rather than edges or detailed areas. Take care not to remove stained wood finish, just scuff up the glossy topcoat.
Use Deglosser to Etch Surfaces
For less messy prep on stubborn gloss, use a liquid deglossing solution instead of scuff sanding. Quality deglossers contain ingredients like TSP to cut through grease and chemically etch surfaces.
Apply as directed with a rag or nylon scrubber. Allow the etcher to sit for 5-10 minutes before wiping clean. Then rinse thoroughly and let dry before priming.
Deglossing solutions help latex paint grip but are less effective for oil-based paints. In those cases, scuff sanding is still advised.
Apply Primer for Superior Paint Adhesion
The next vital step after sanding or deglossing is applying an appropriate primer coat before painting the cabinets.
Oil-based primers provide the best adhesion on laminate and wood. For repainting, use bonding primers made to stick to glossy finishes.
Primers also seal the material for a smooth painted surface. Allow the primer to fully cure overnight before sanding lightly and applying topcoats.
Choose Cabinet Paint Wisely
For the topcoat, select premium cabinet paint in a durable satin, semi-gloss, or high-gloss sheen. Latex and acrylic formulas work for repainting although oil-based enamels are toughest.
Make sure your paint choice is compatible with the existing finish. Oil adheres well on oil, and latex on latex. Never paint latex over oil without properprep.
Tint paint to a deeper shade than your cabinet's current color for best coverage. White and light paints often require multiple coats.
Avoid Common Paint Prep Pitfalls
With the right prep work, even novices can get pro-quality results painting cabinets. Steer clear of these all-too-common mistakes:
- Thinking you can paint over grease or dirt without cleaning
- Not checking paint compatibility with the previous finish
- Sanding too aggressively and removing stained wood finish
- Applying paint too thickly so it drips or sags
Don't endure dreary, dated cabinets any longer. With some careful prep work, you can easily transform the look just by painting the existing cabinetry. Follow these tips to paint kitchen cabinets without hours of tedious sanding and stripping.
With thorough cleaning, light scuff sanding or deglossing, quality primer, and compatible cabinet paint, you can paint successfully right over many glossy finishes. Take your time with the prep steps for long-lasting results. Soon you'll have a kitchen as good as new at just a fraction of replacement cost.